latest
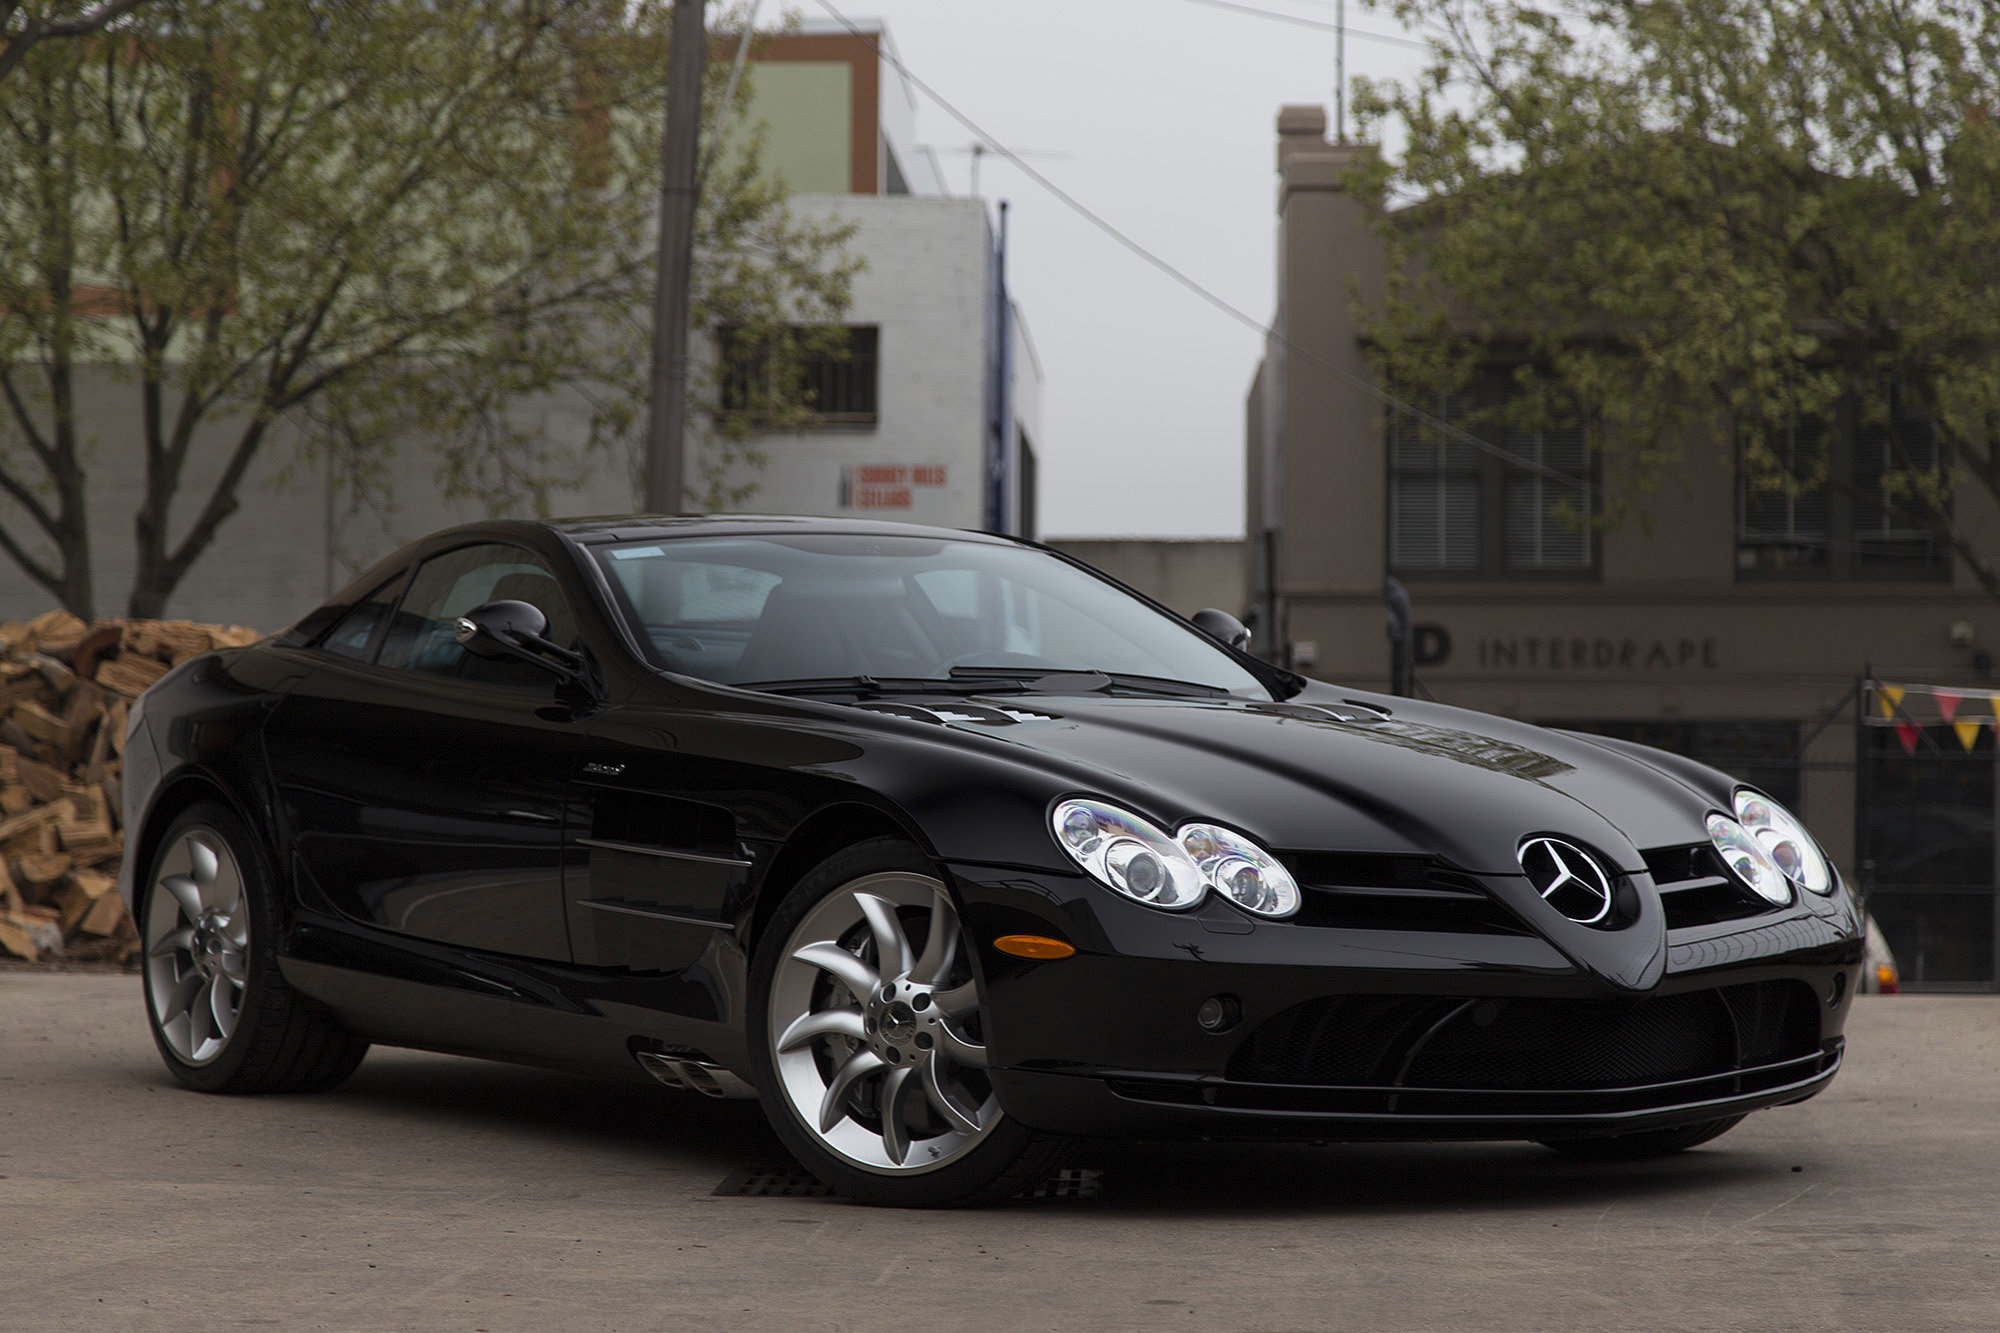
2006 Mclaren Mercedes SLR
TREATMENT
- Wash & Decontamination
- Multi-Stage Paint Correction
- Opti-Coat Pro+ Paint Protection (2 Layers)
DESCRIPTION
They say you should never meet your heros for fear of being disappointed…… yeah not much chance of that. Especially when it involves a million dollars worth of supercar.
This was an import from the US and arrived here with only 3000 miles on the clock. It is one of those times where you’re not sure if it is a car or art. A bit of both I’d say.
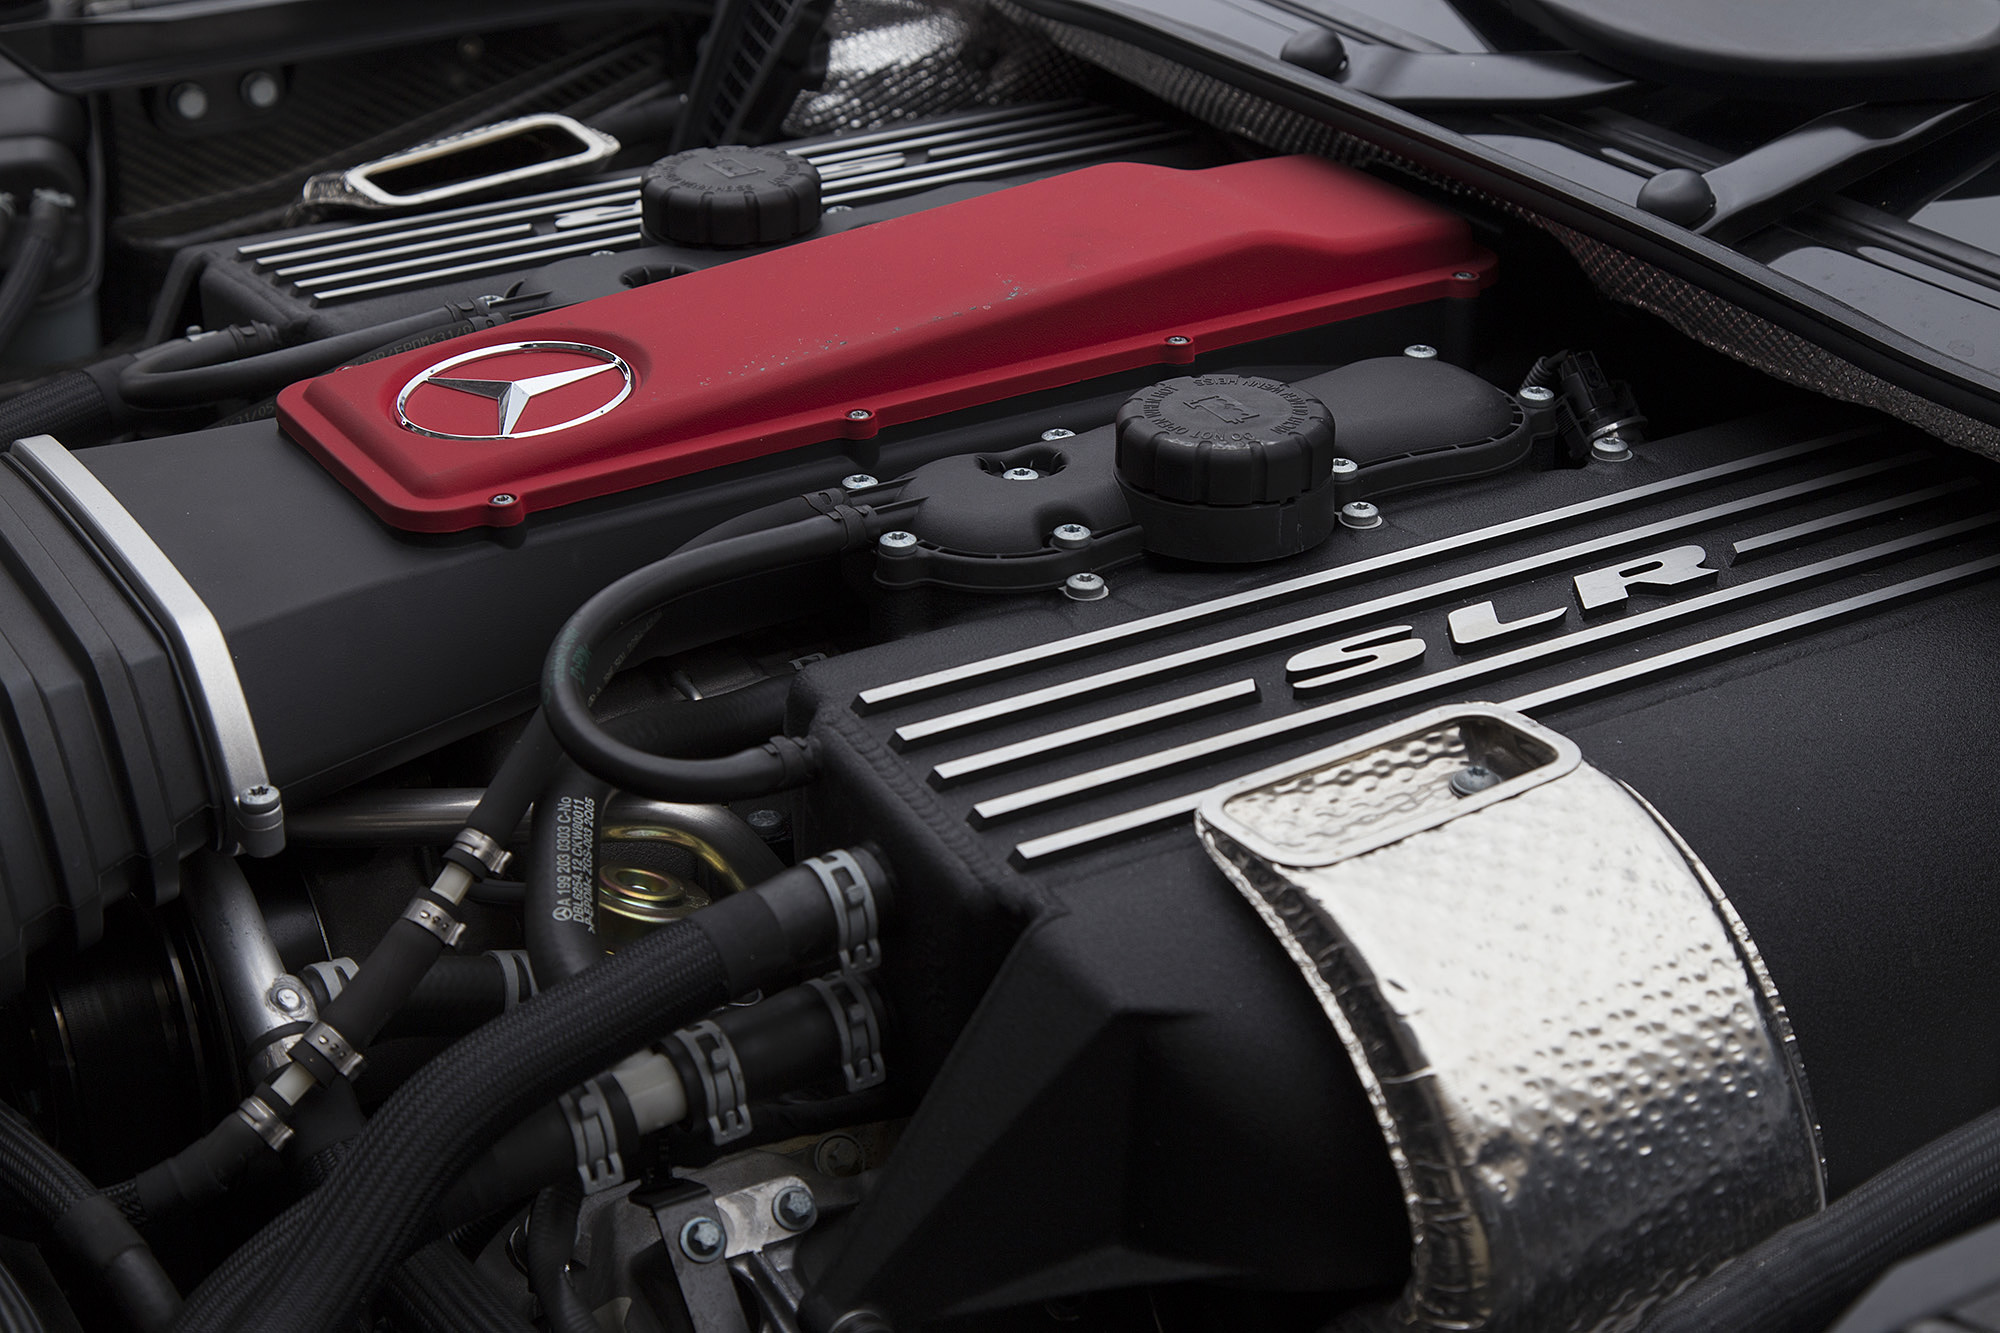
Every panel is carbon fibre. The engine is a 5.4lt supercharged V8 developing over 600hp and a whopping 780nm of torque. The brakes are carbon ceramic. Everything about this car is engineering nirvana. It is truly staggering in real life and something that I felt honoured to be asked to detail.
Back to Gallery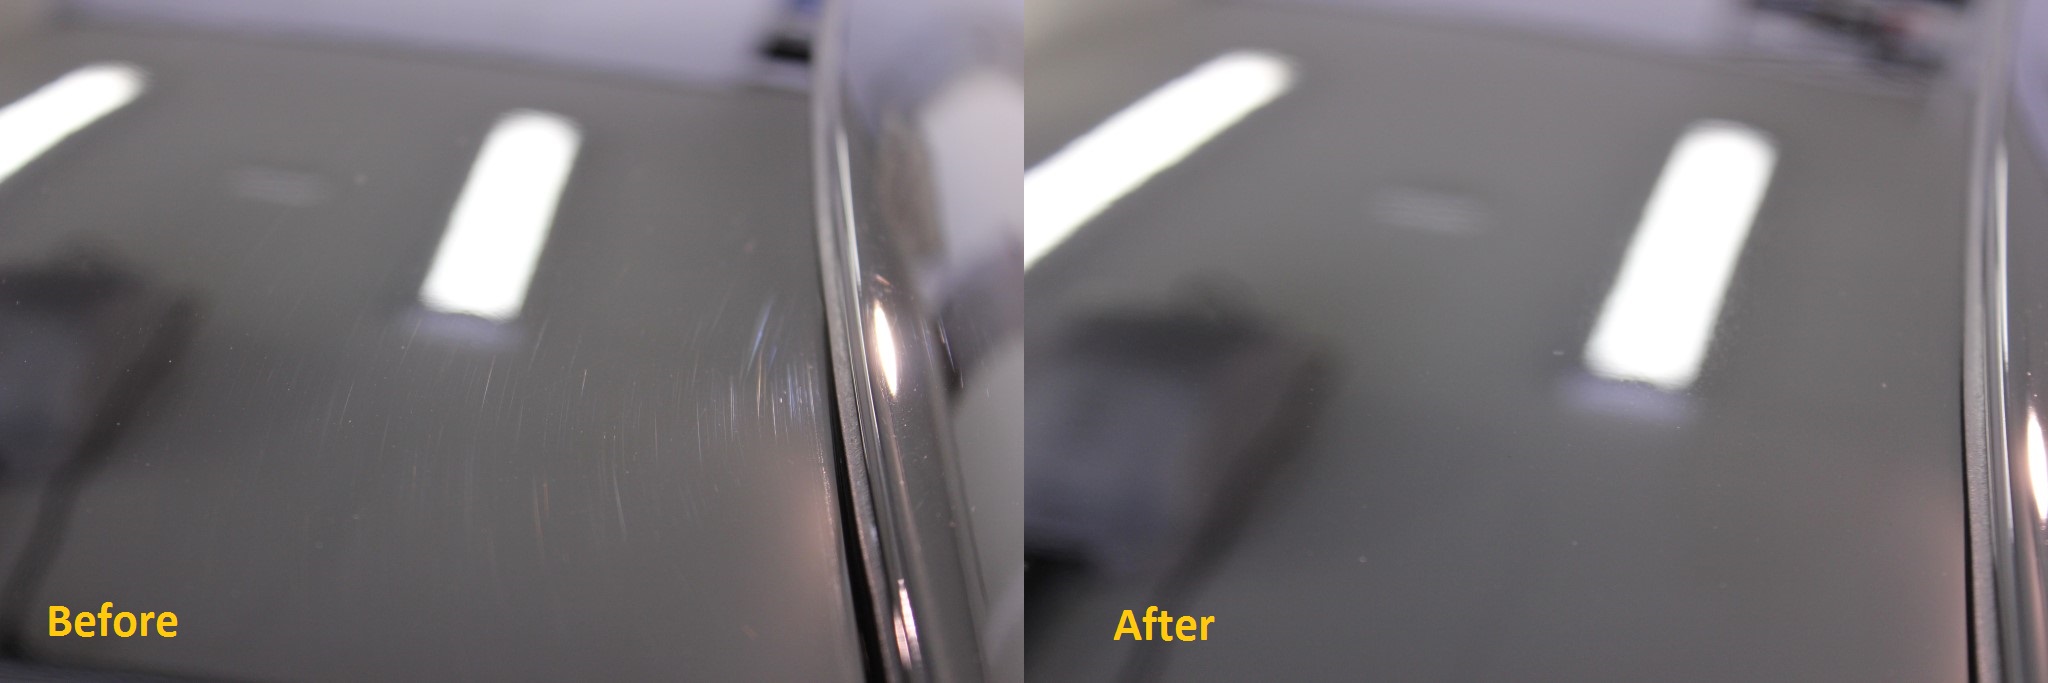
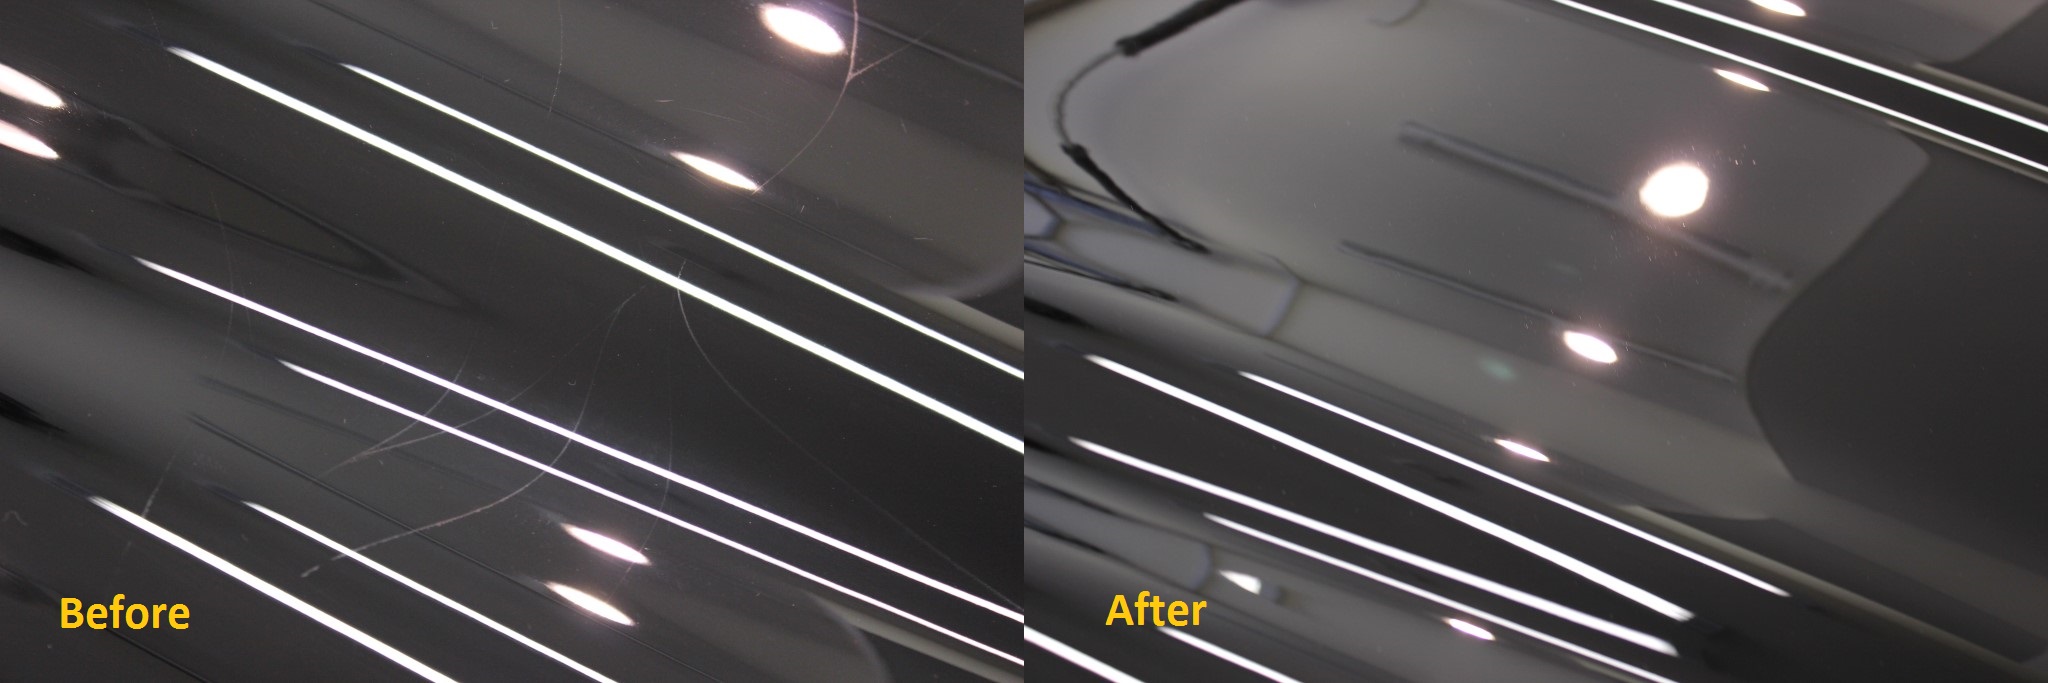
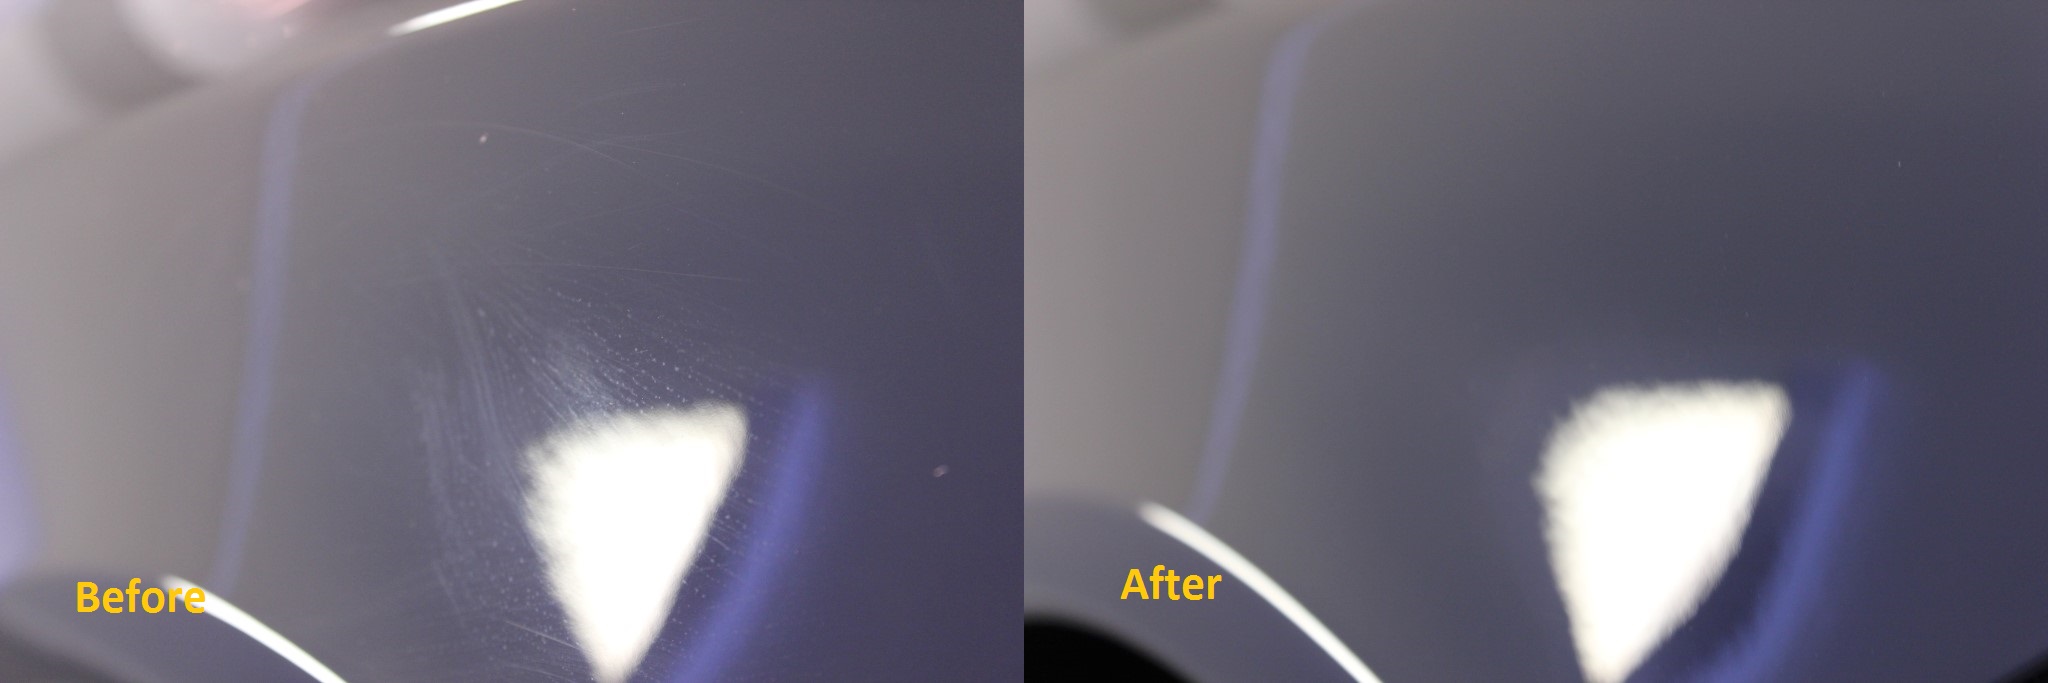
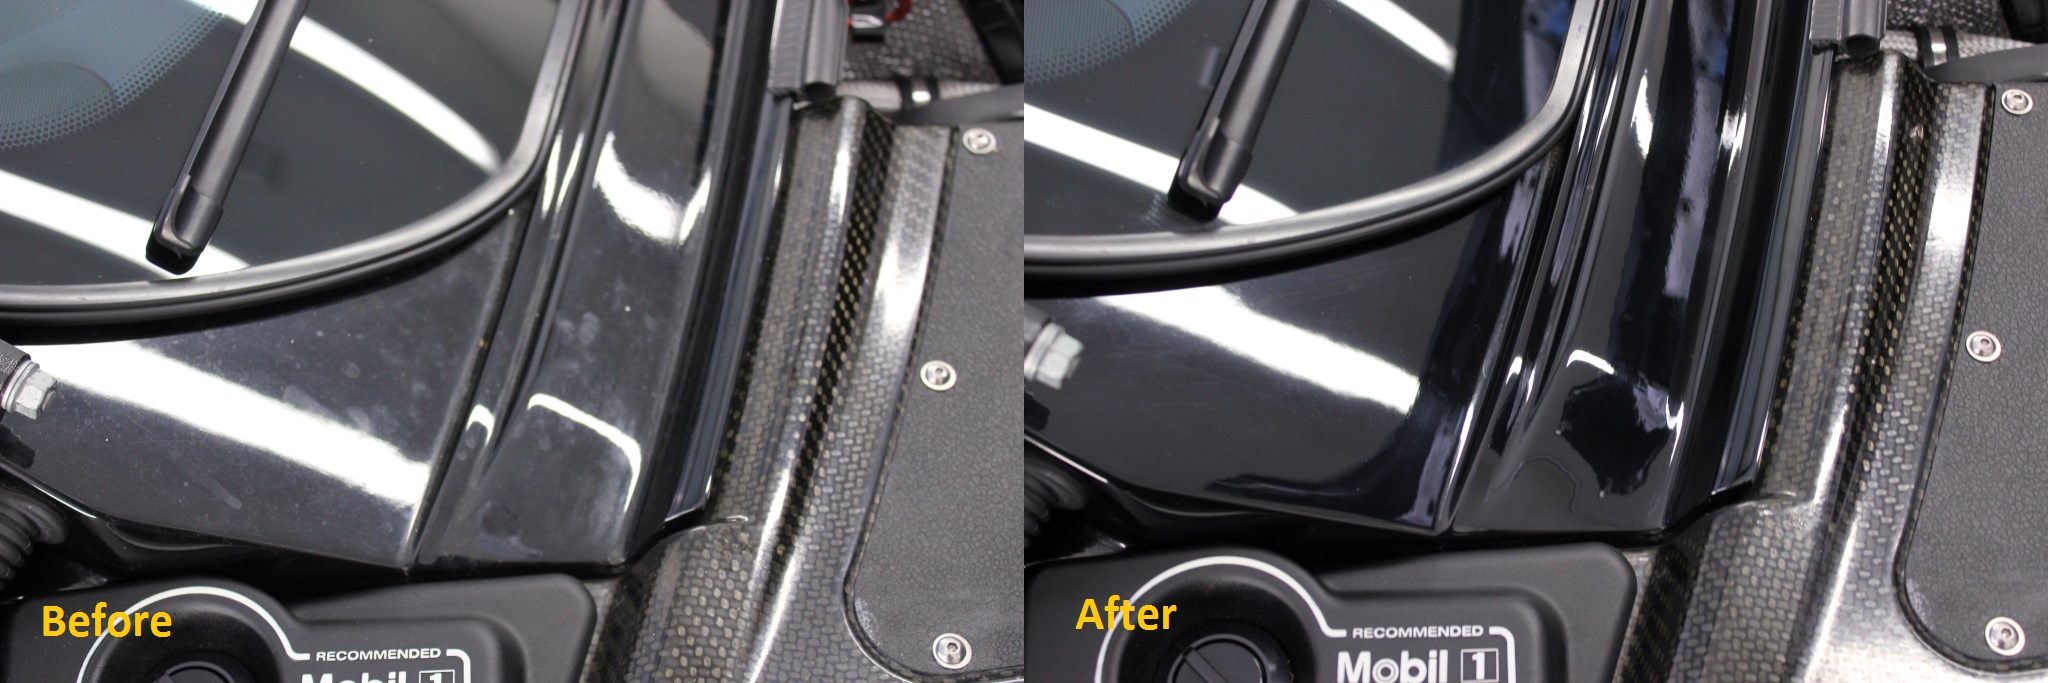
Befores and afters. It is worth noting that these cars were hand painted, and painted thin as paint adds weight. You could see the carbon weave in the panel. Using an ultrasonic paint depth gauge I was able to build up a map of paint depths across the car and it's at that point you realise the scope of the task ahead. Paint depths across the car measured between 30 and 60 microns. Did I say they painted them thin? A measurement on the inside of the door jamb "B surface" came out at 85 microns. Being of carbon construction there was no electrostatic under-coating to worry about, so there were a few microns saved there, but overall there couldn't be more than 10 microns worth of clear coat in some places on the car. This million dollar car that I had been asked to paint correct. Please bear that in mind when going through these pictures. We say the test of a good detailer is knowing what can be taken out and knowing what has to stay in. This was about as extreme a test as there is likely to be.
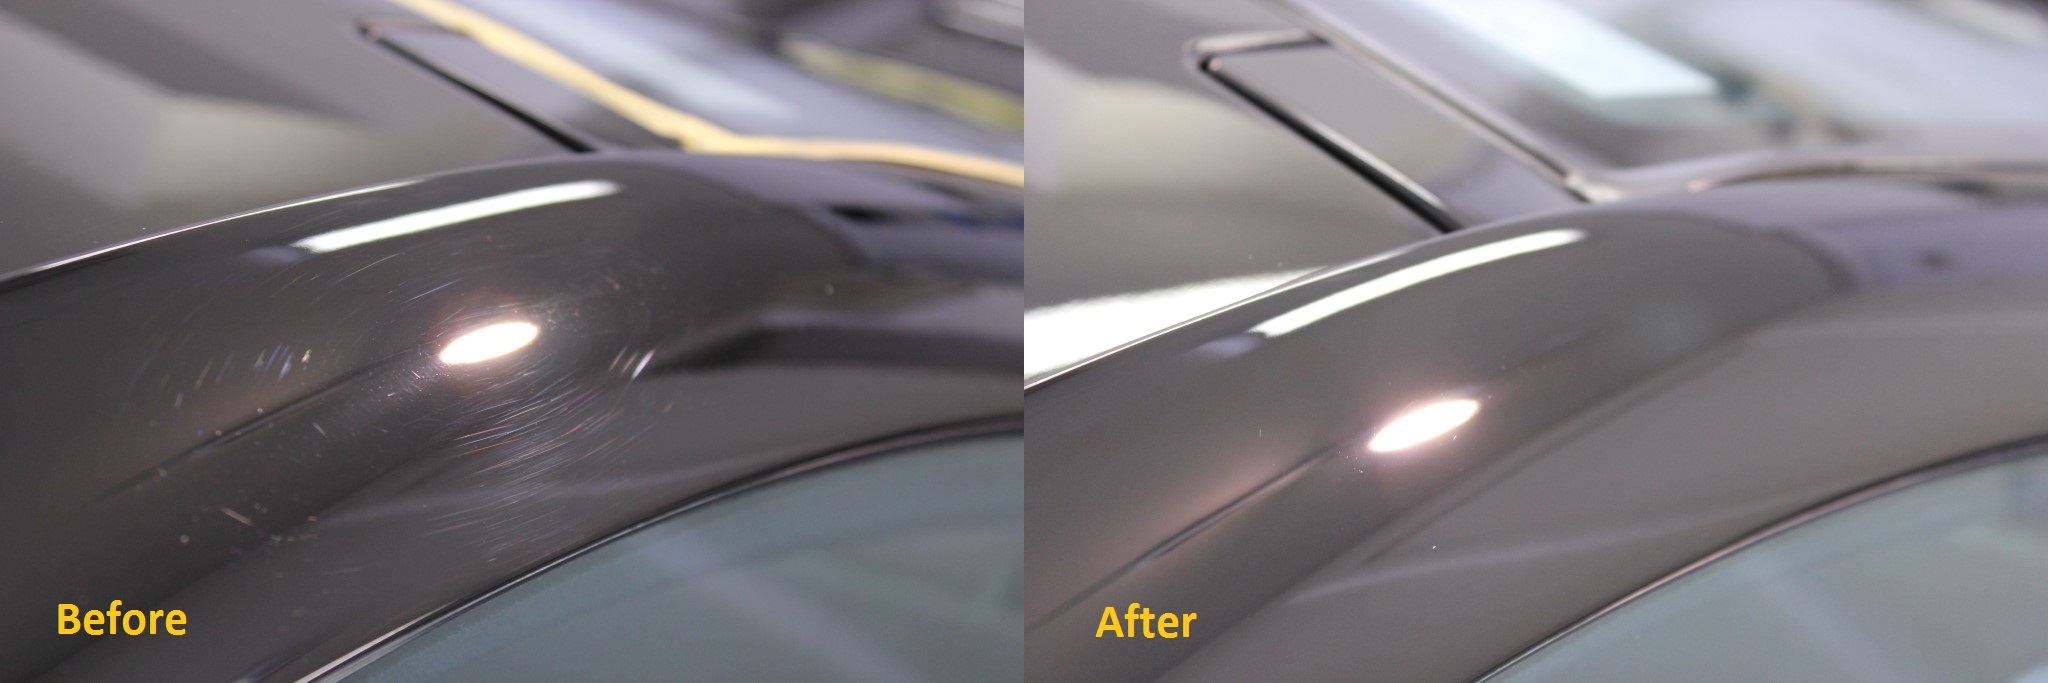
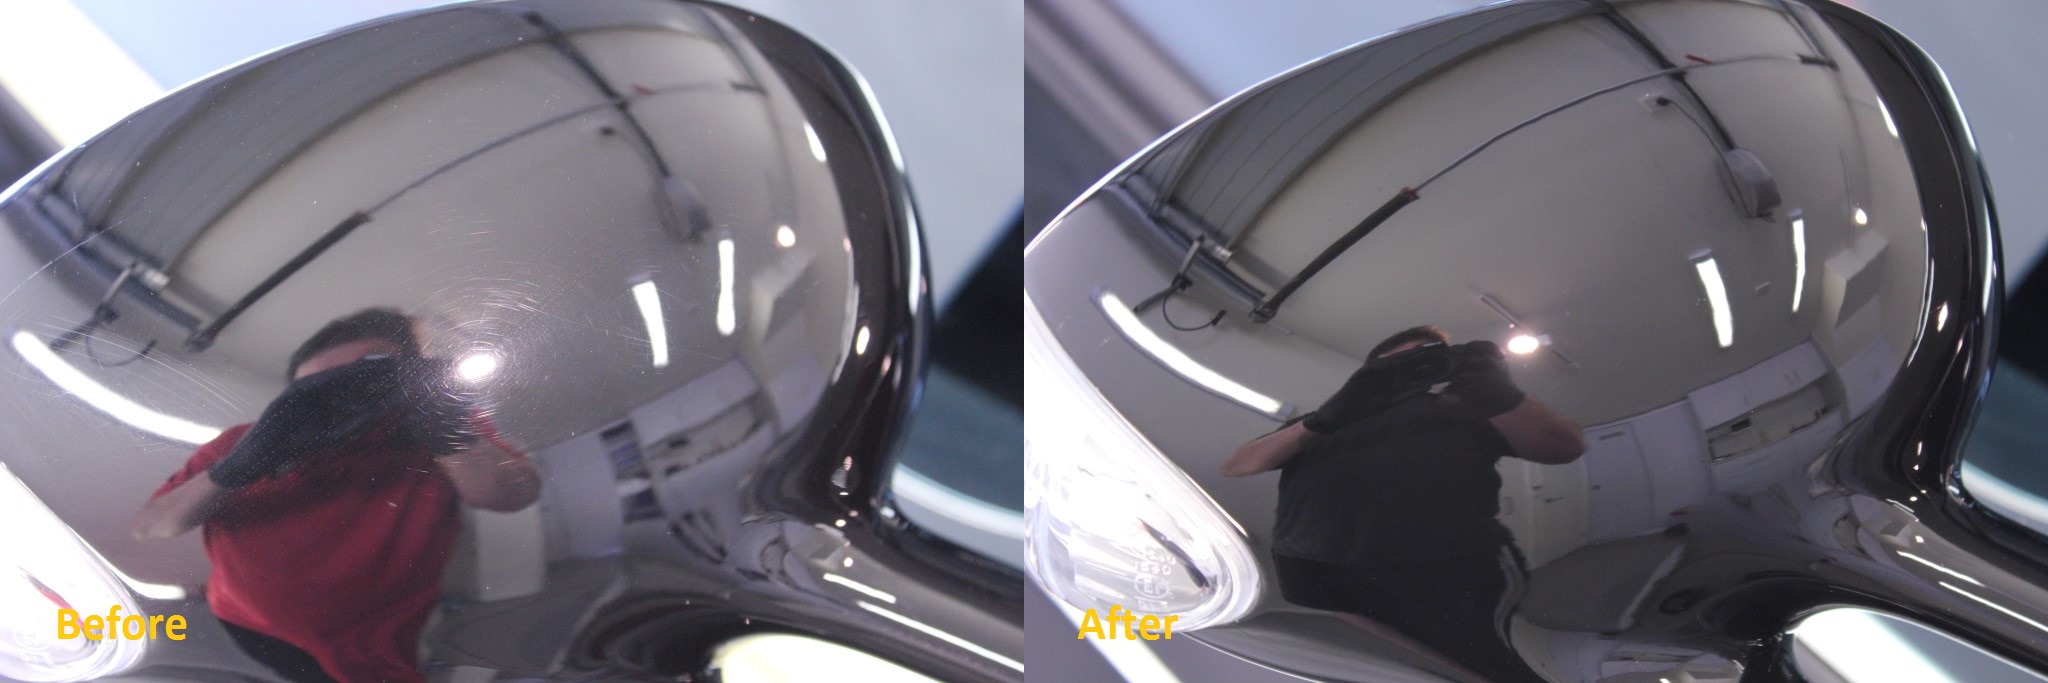
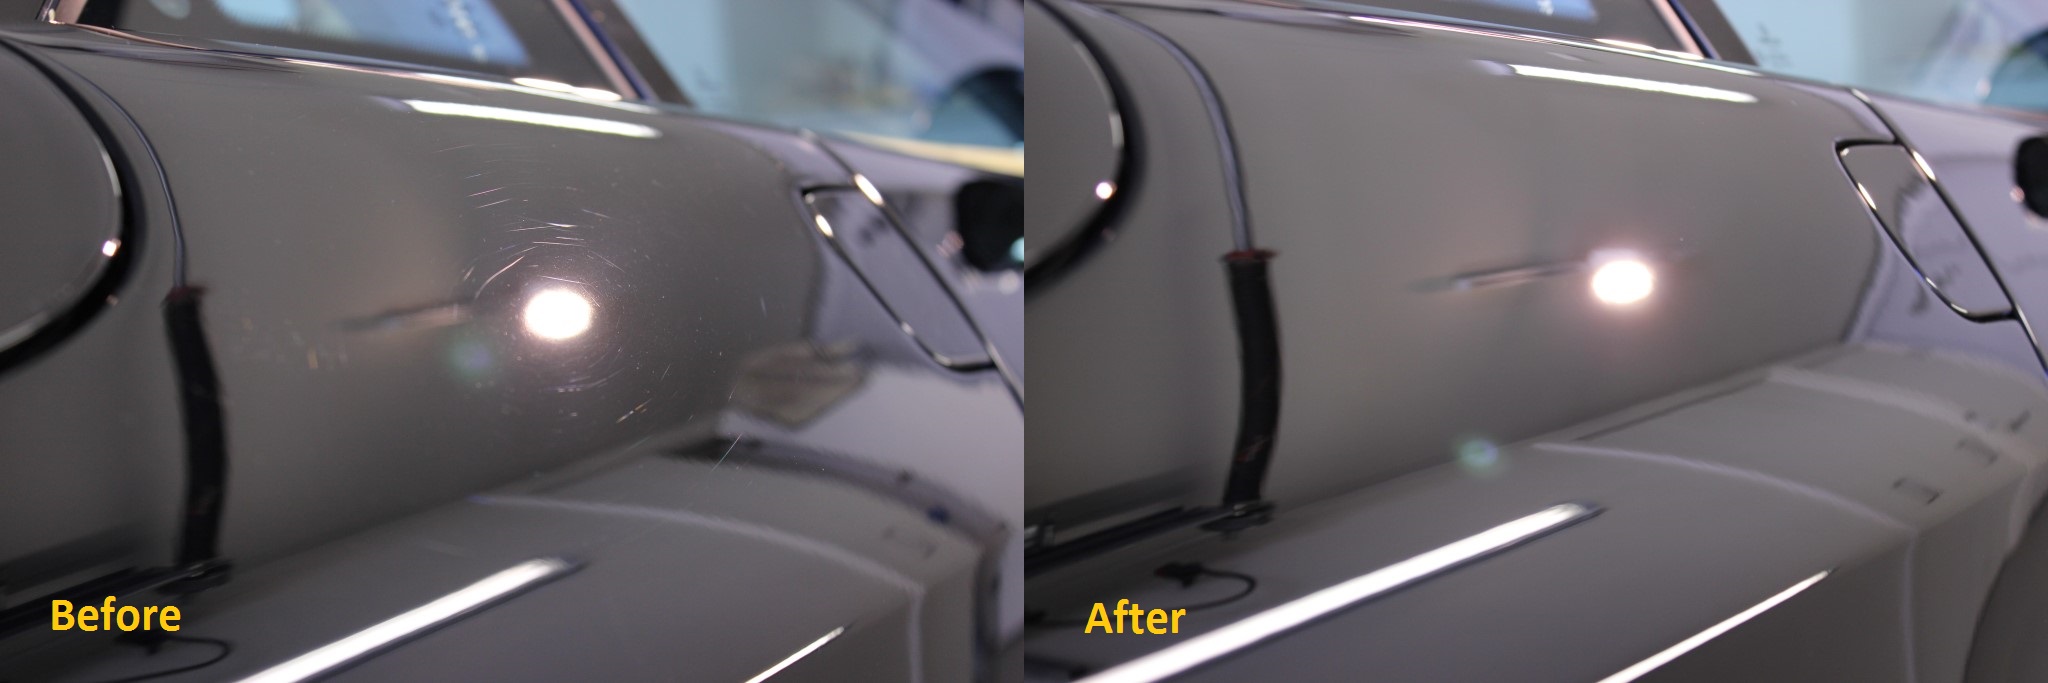

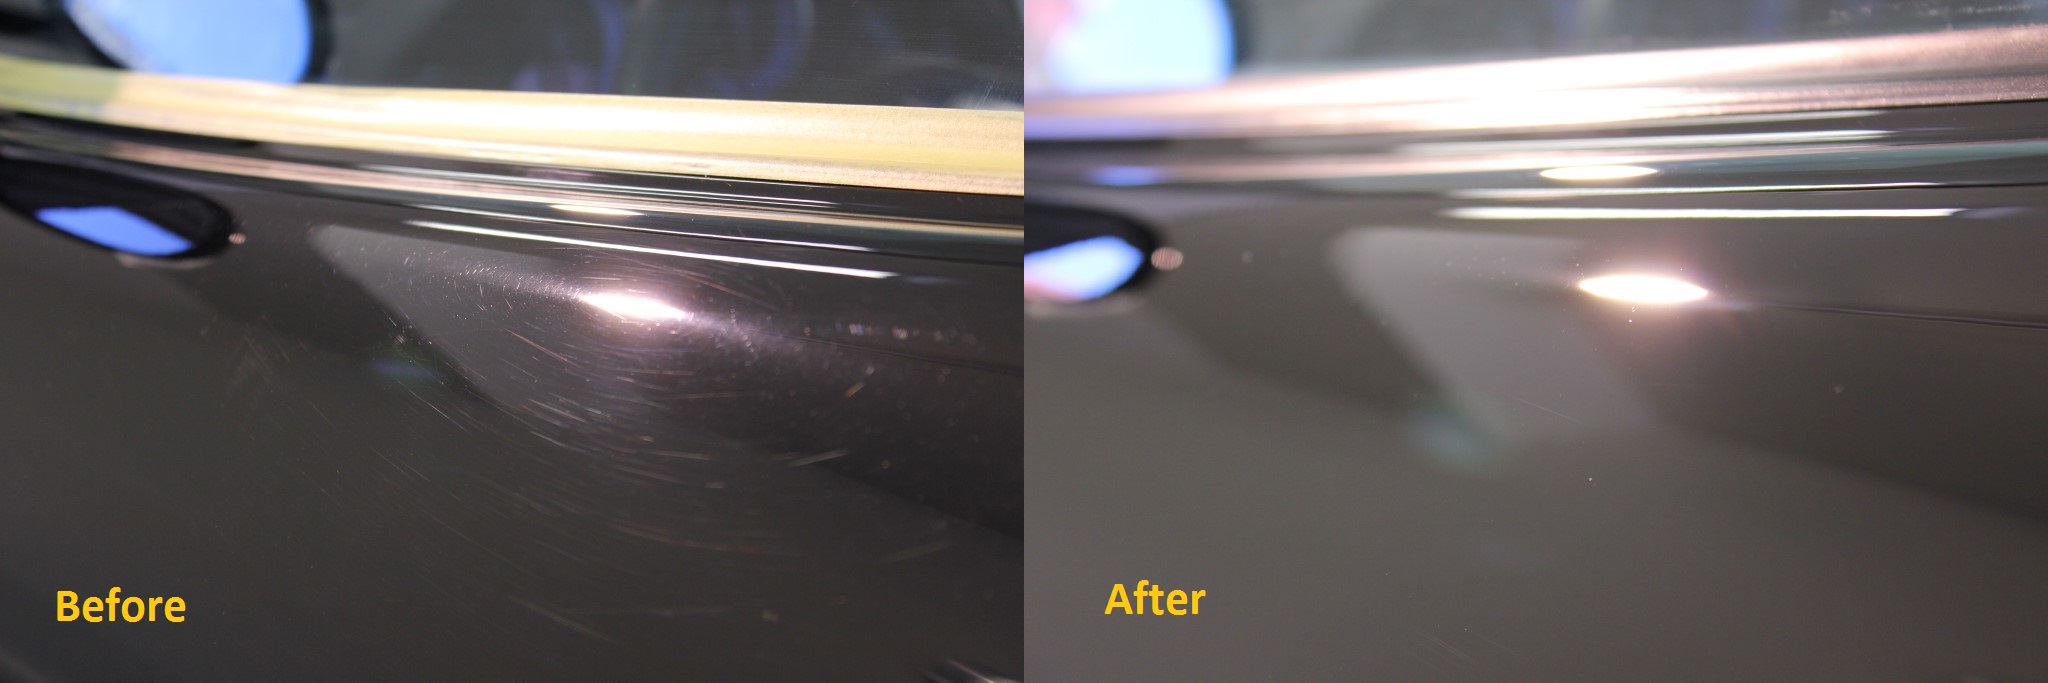
On the doors though there was some quite deep marring in areas

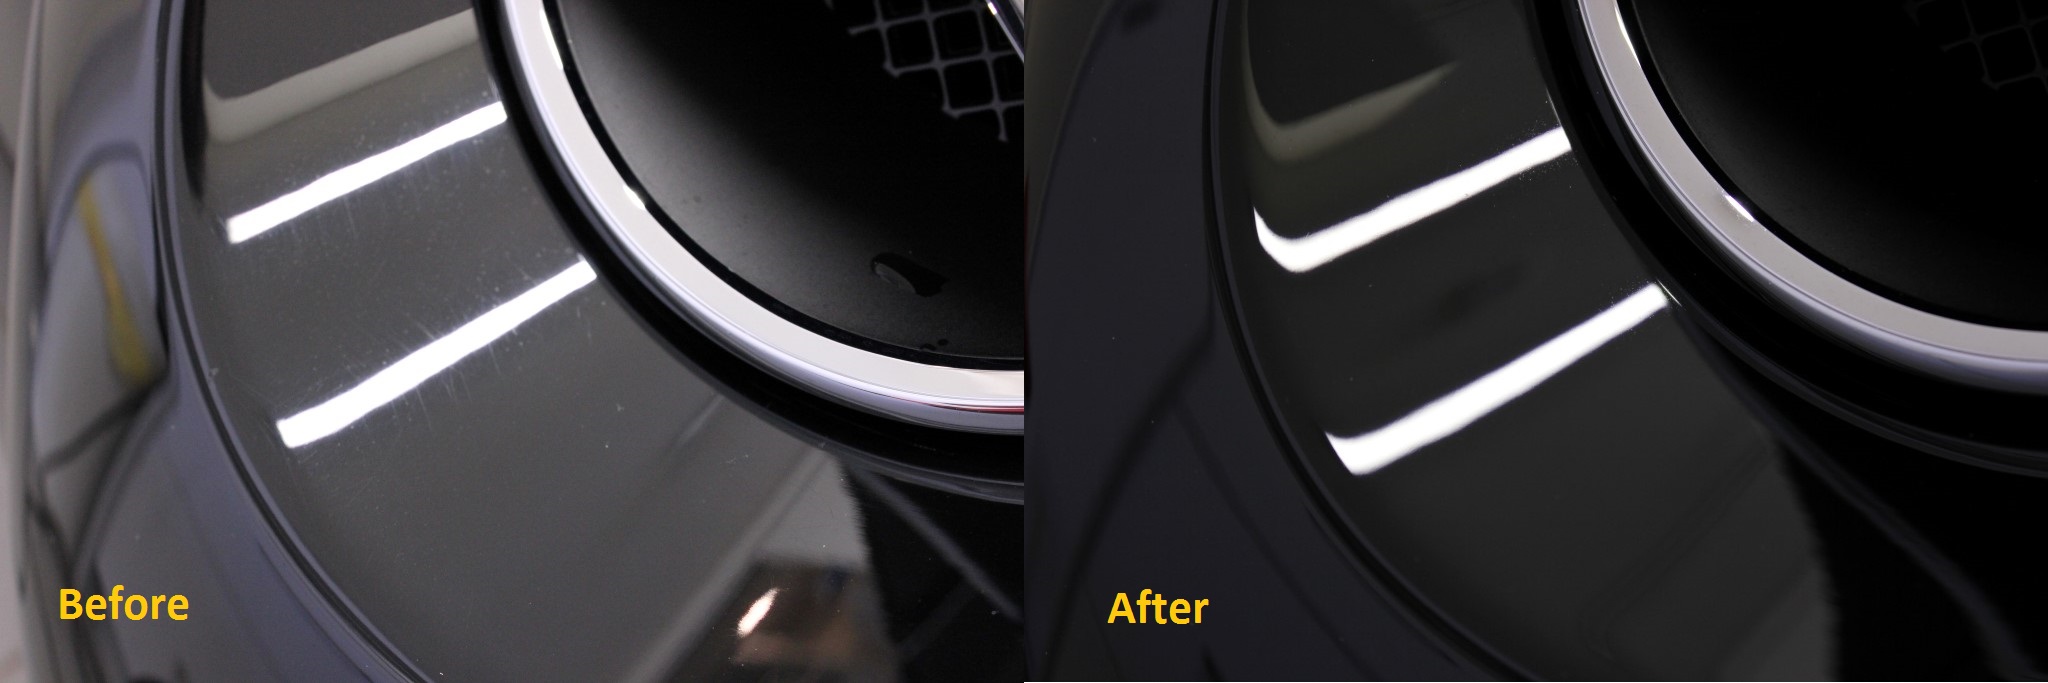
The bonnet was half covered in paint protection film, which was removed a day or two earlier. Unfortunately there was a fair bit of damage and adhesive residue left behind
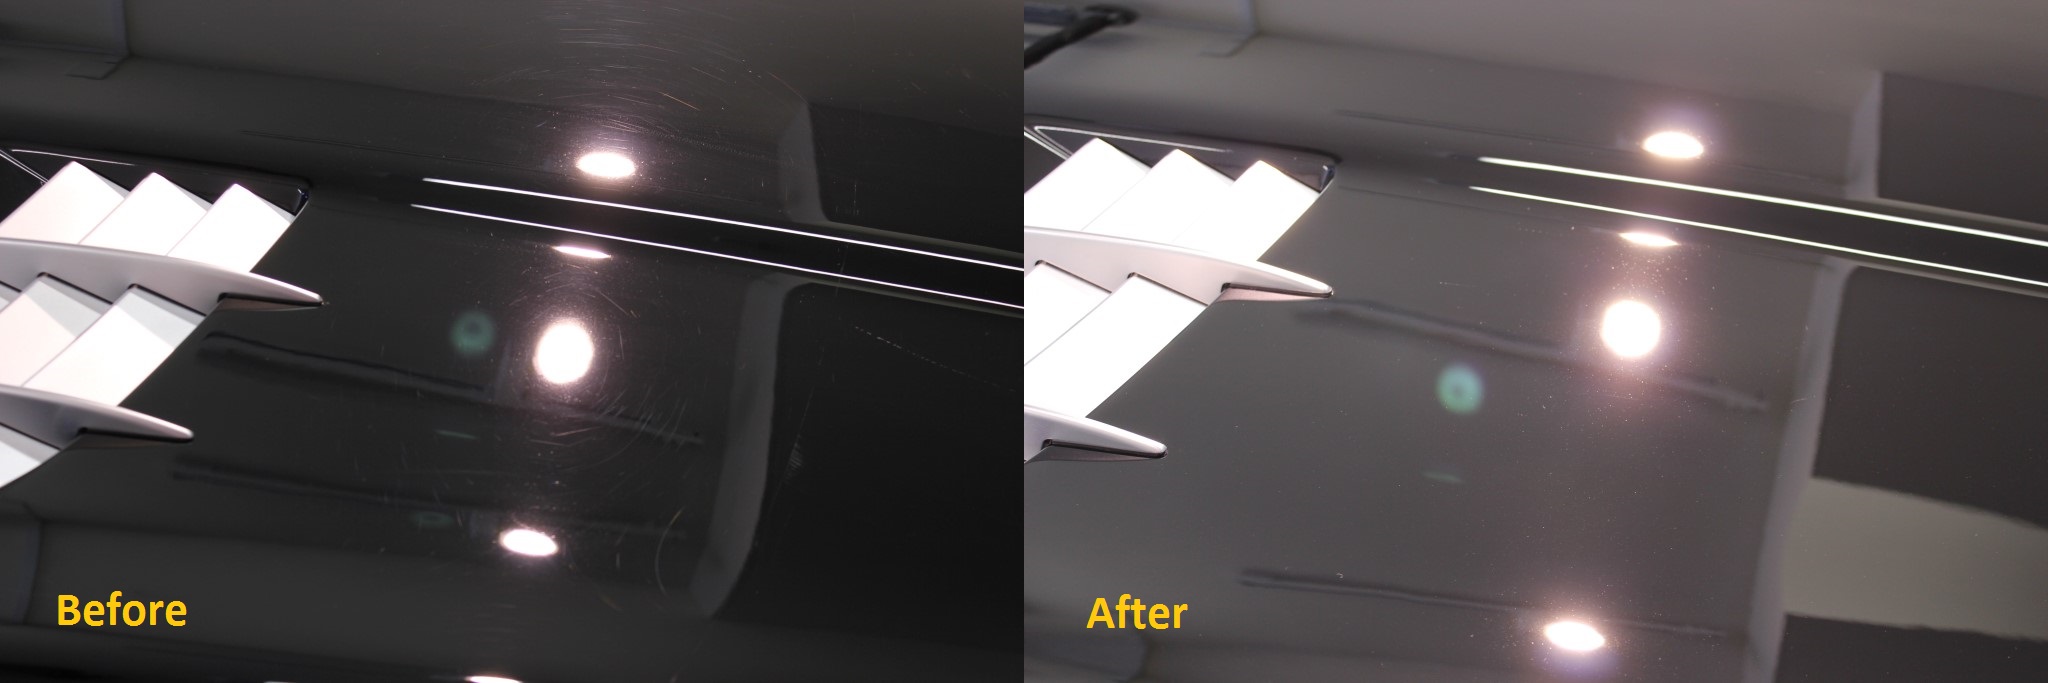
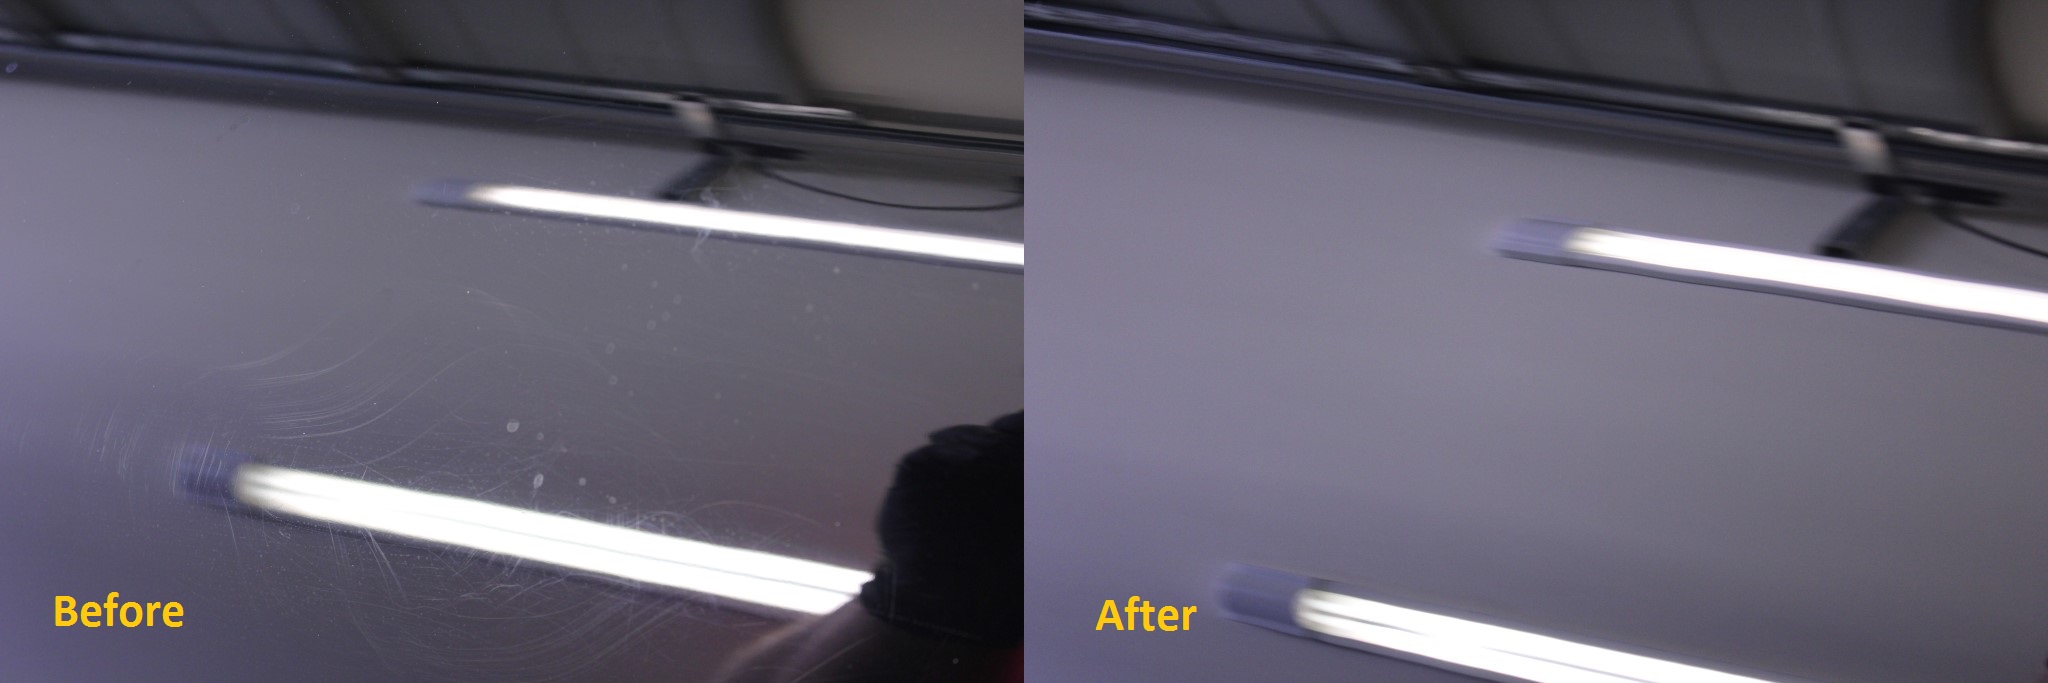
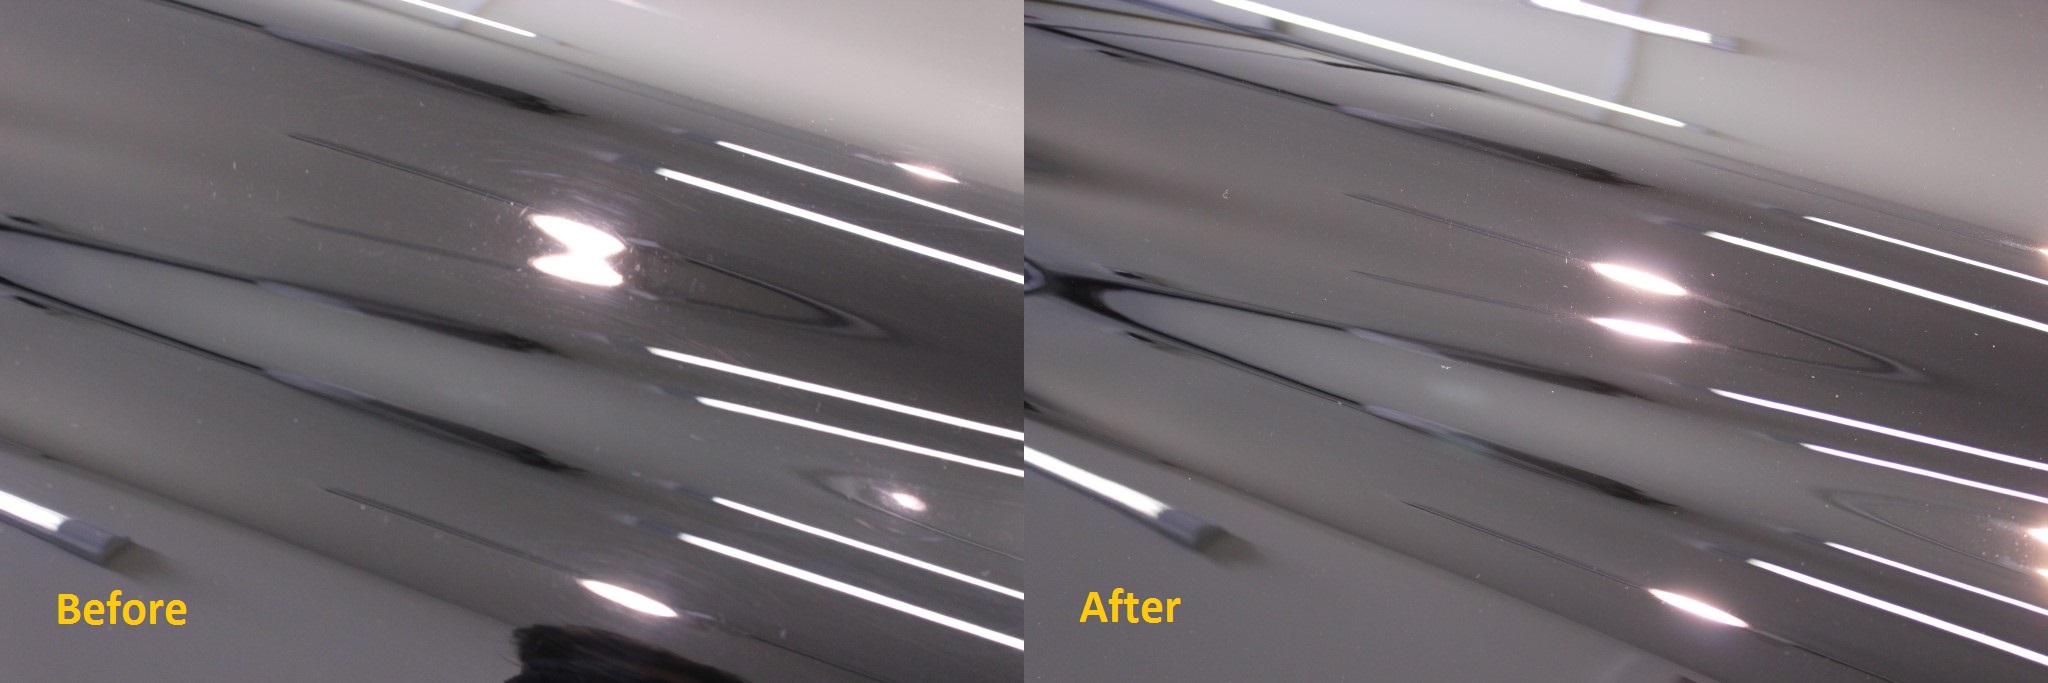
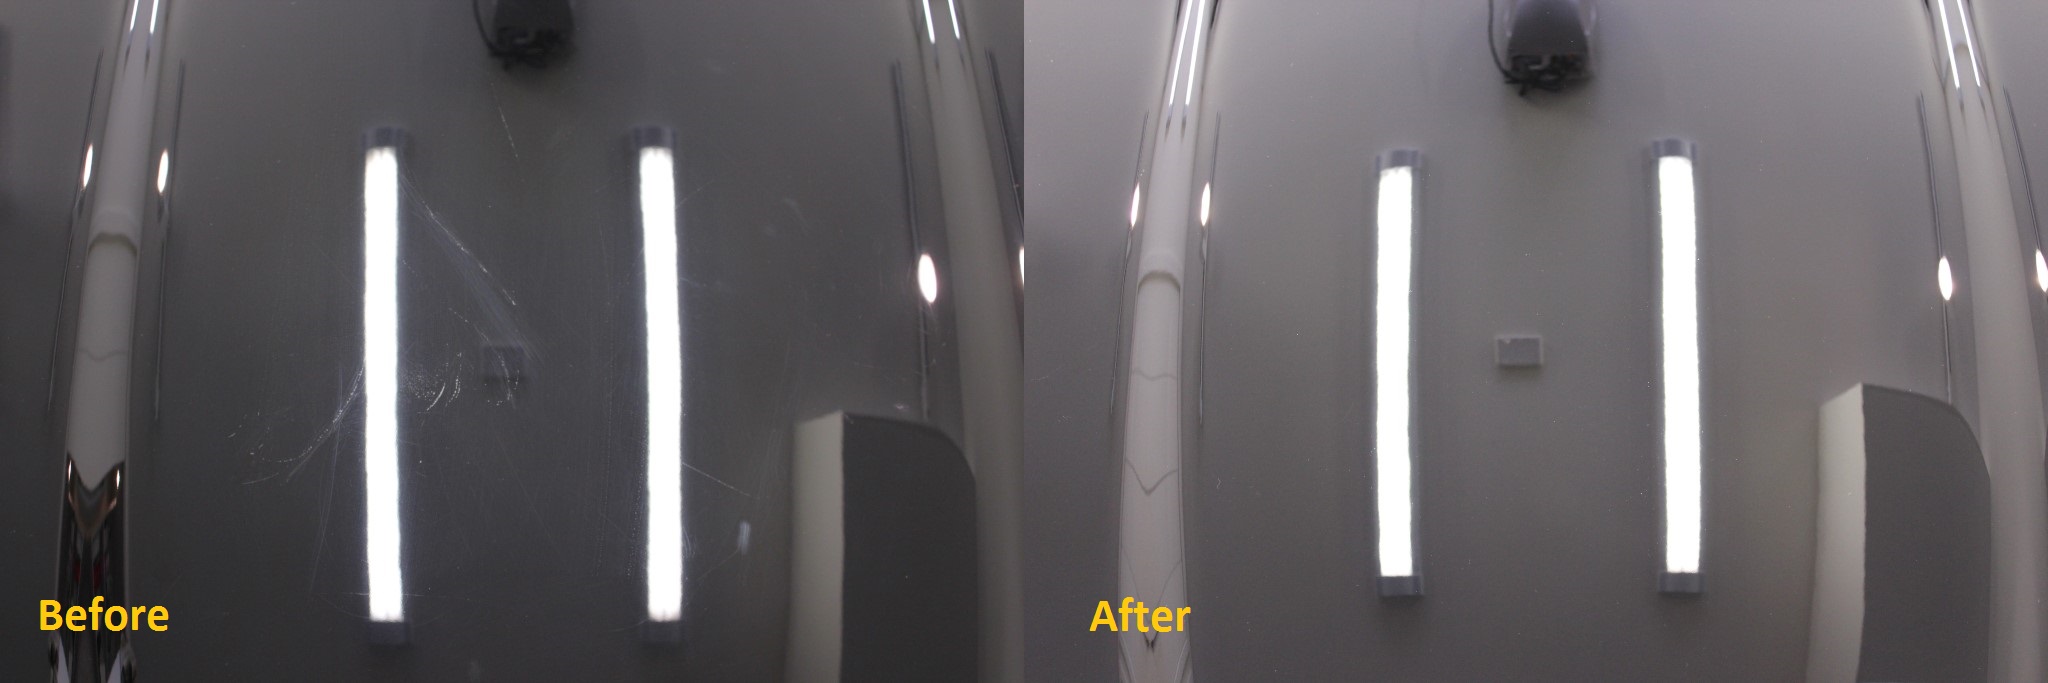
More swirling. Deeper this time
More adhesive residue which had to be carefully taken off with naphtha-based solvent prior to correction.

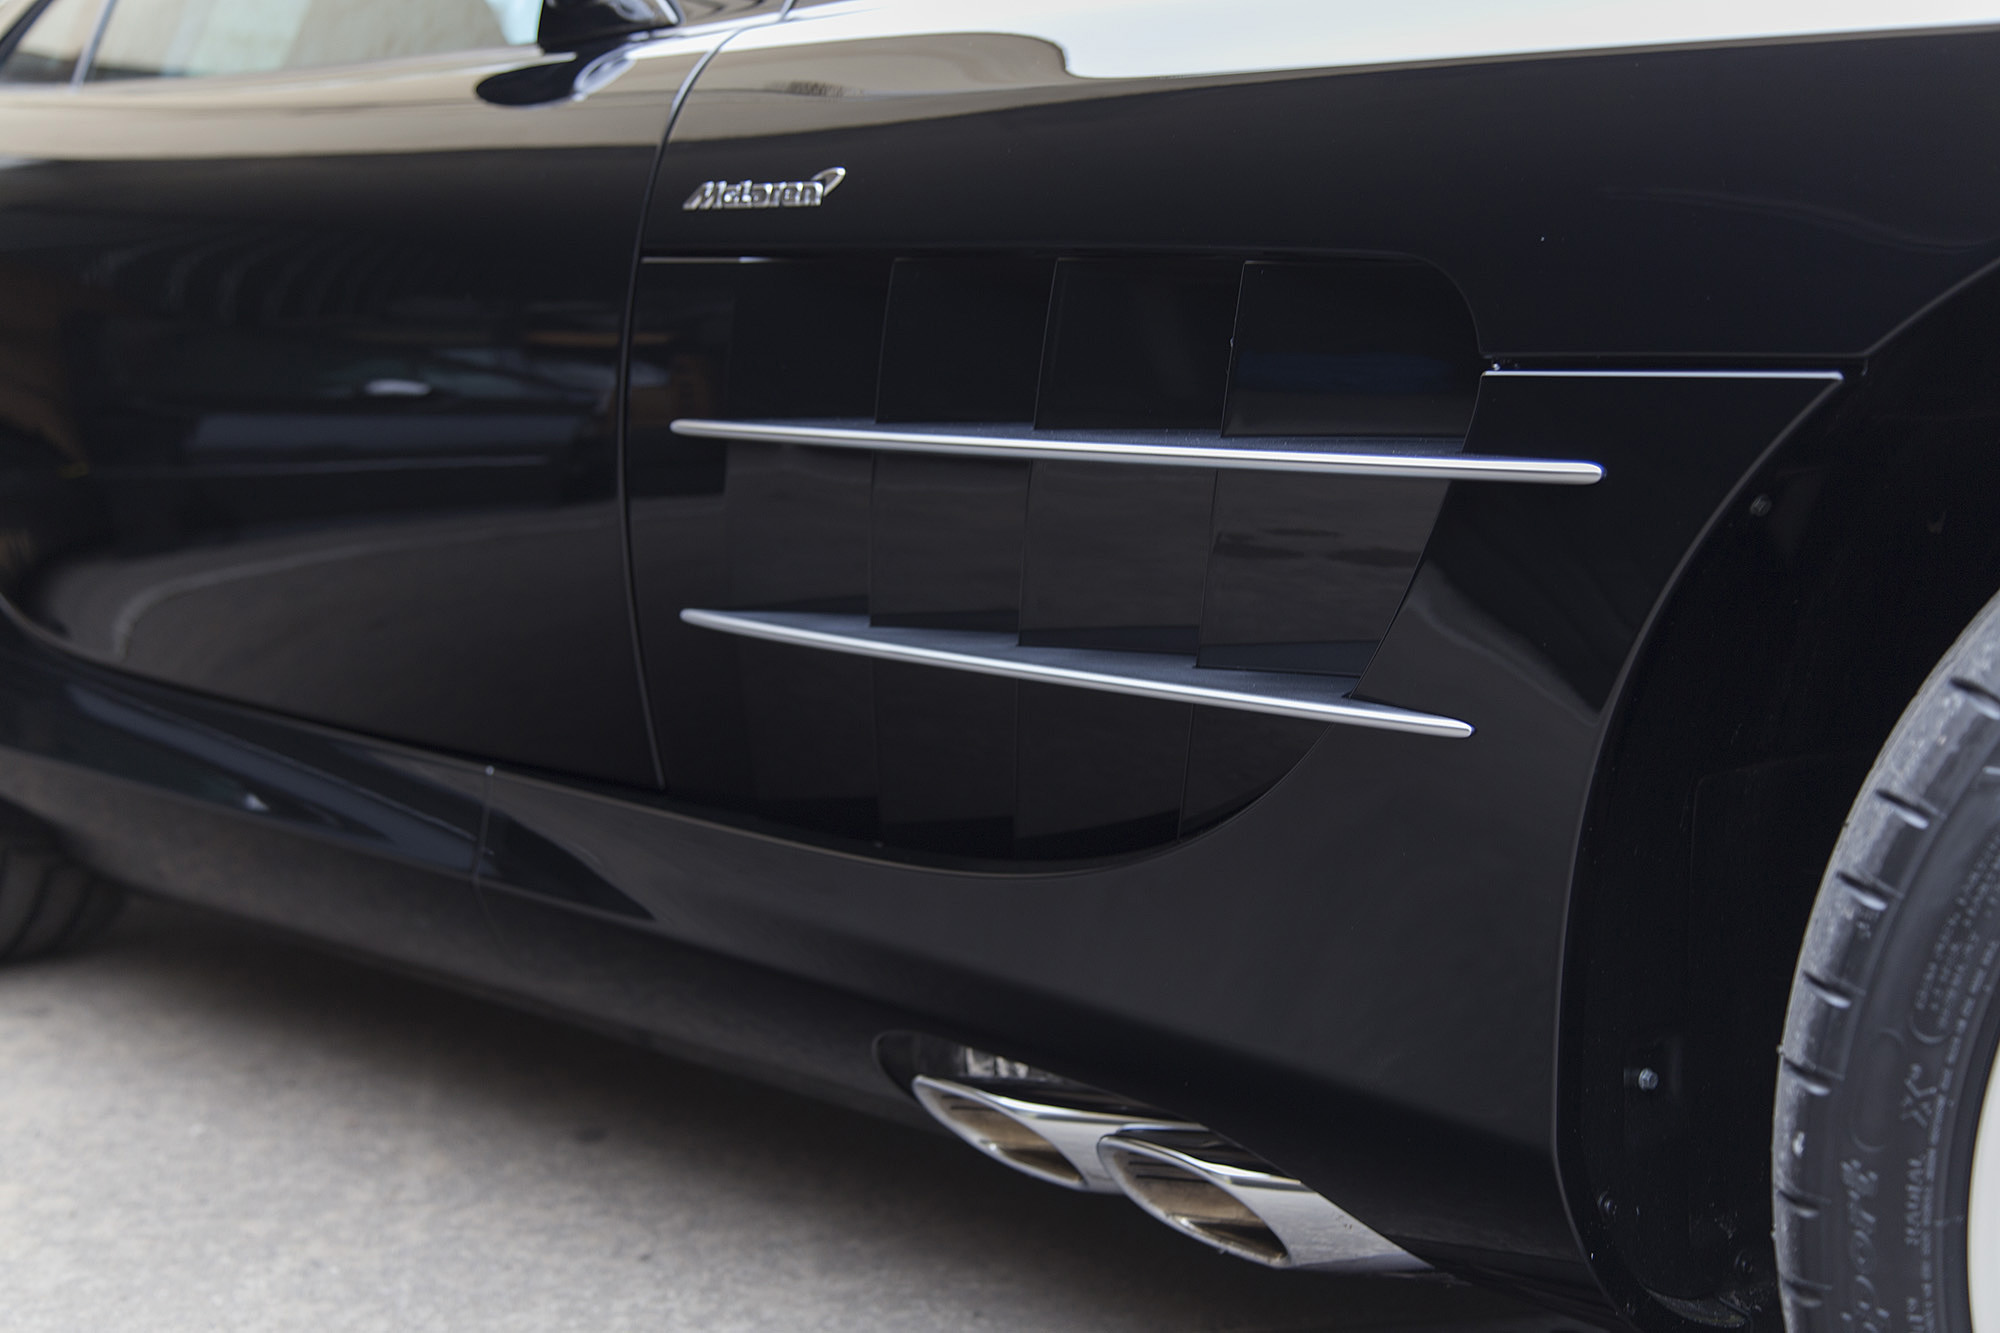
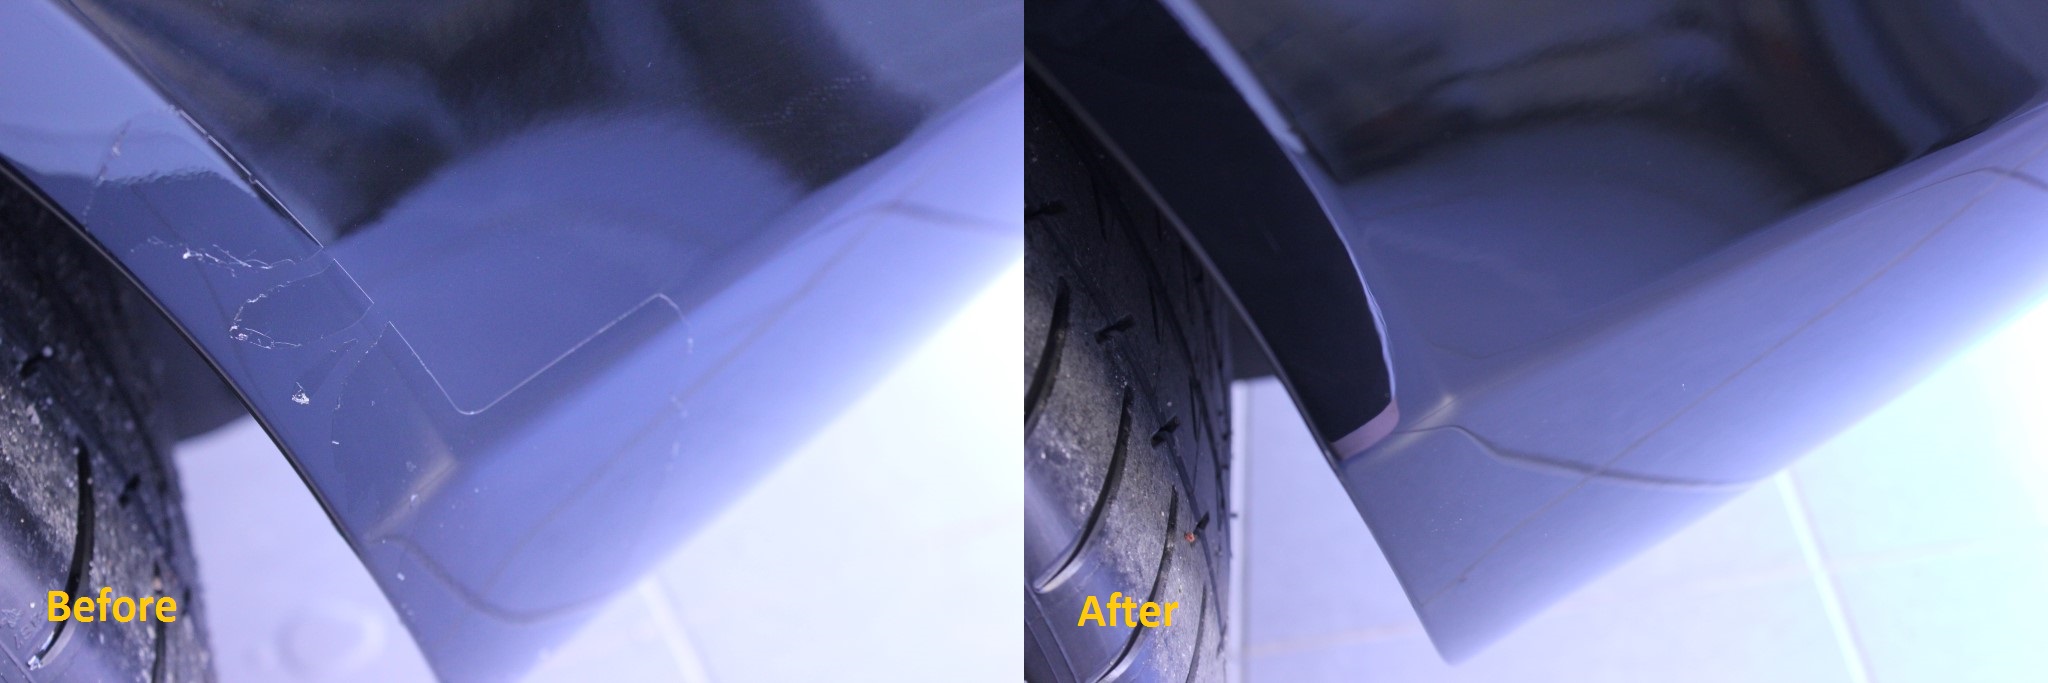
Big chunks of adhesive residue from where film was removed from the sides of the car also. This really should have been removed by the person who removed the film in the first place. Not cool.


Film outline and also swirling that was obviously pre-existing under the paint protection film

More swirling. Some quite deep


Film residue...again
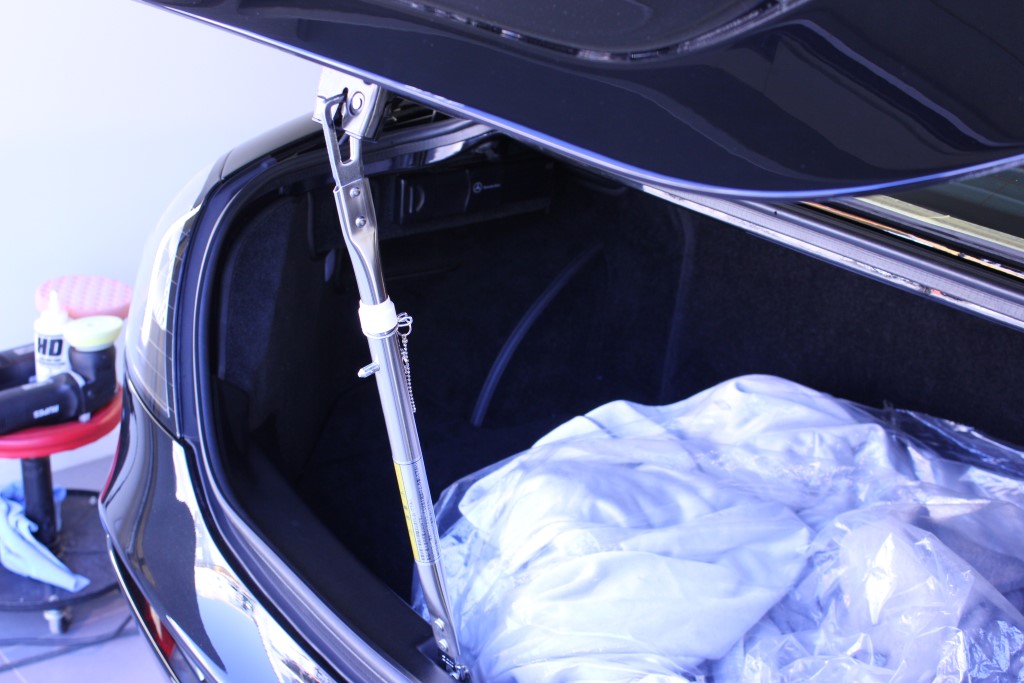
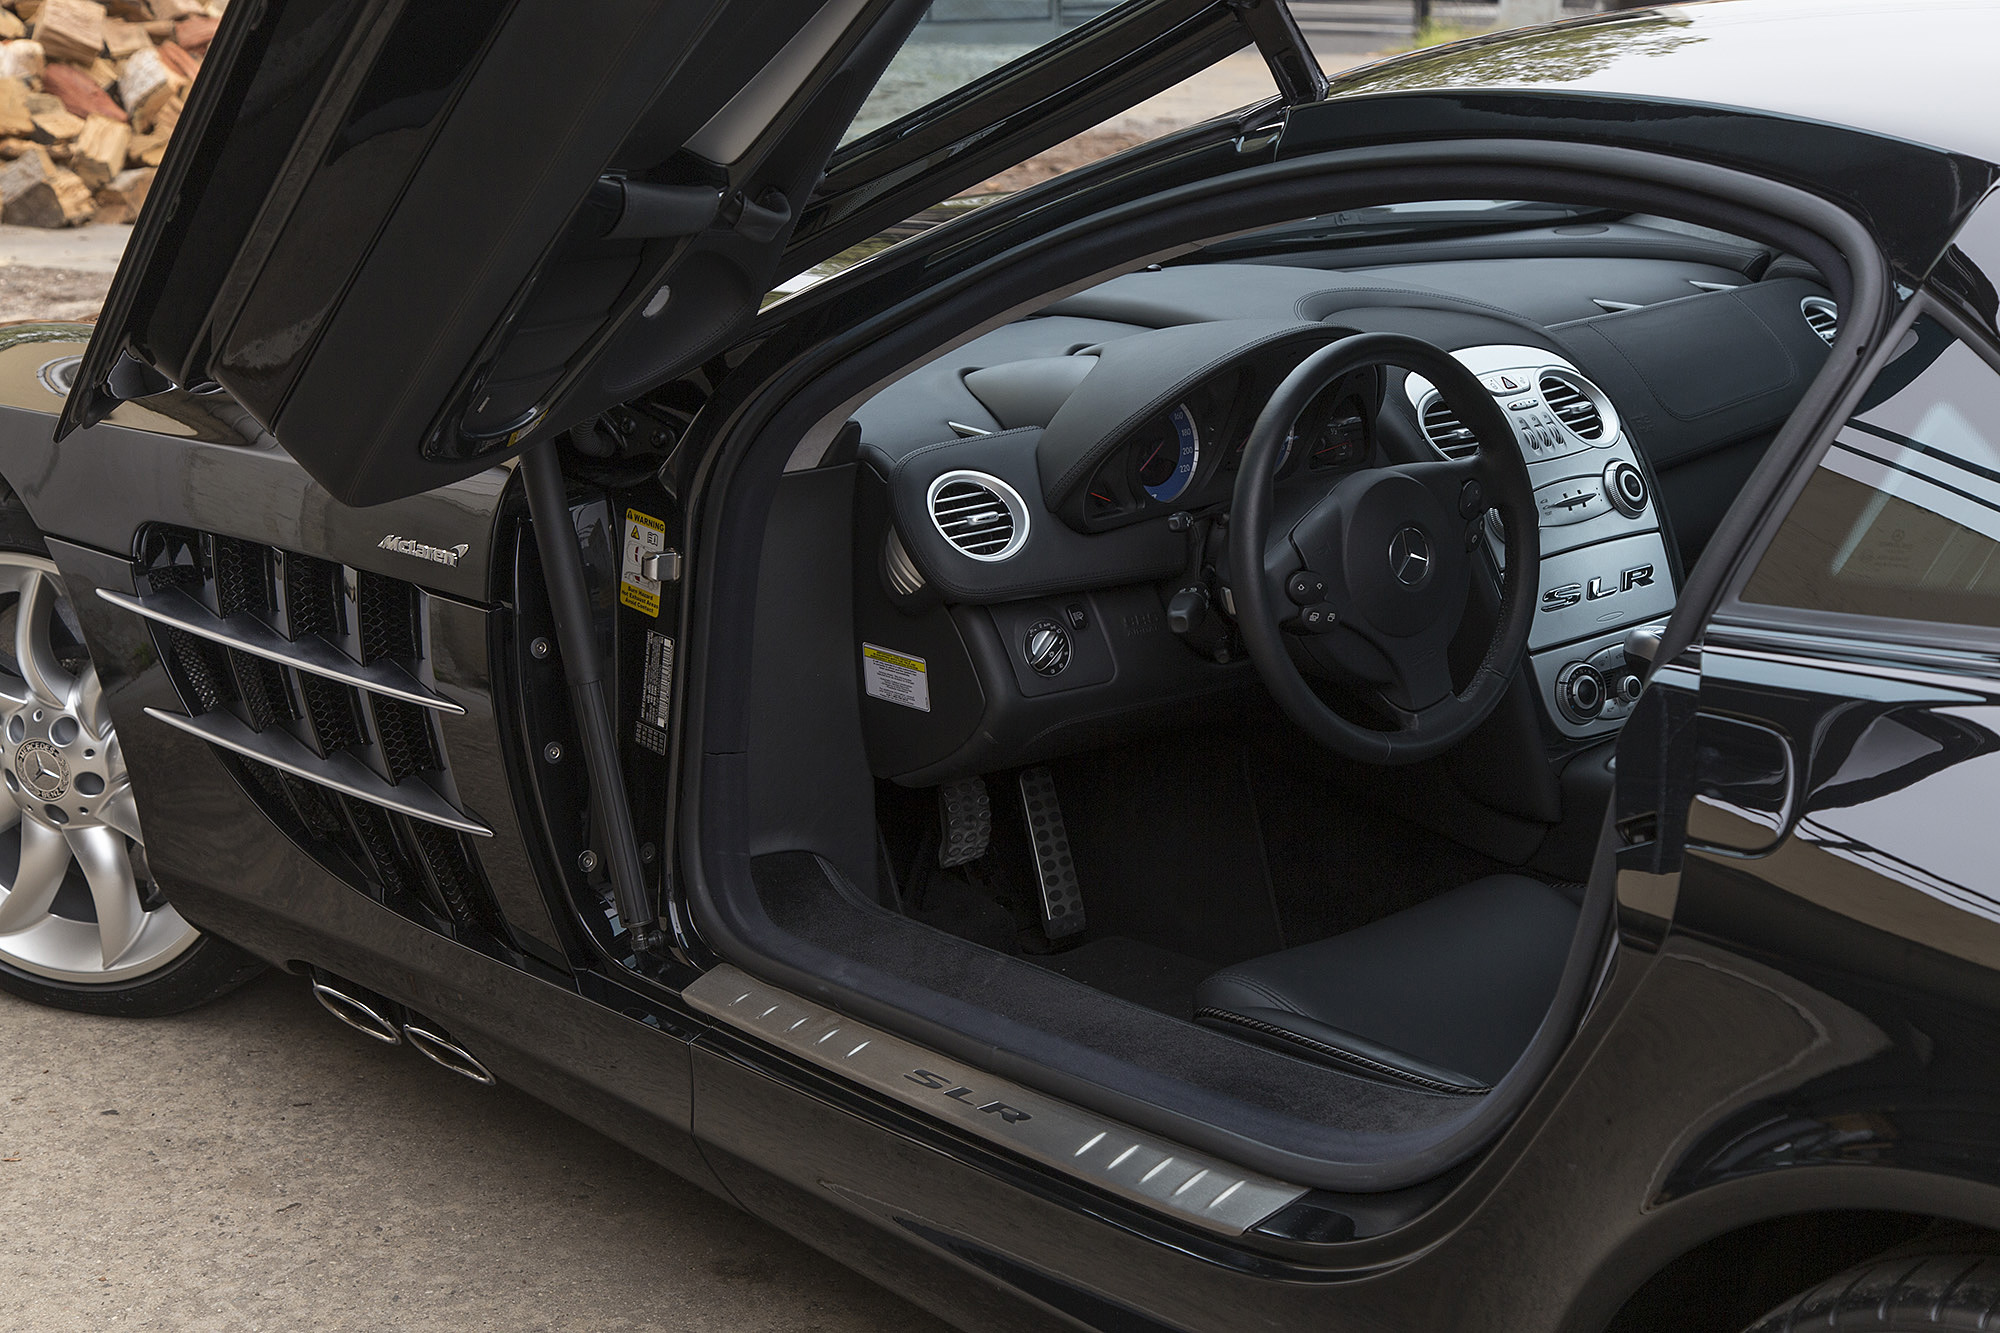
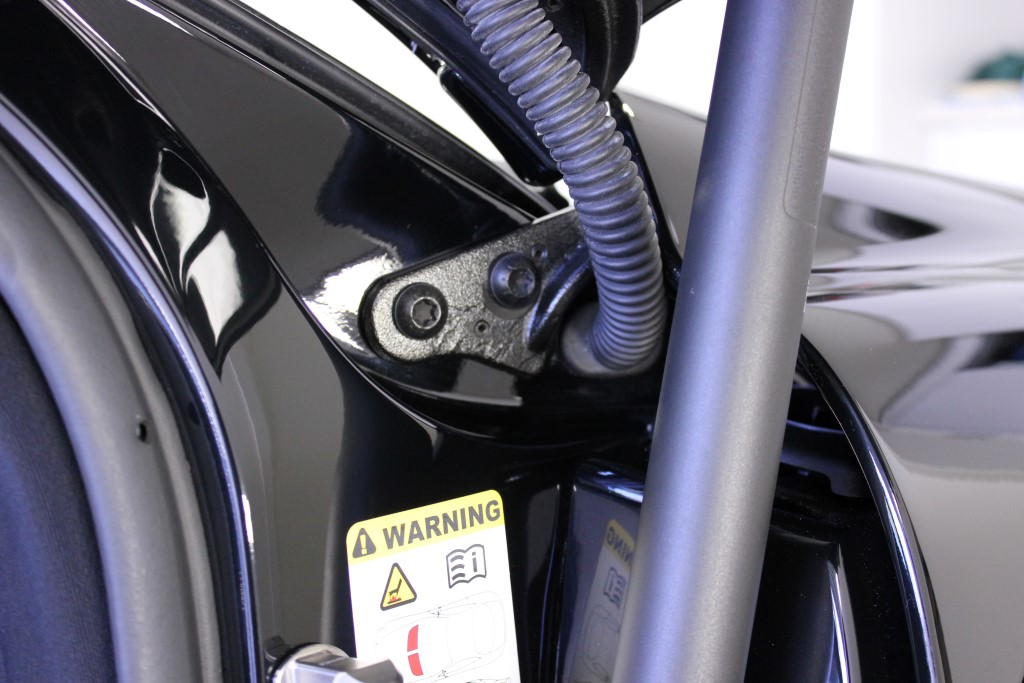
The Kamikaze Door Gate Stopper earning its keep. This has paid for itself several times over in convenience and brilliant engineering quality.
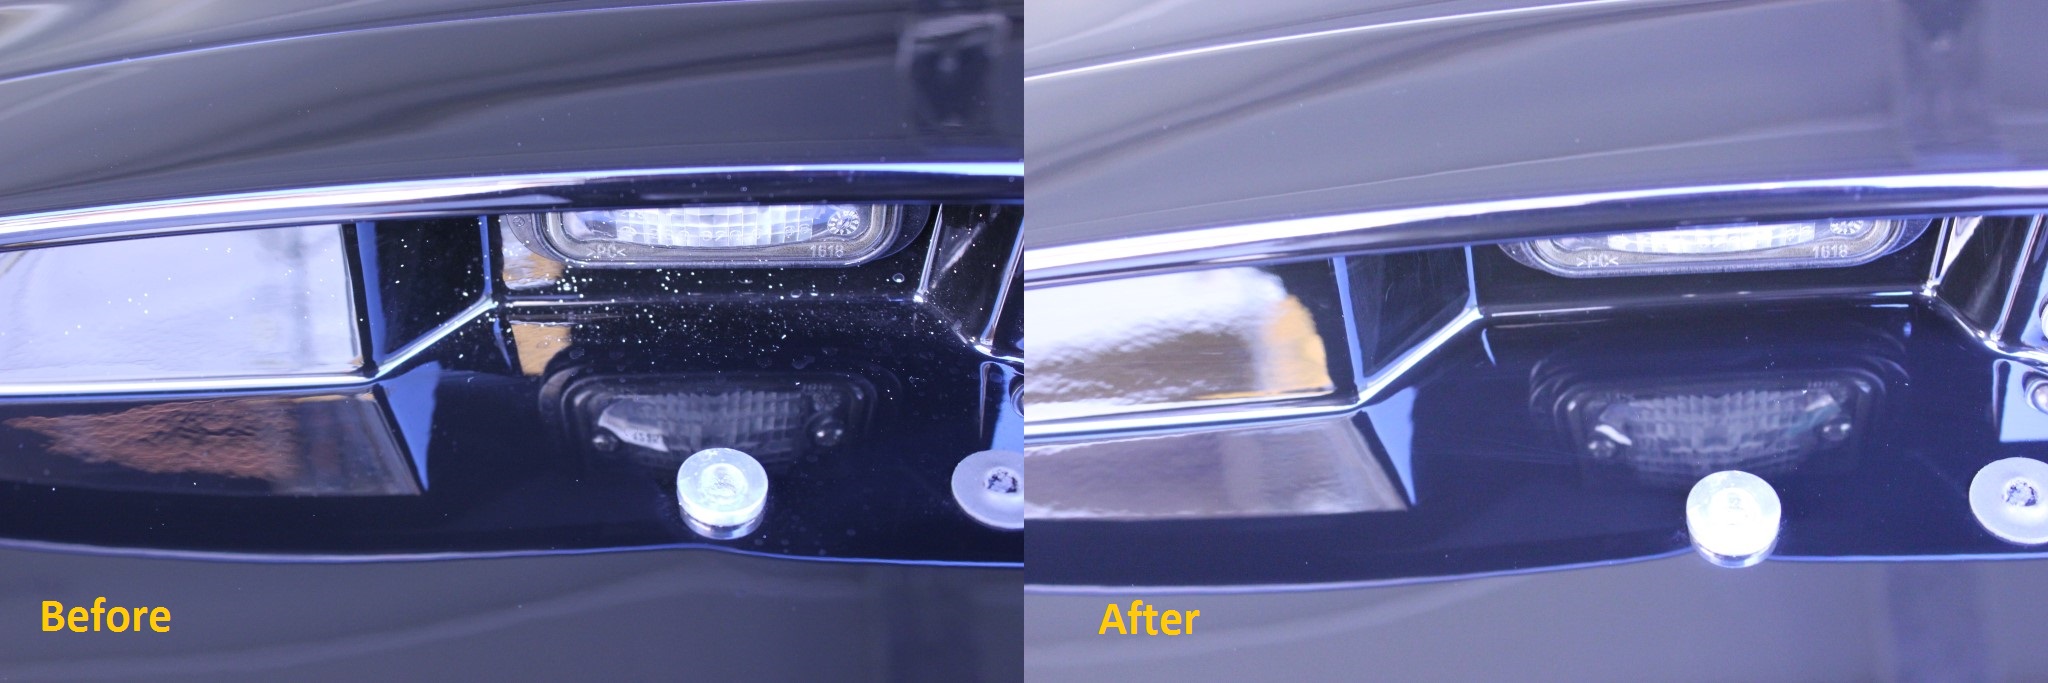
A spray of old polish residue from a previous detail
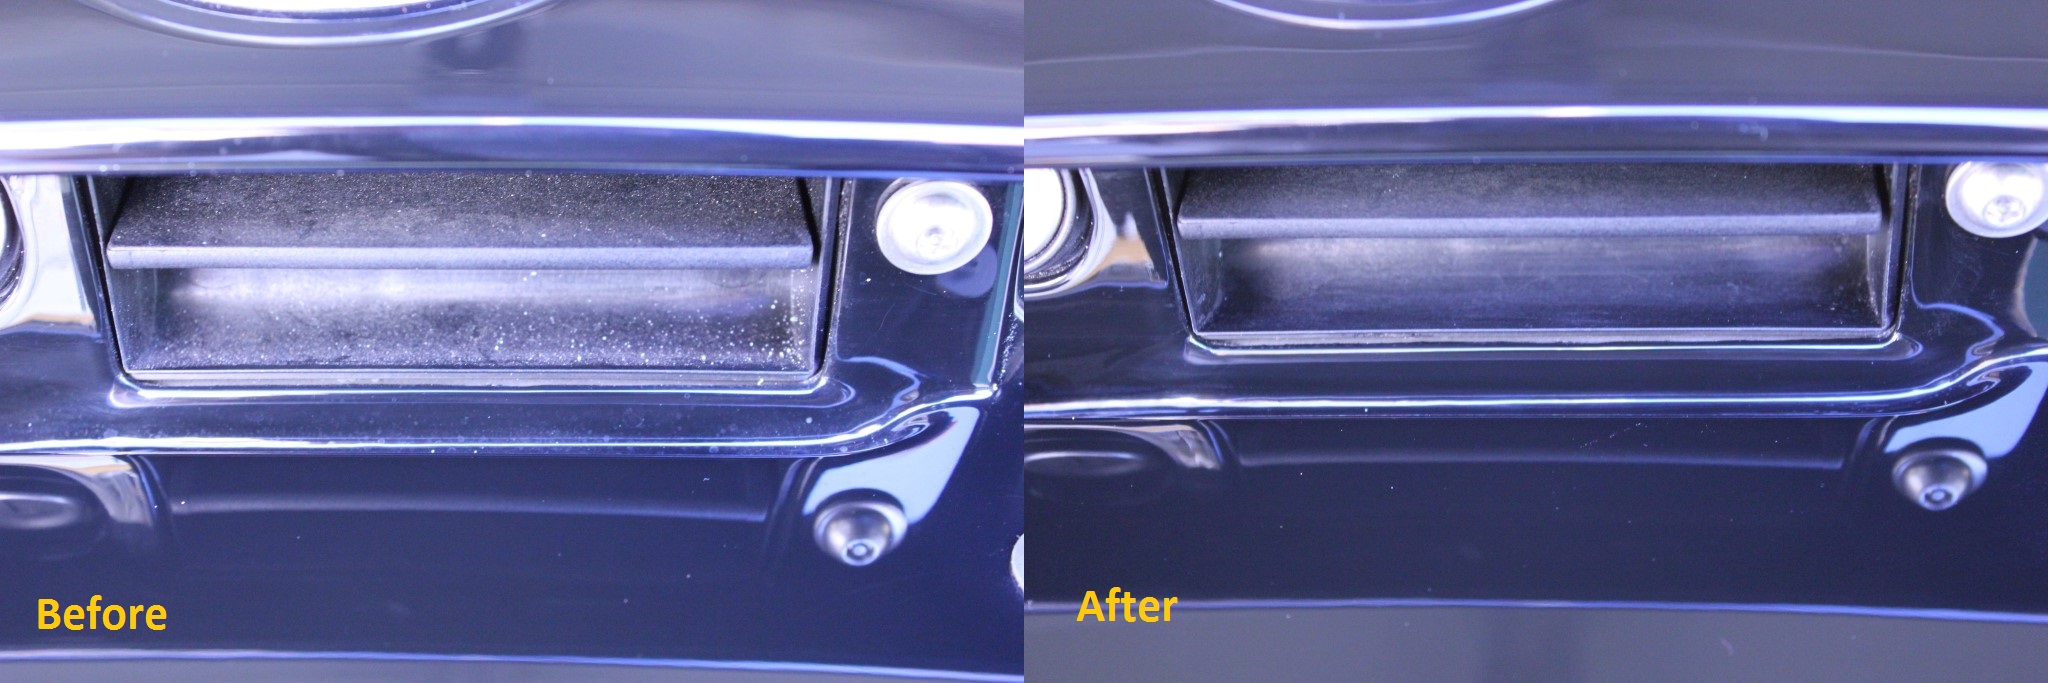
In the boot latch too
Cleaned up
More old polish residue
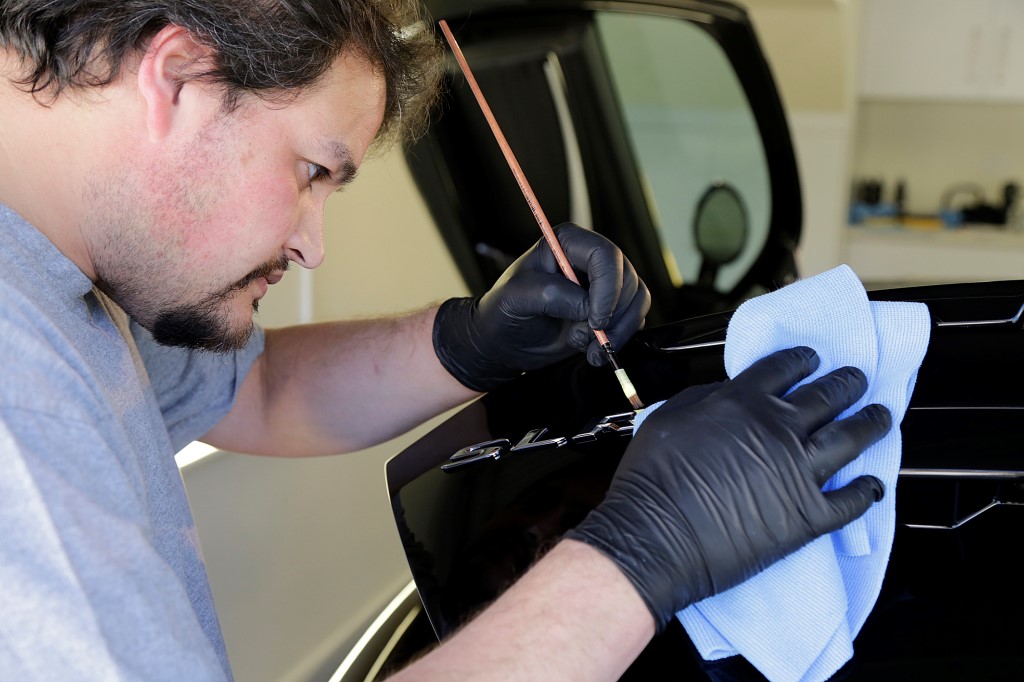
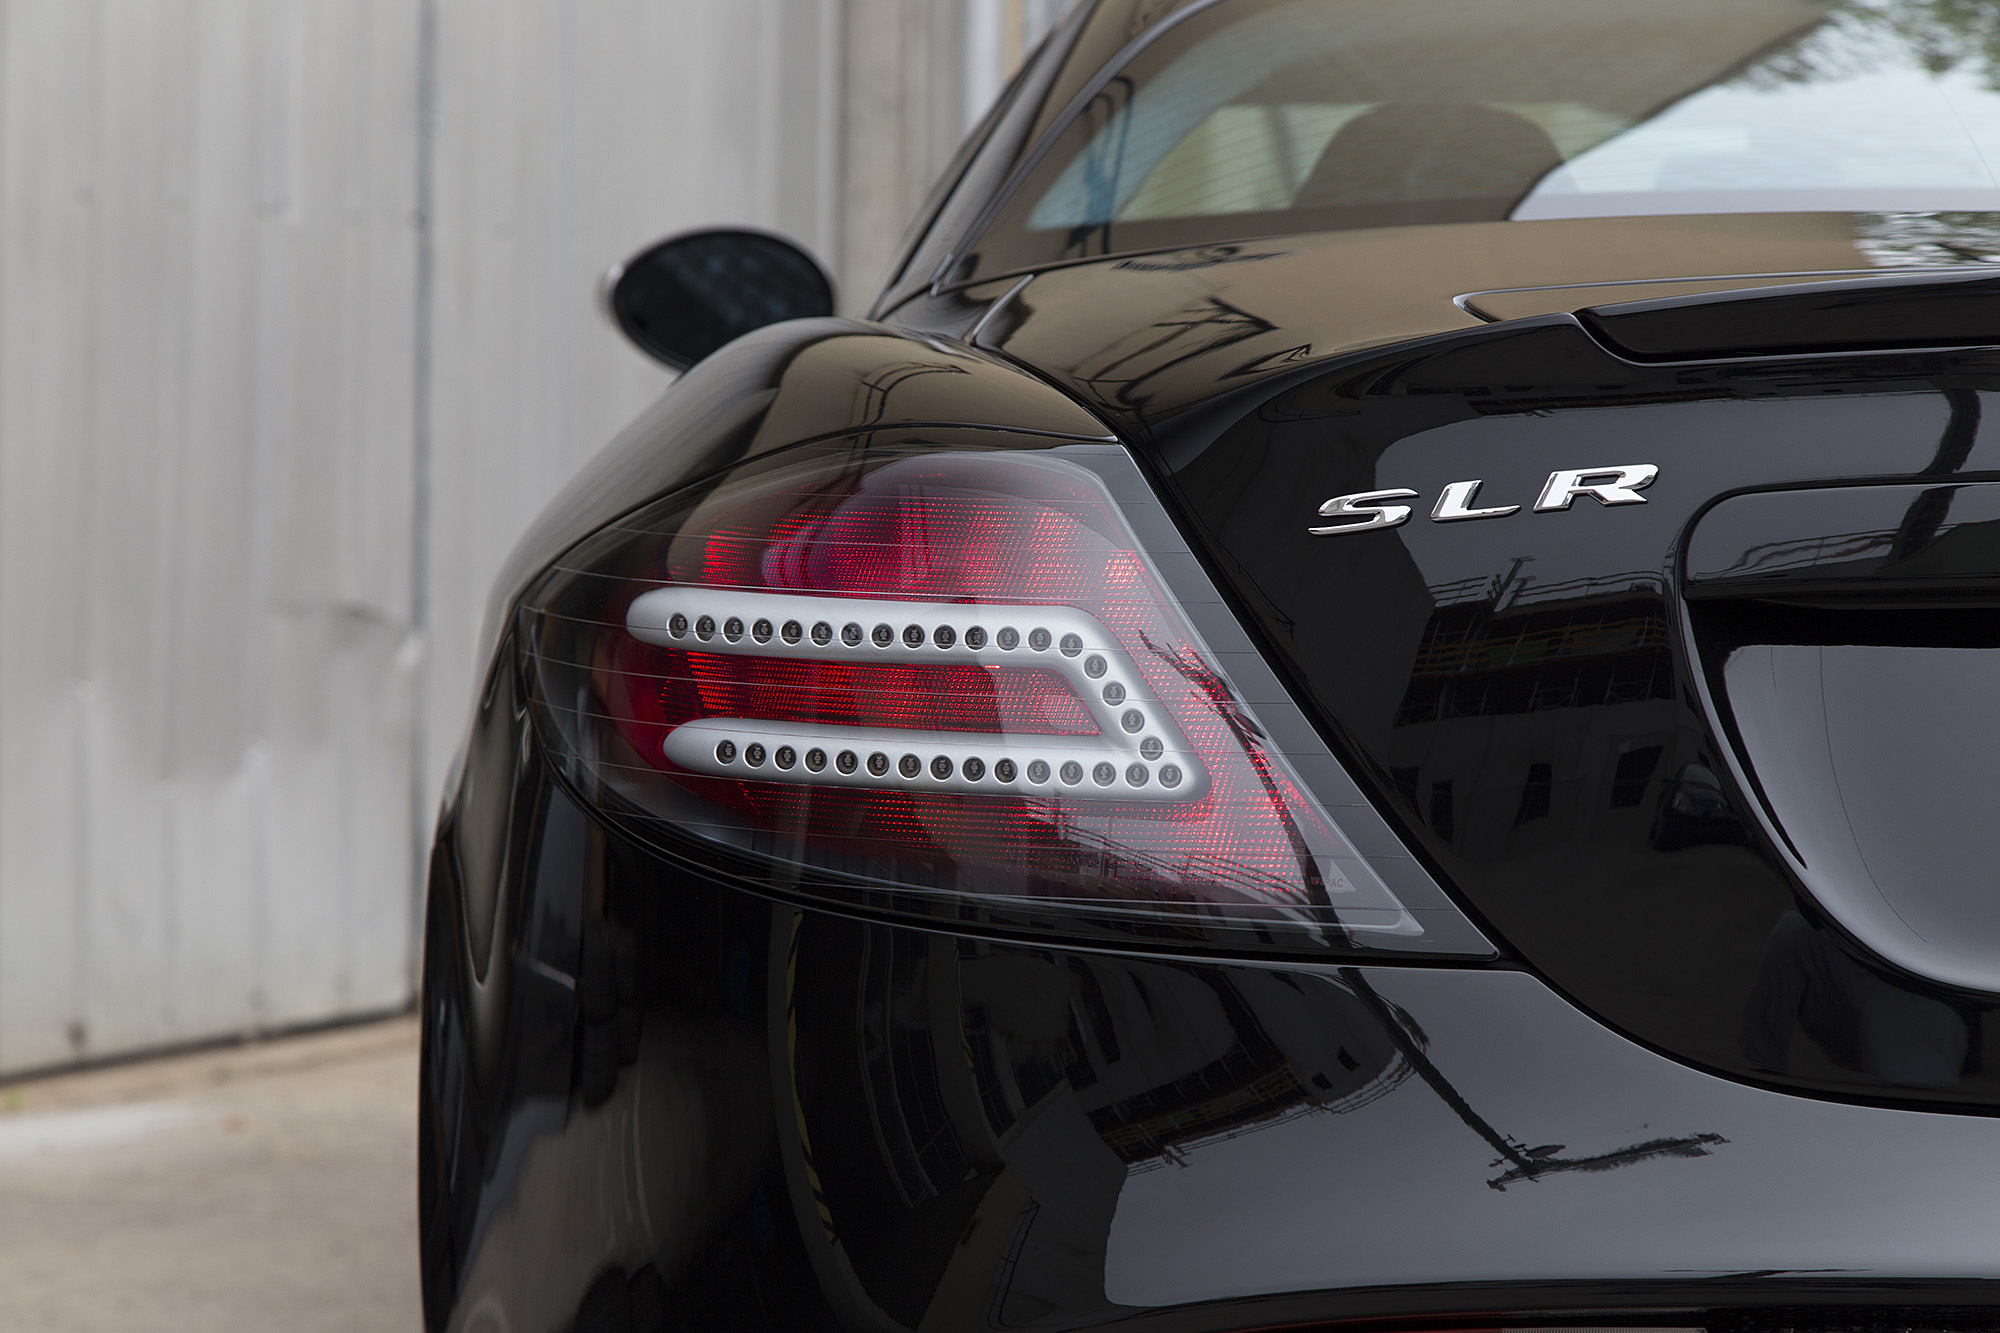
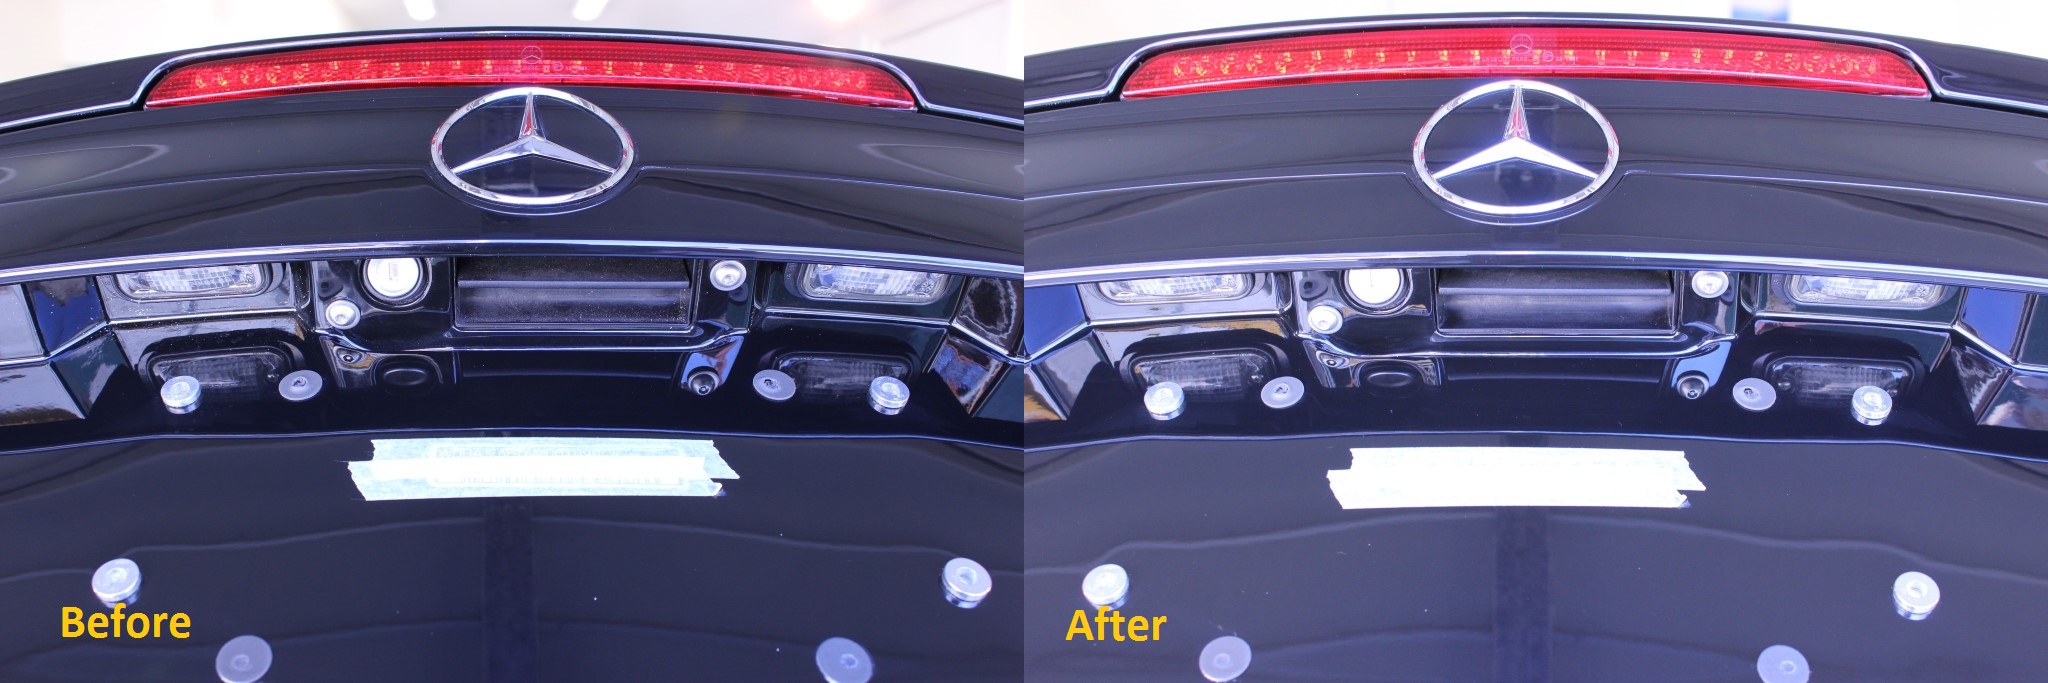
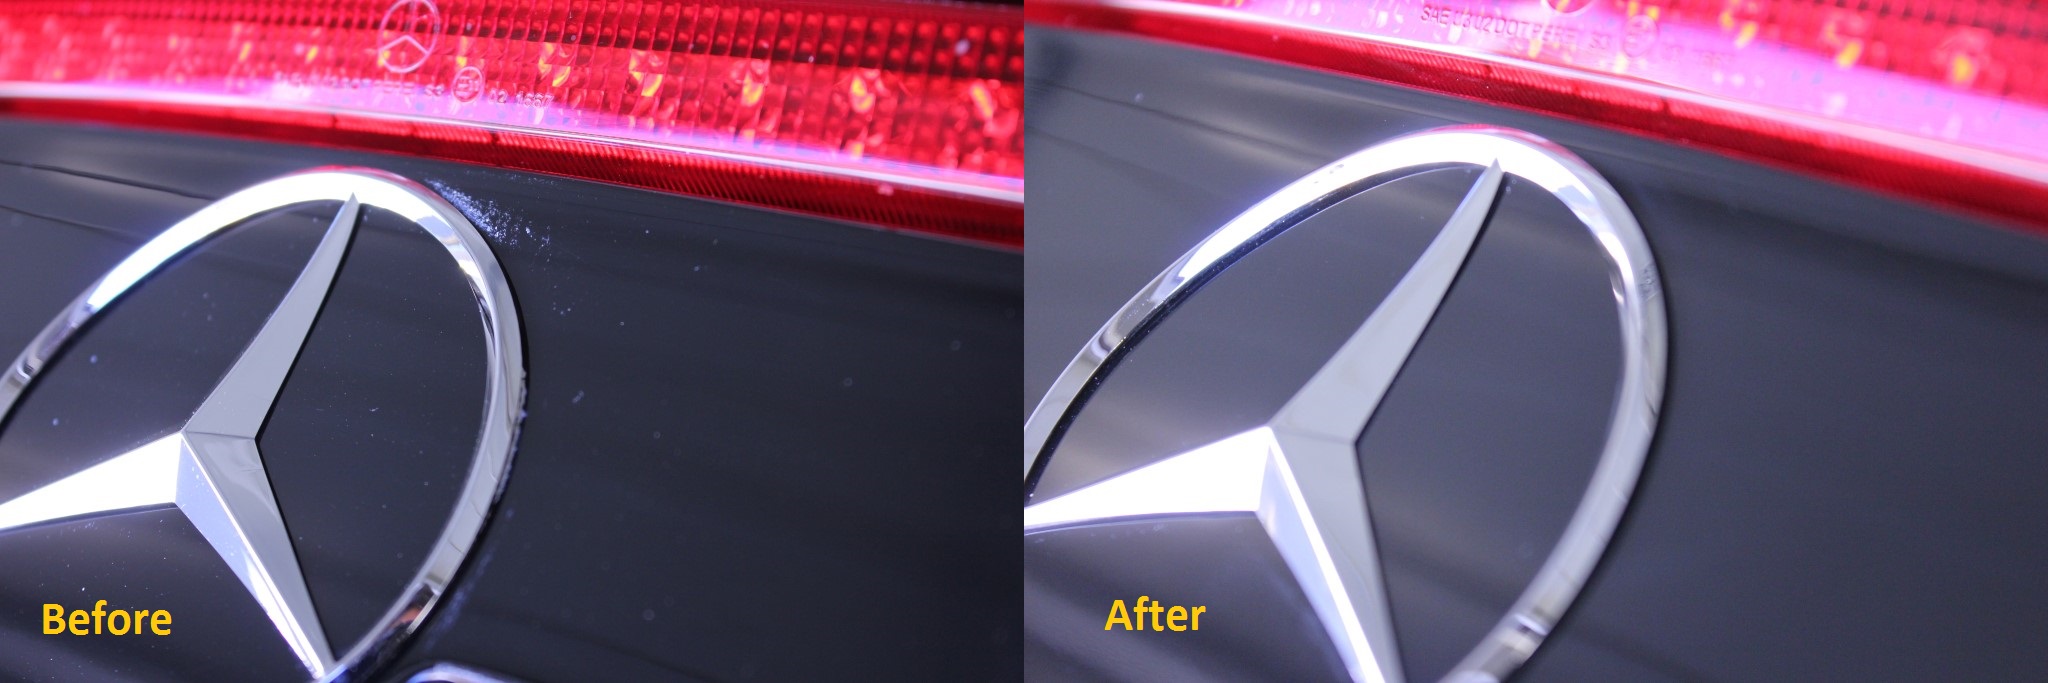
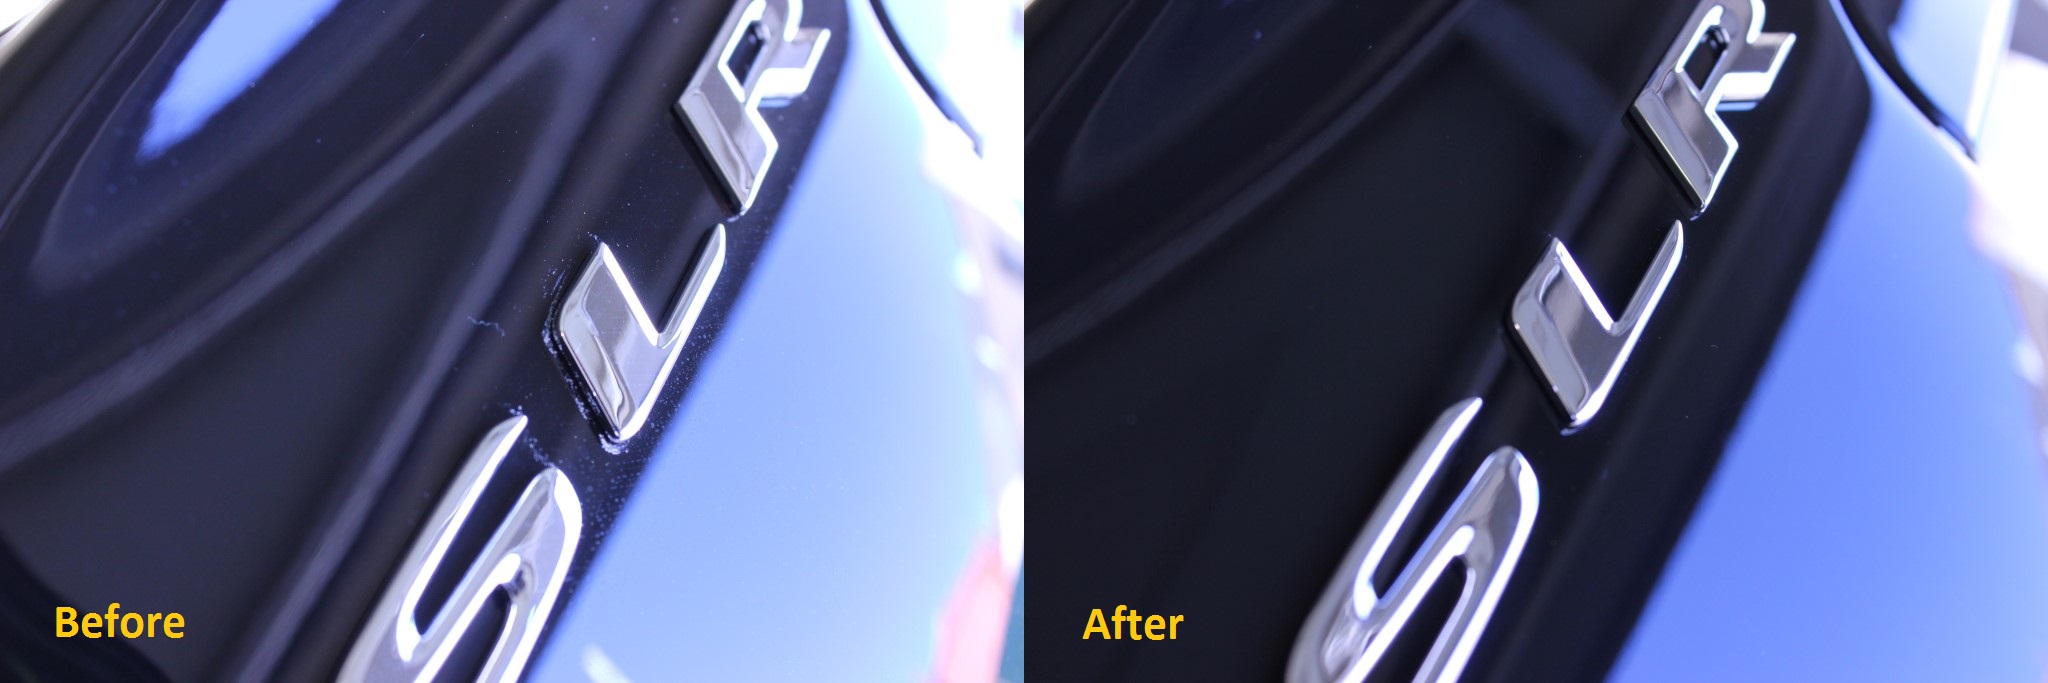
Leigh Kelly, an automotive photographer mate of mine came by to take a few progress and final snaps. I will include some of his un-edited work at the end of the write up Cleaning in the badges to remove old polish residue
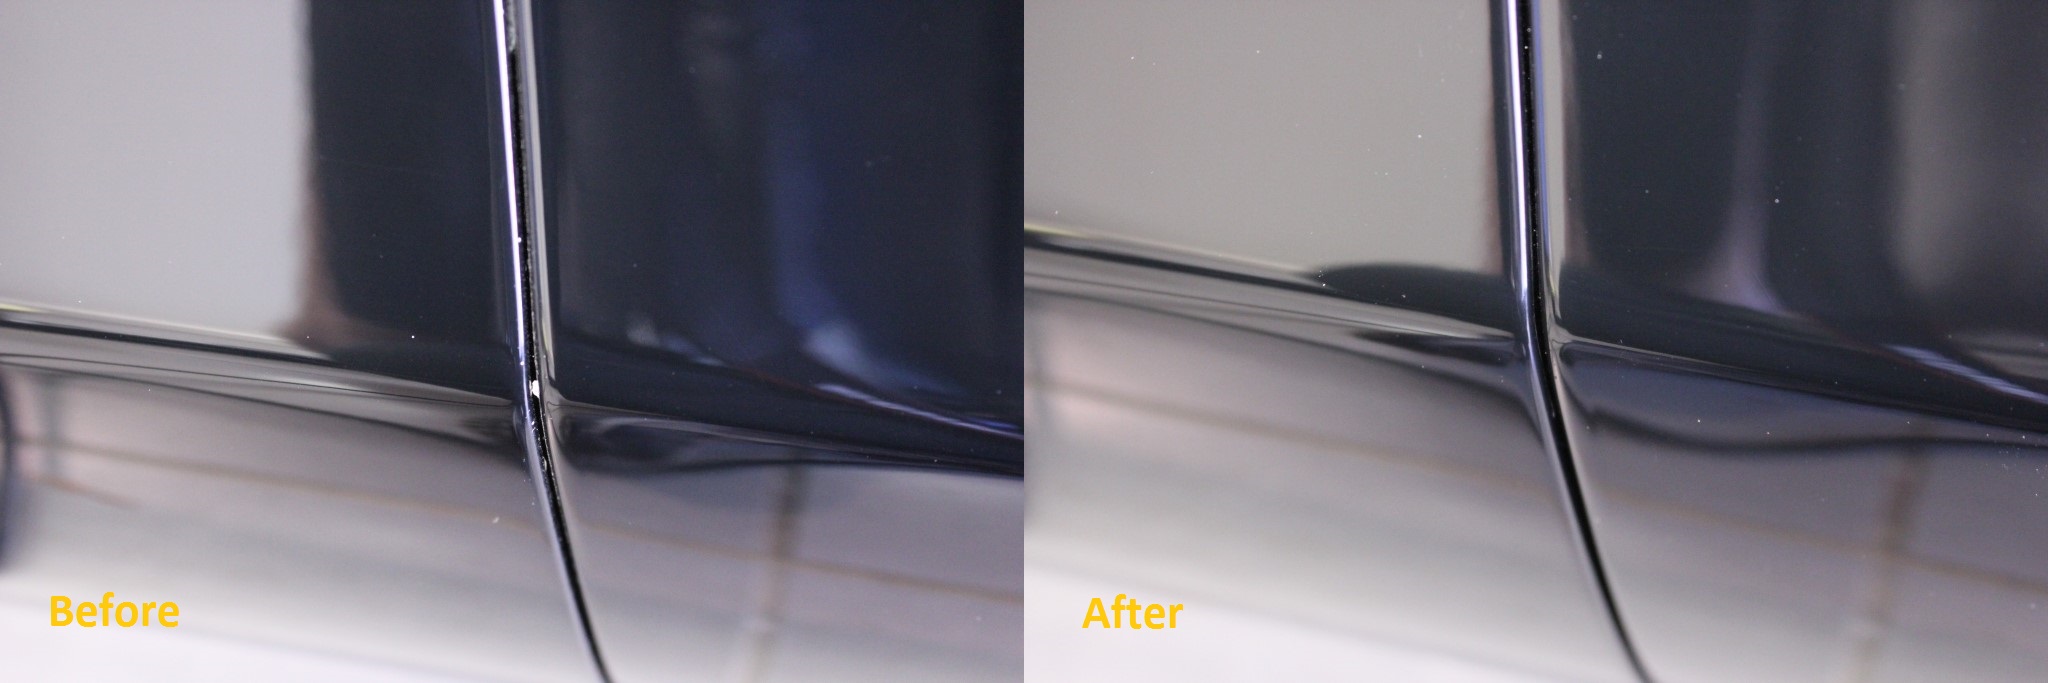
In the panel gaps too
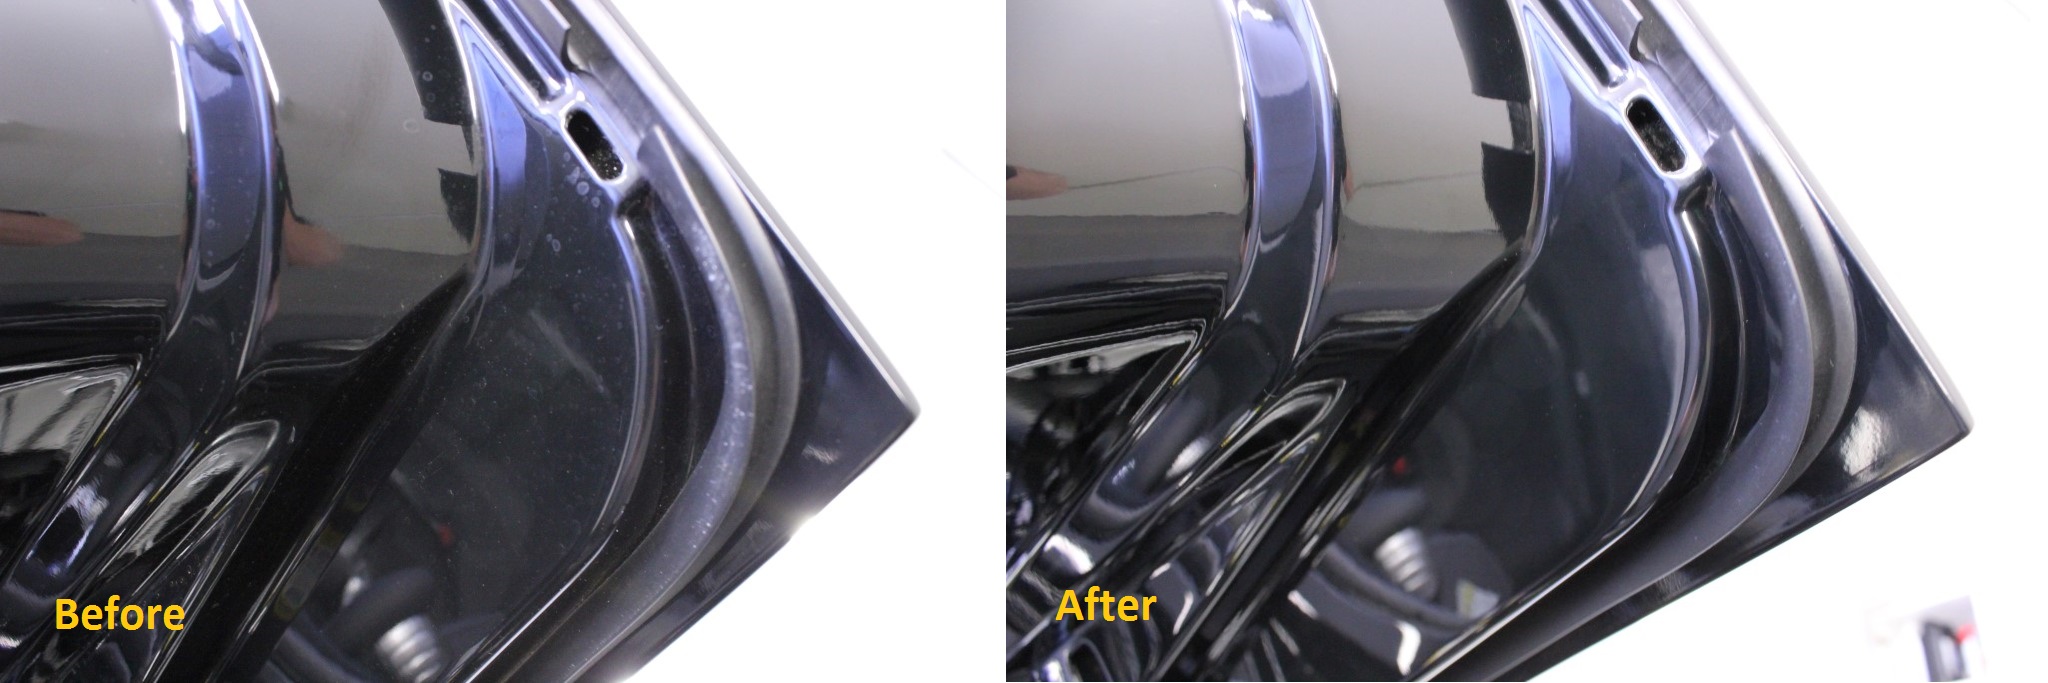
Cleaning up under the gullwing doors. Note polish spatter inside the drainage holes also
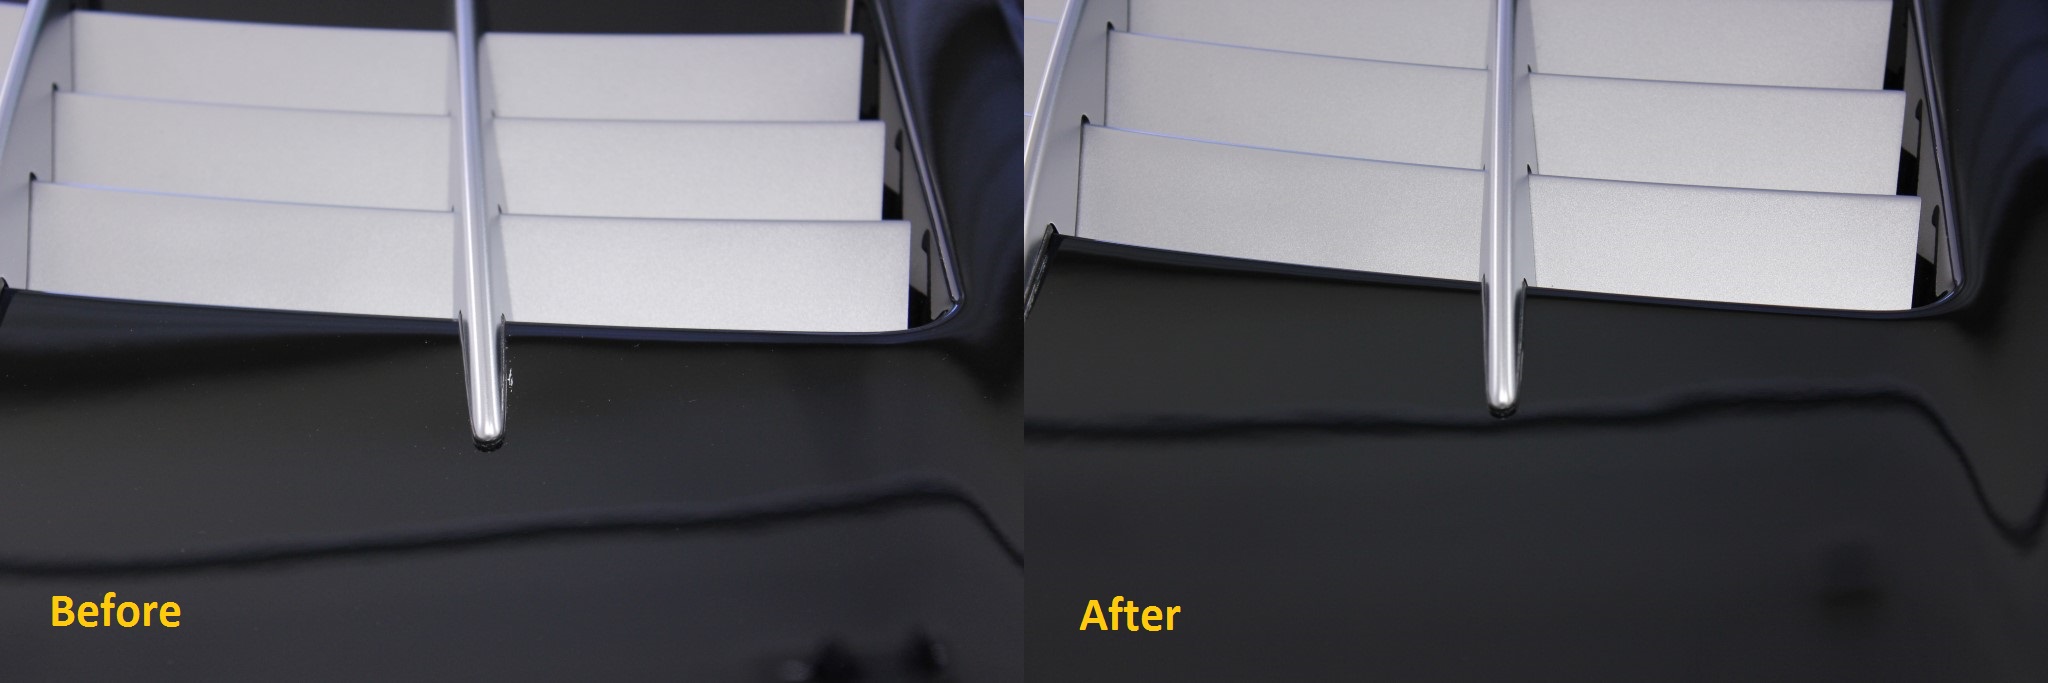
Engineering perfection
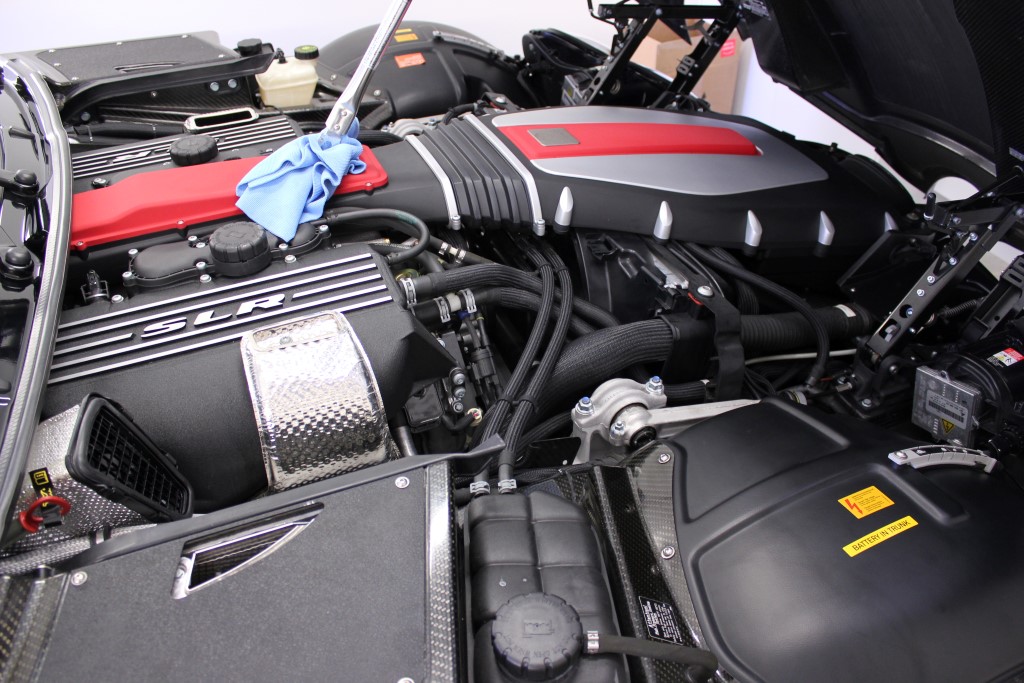
That massive powerplant also got a wipedown
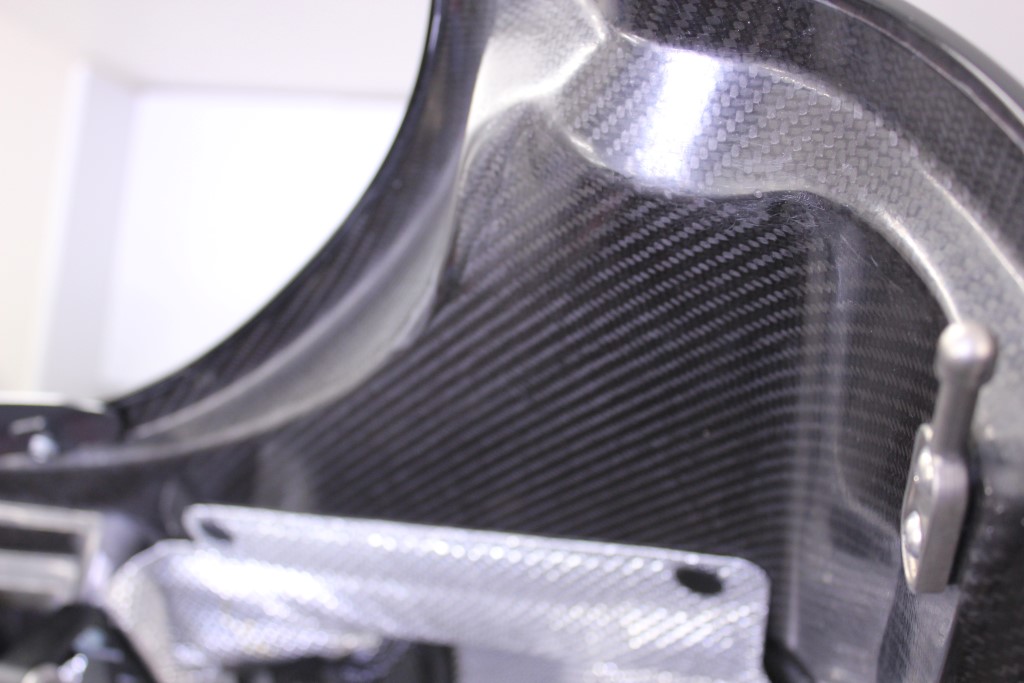
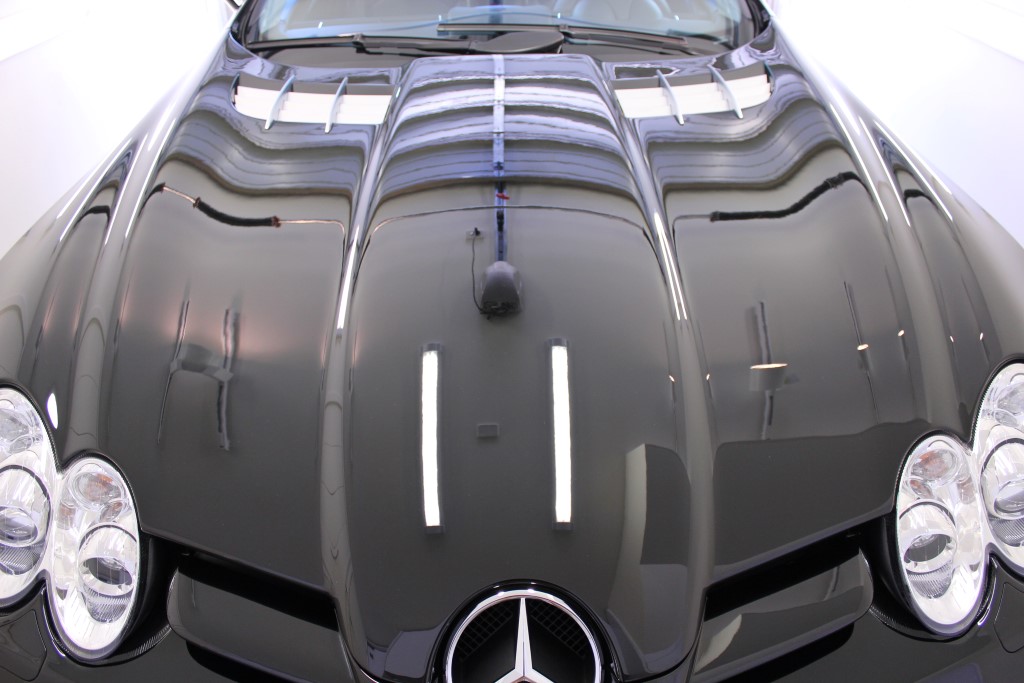
Raw carbon on the underside of the bonnet. Even with the size of the bonnet itself it can easily be lifted one-handed
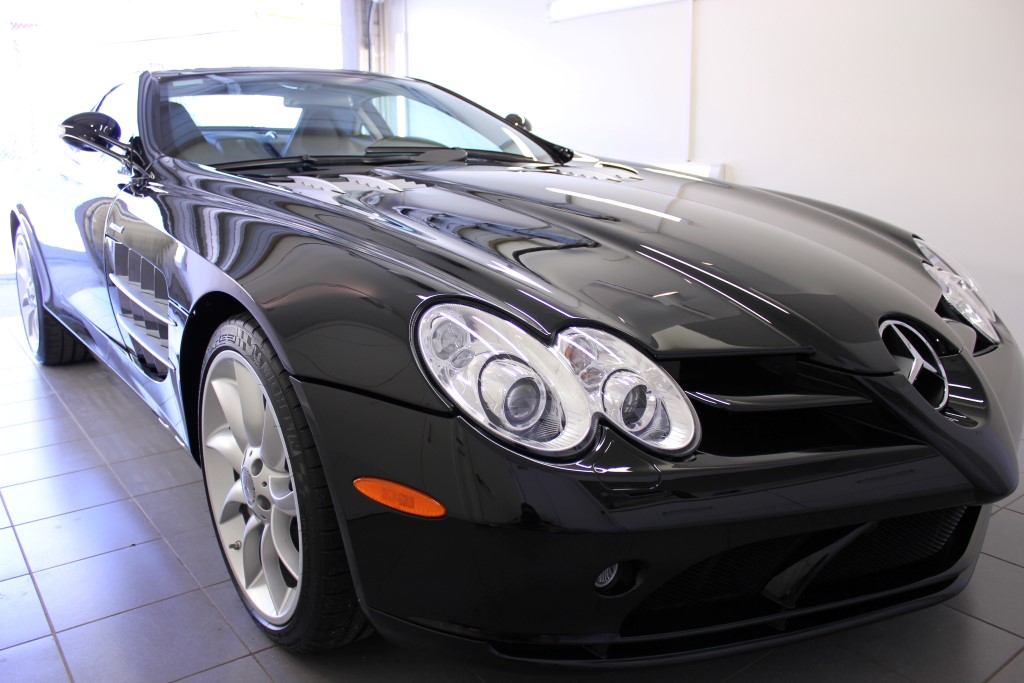
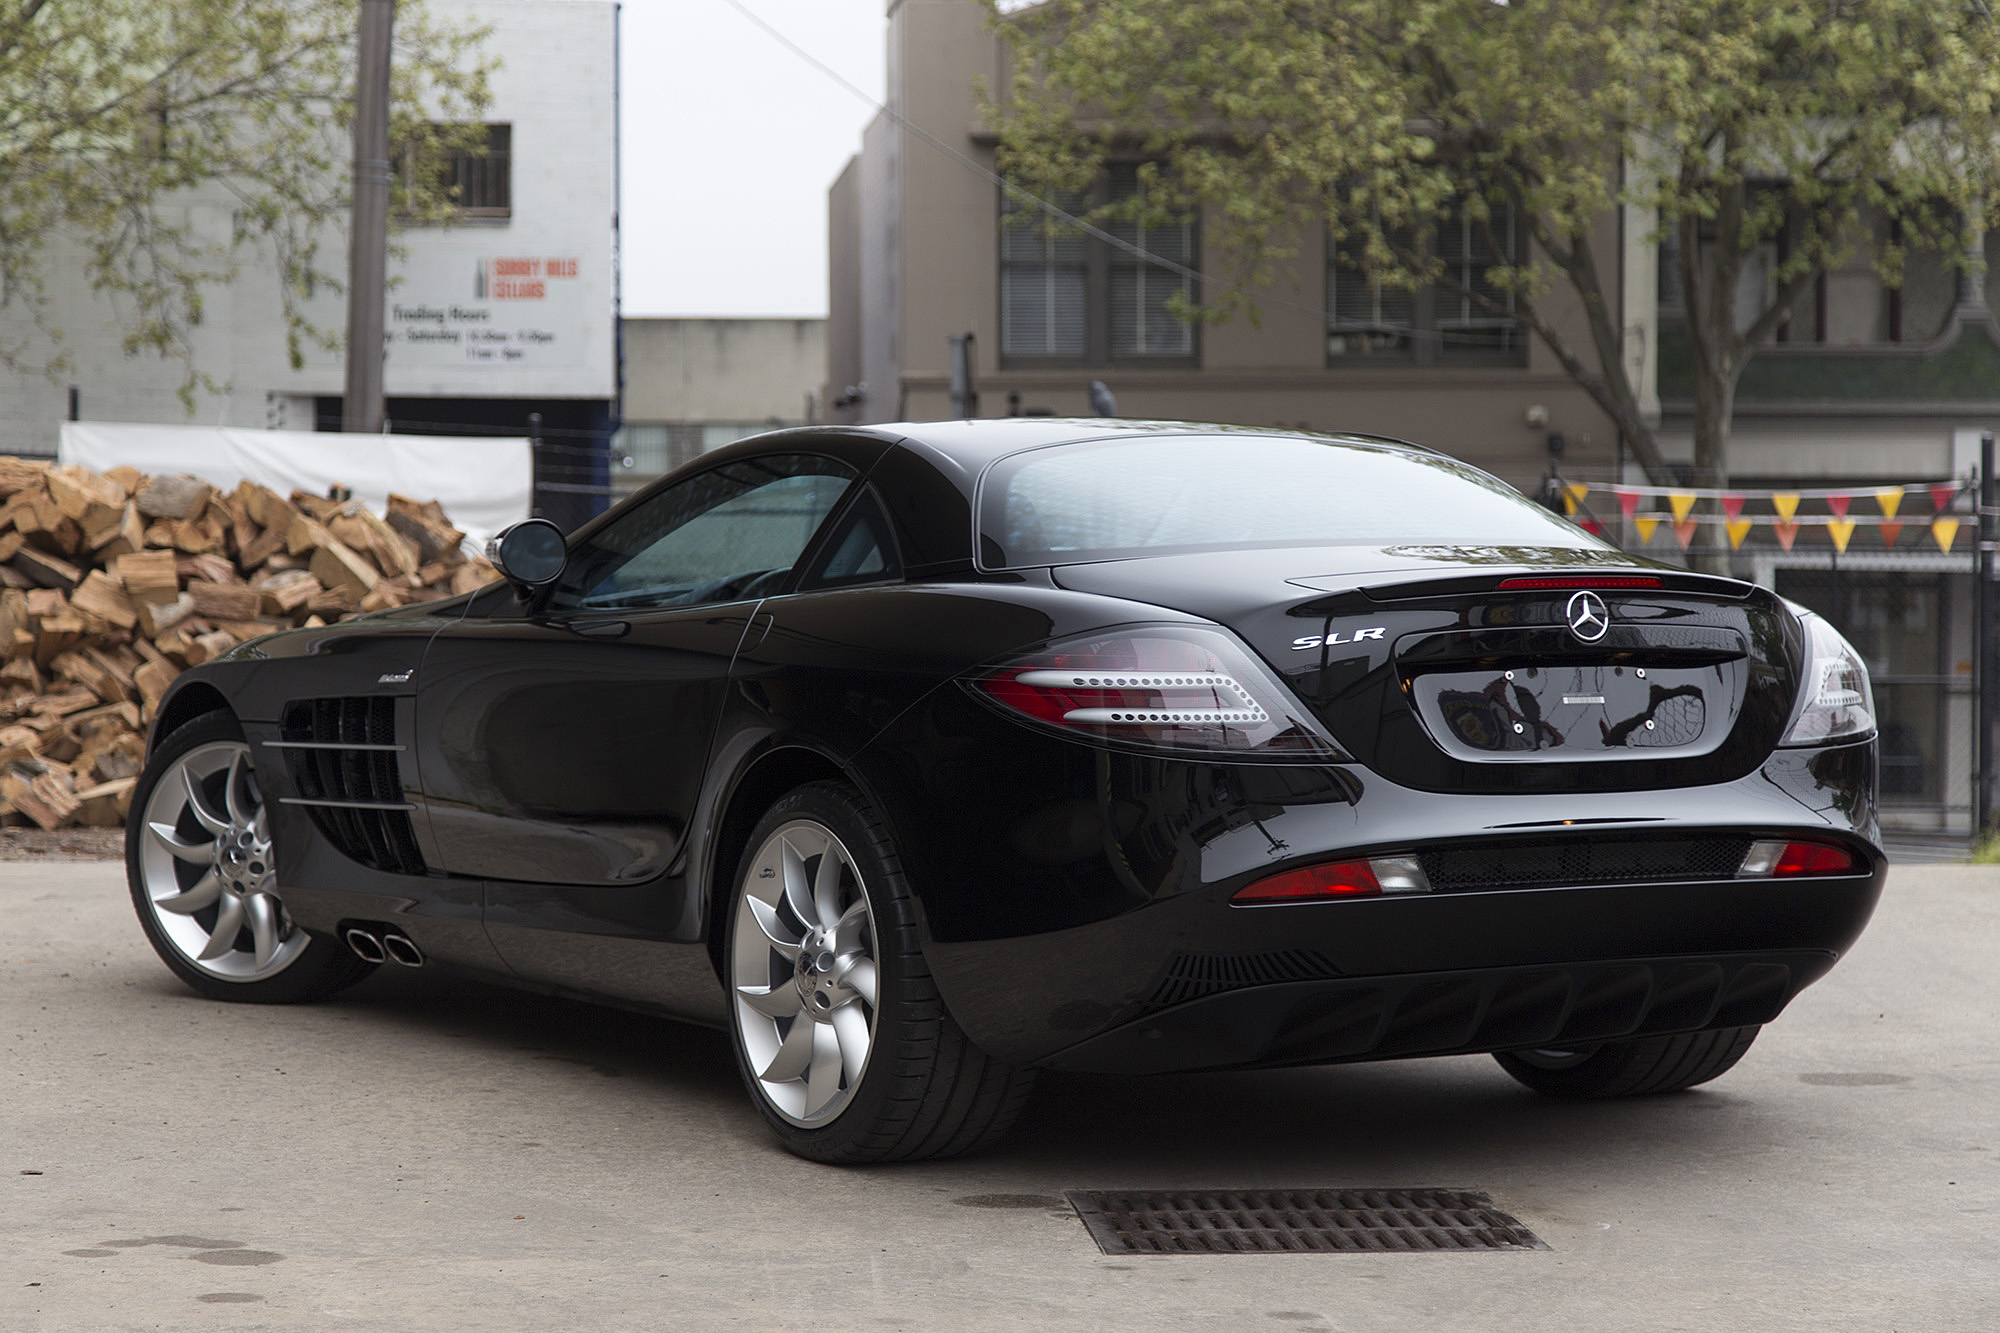
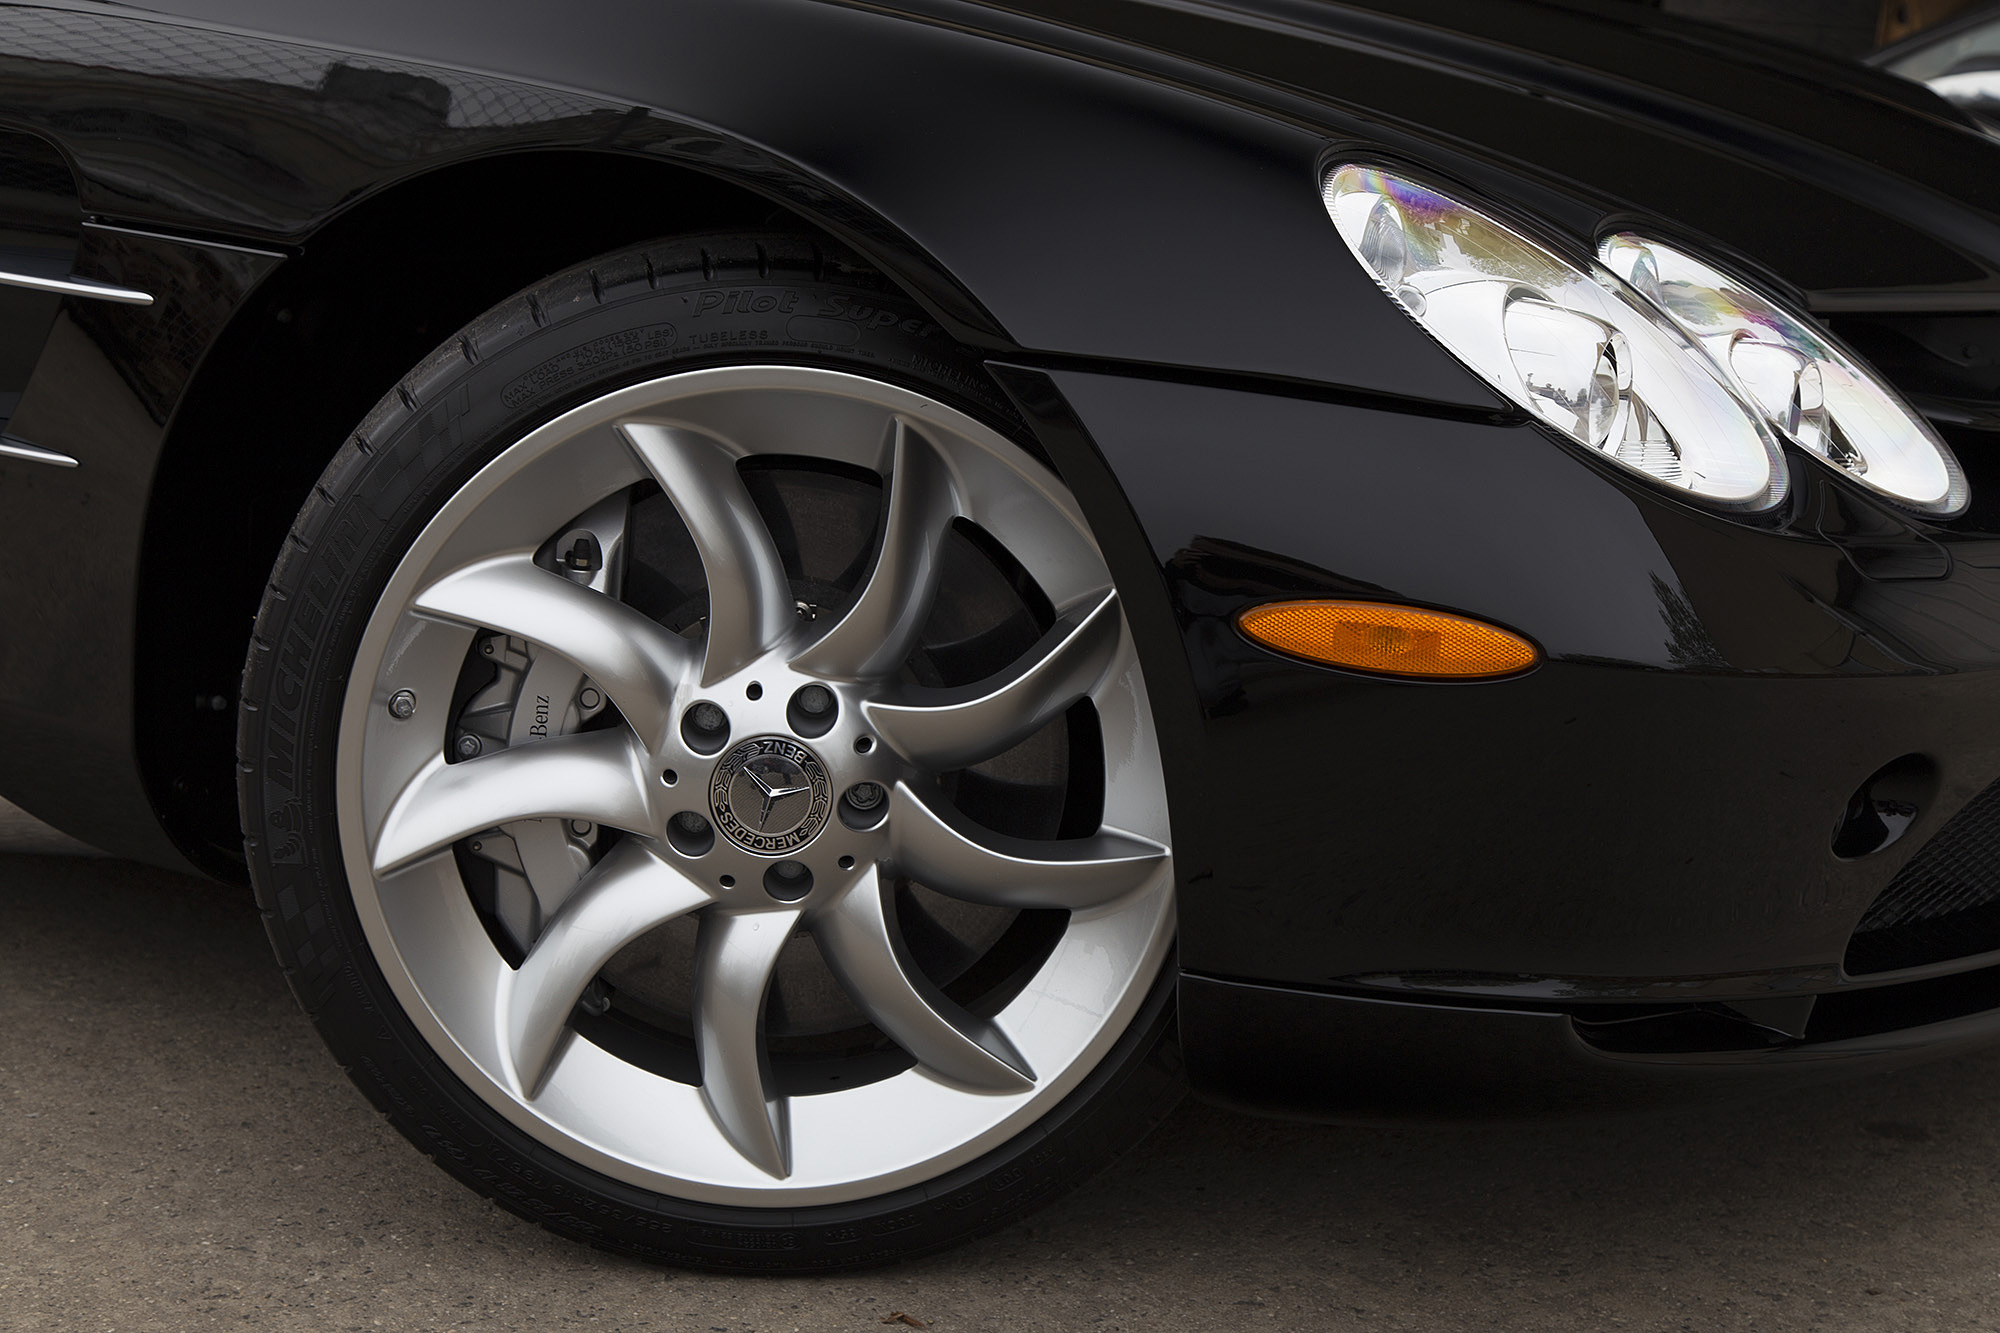
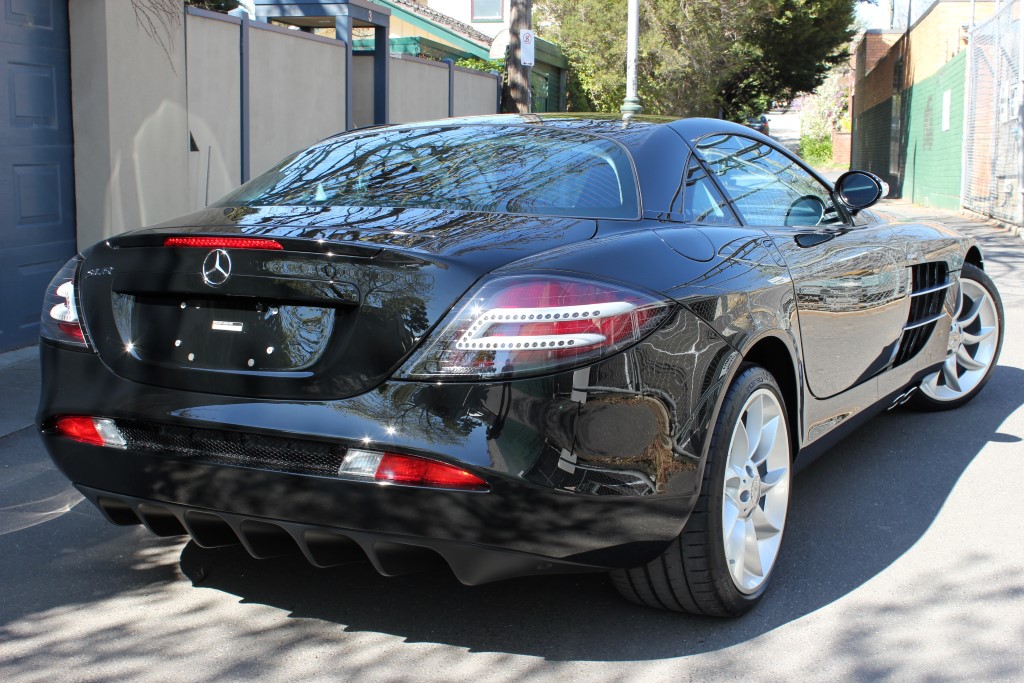
Final Pics. After 30hrs of work over 2.5 days. Time to really stand back and admire this machine
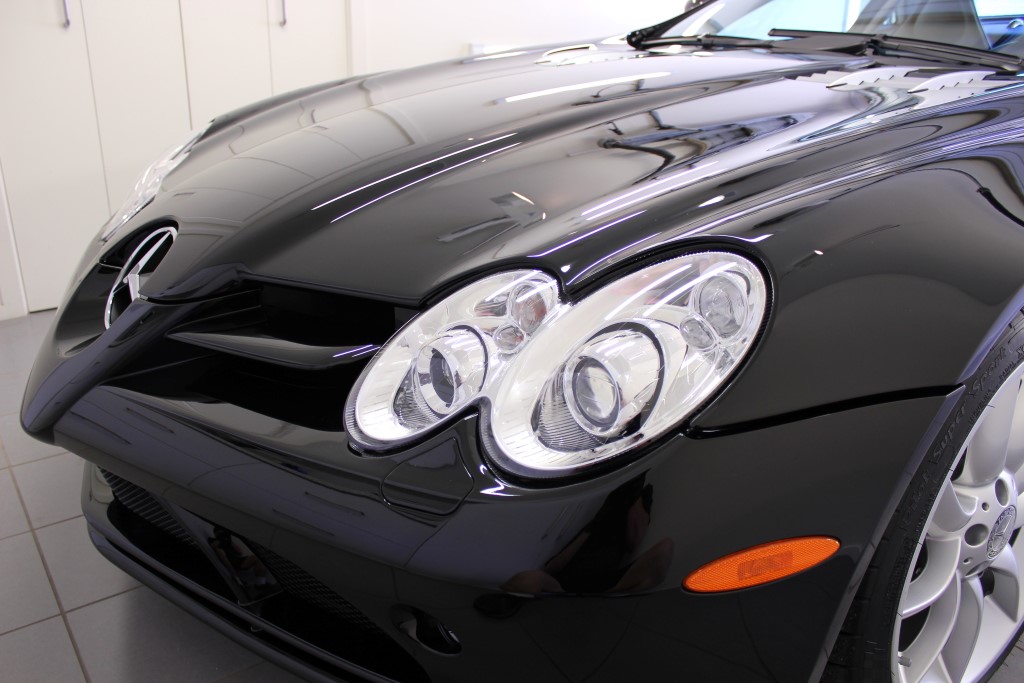
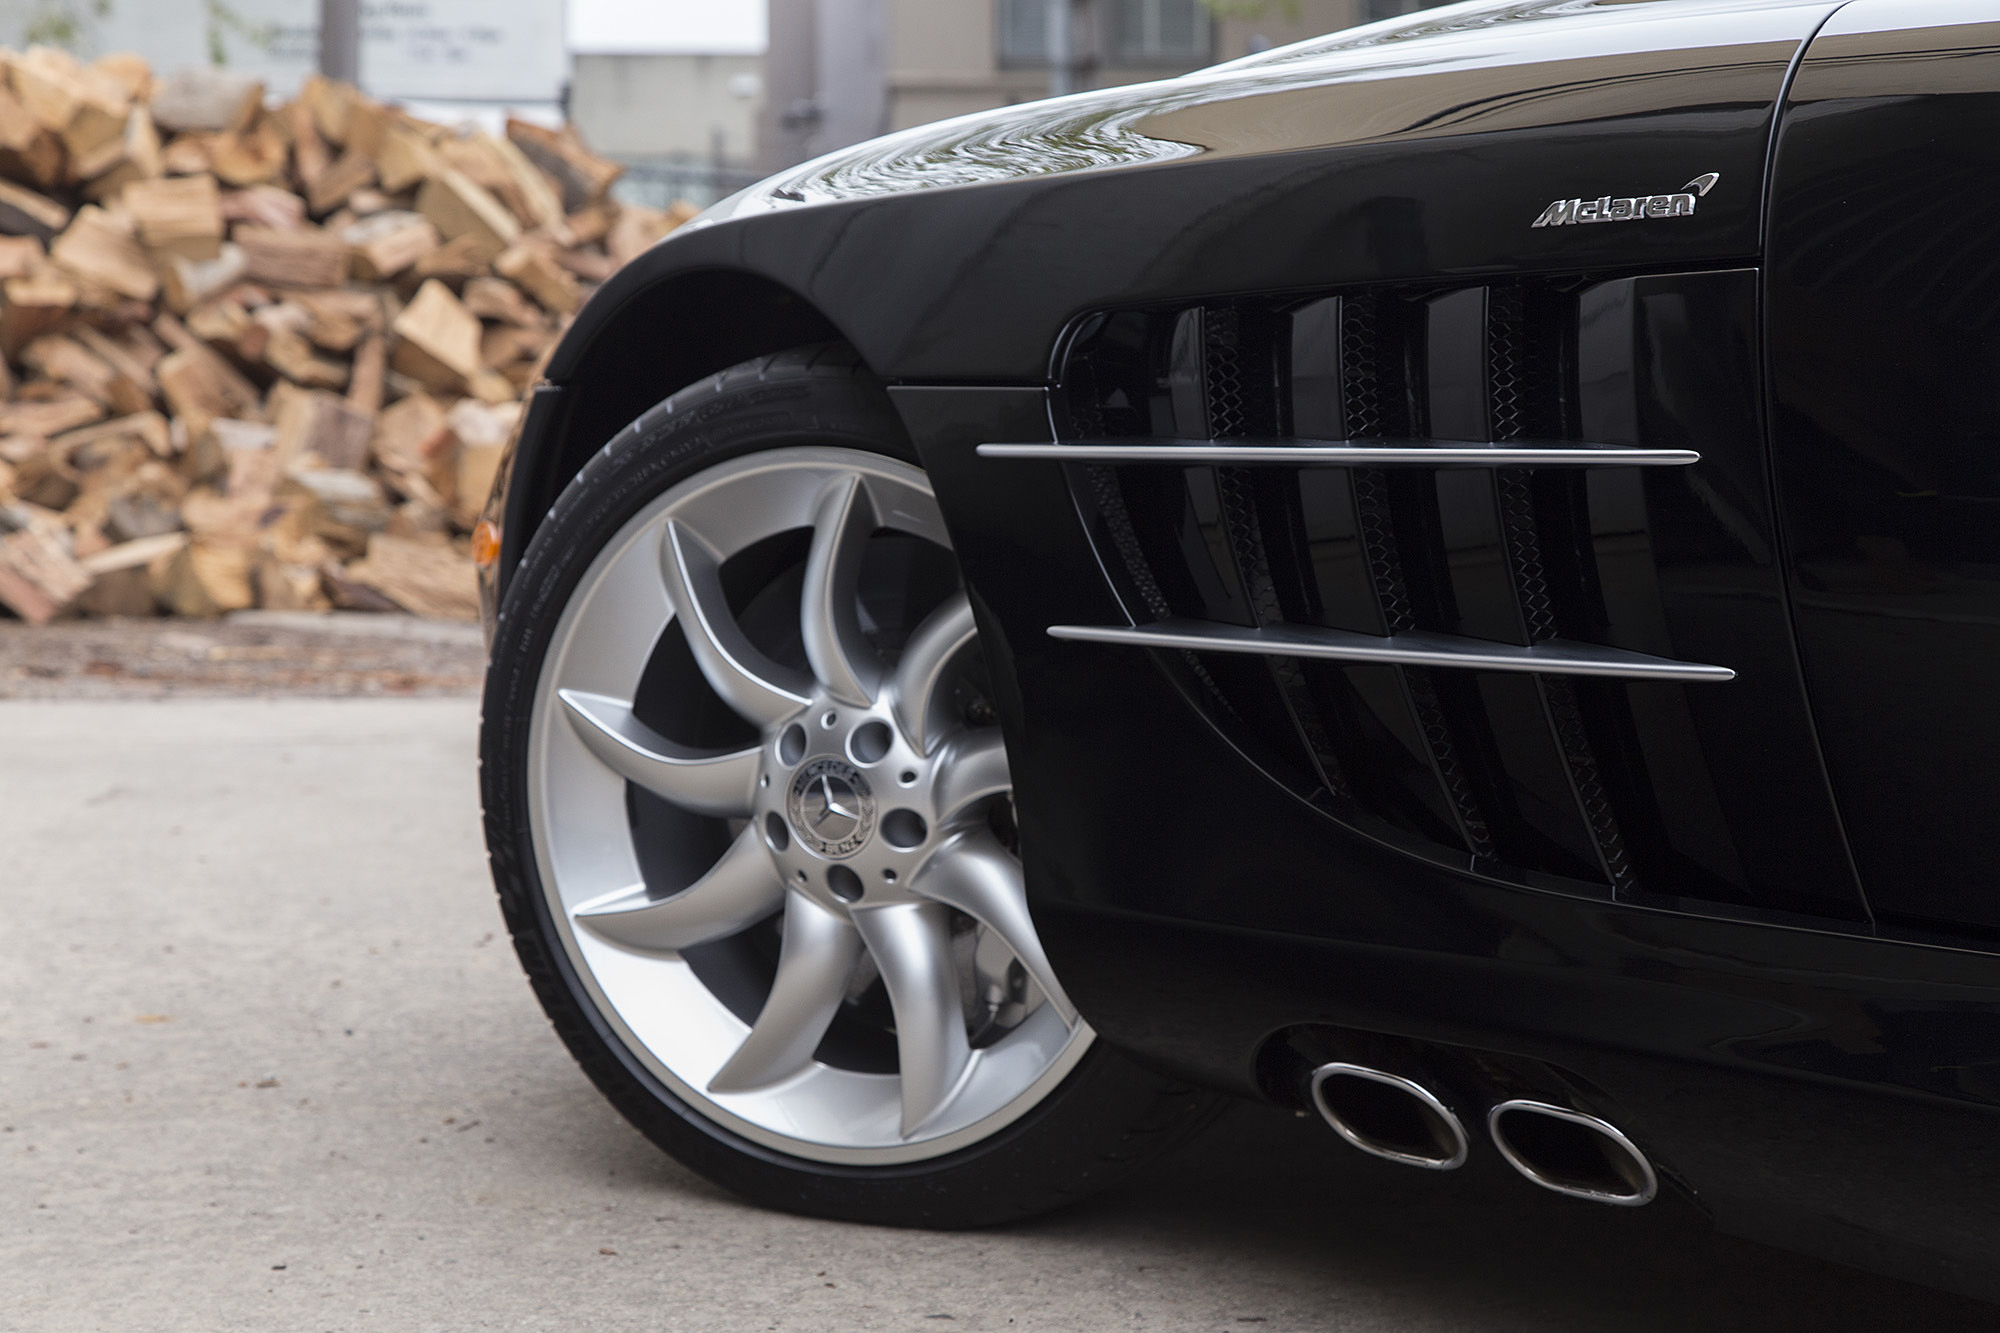
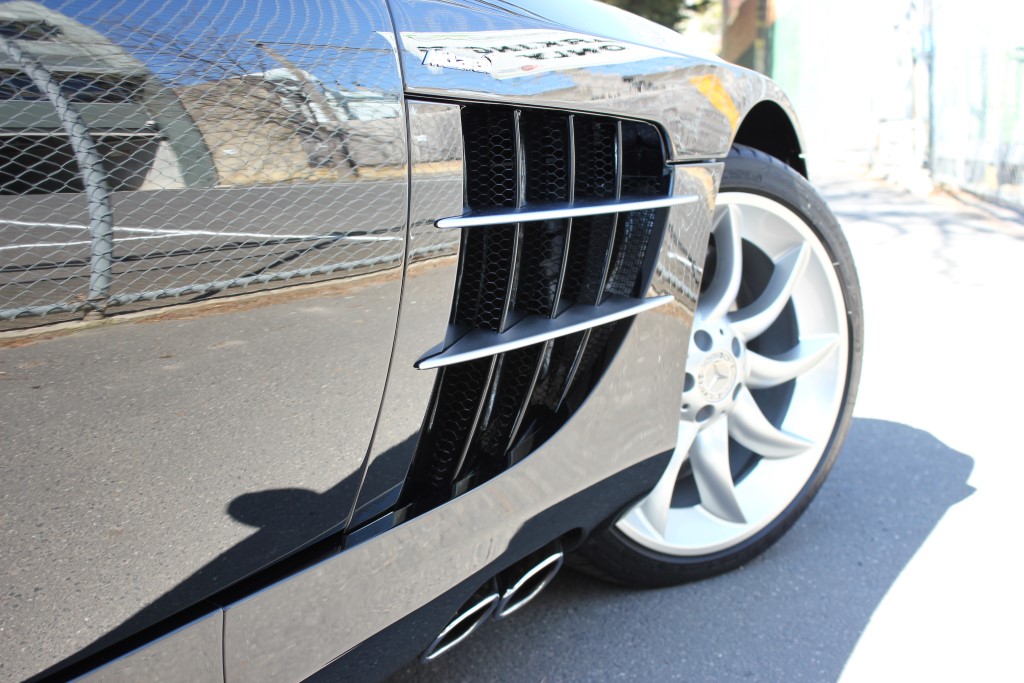
That F1 inspired nose
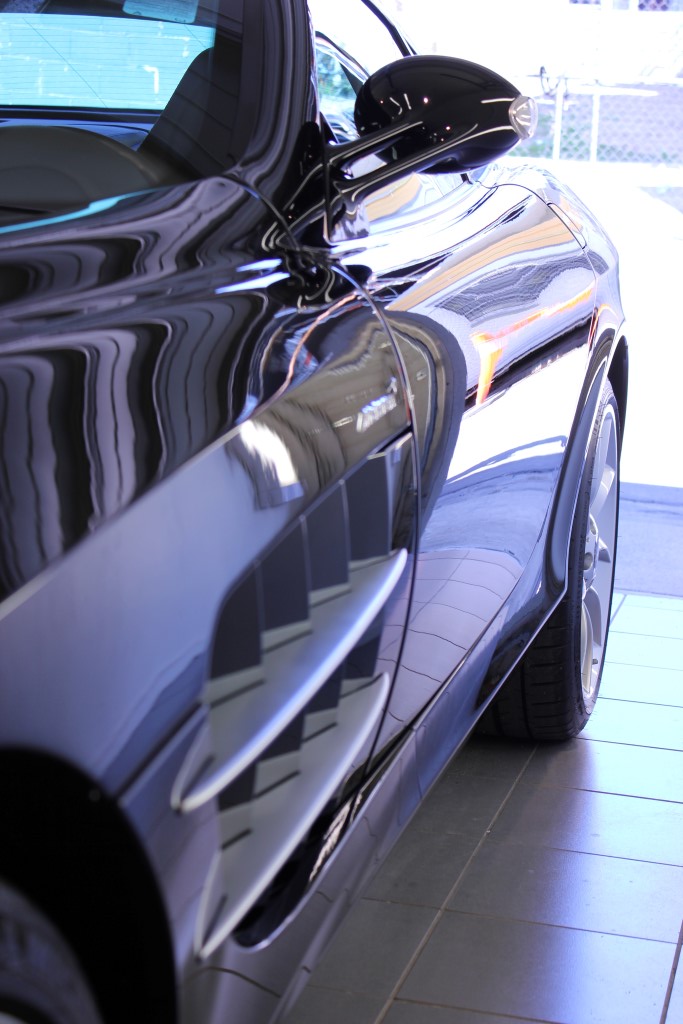

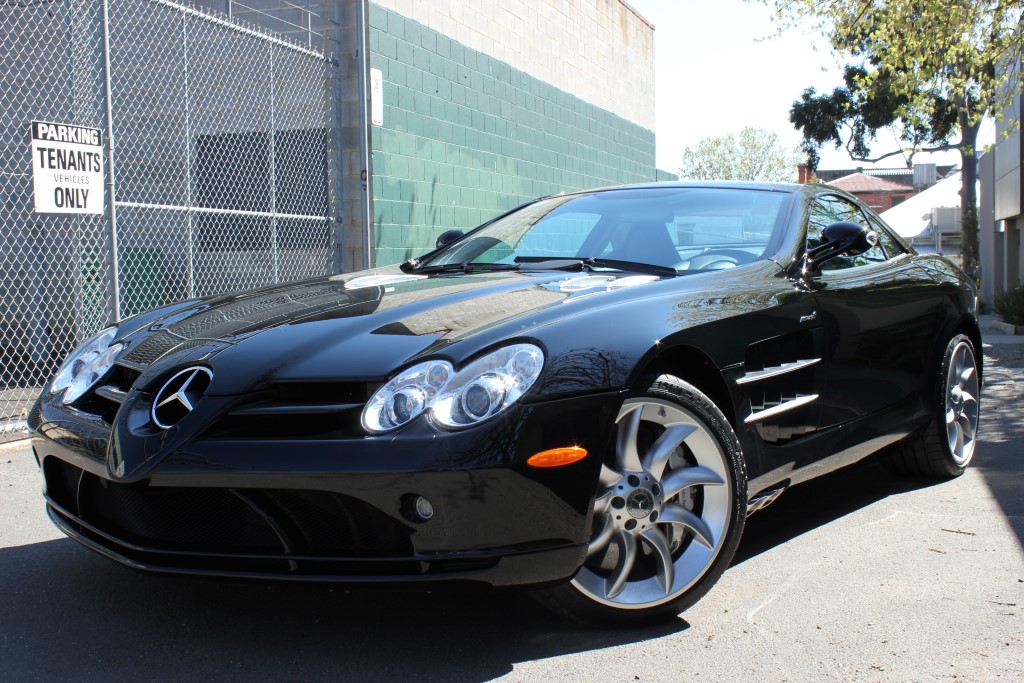
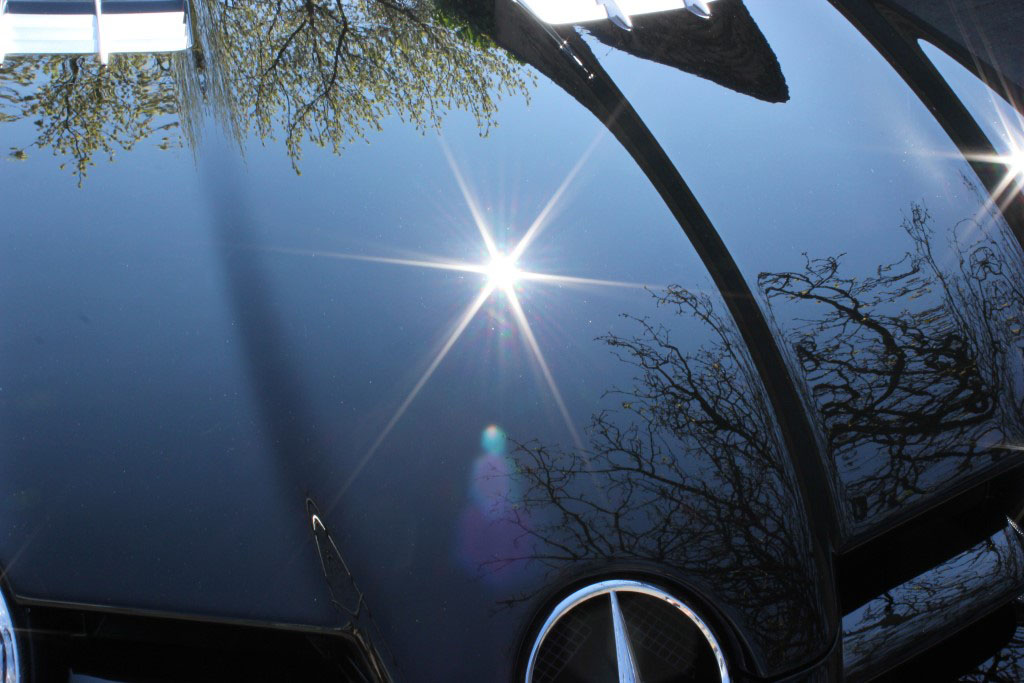
A few of my outdoor pics
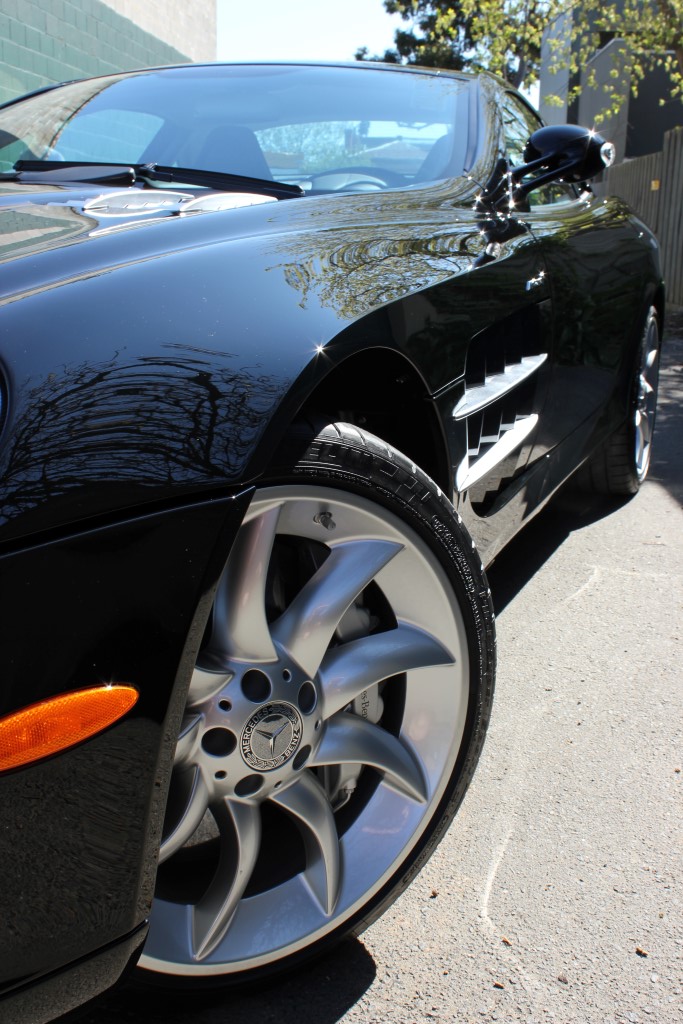
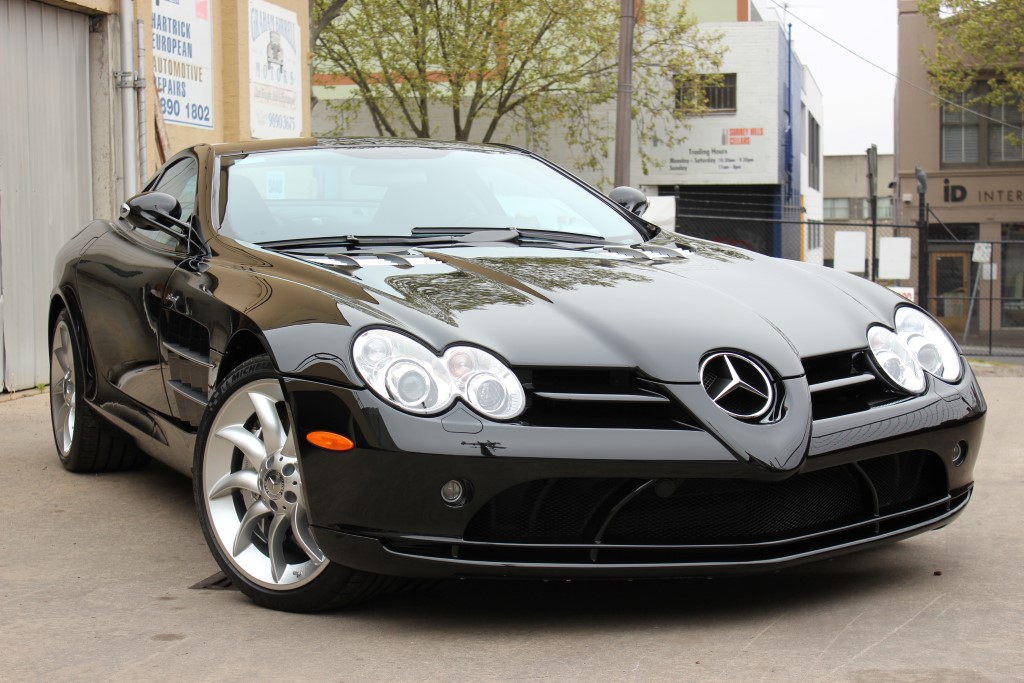
A quick location change
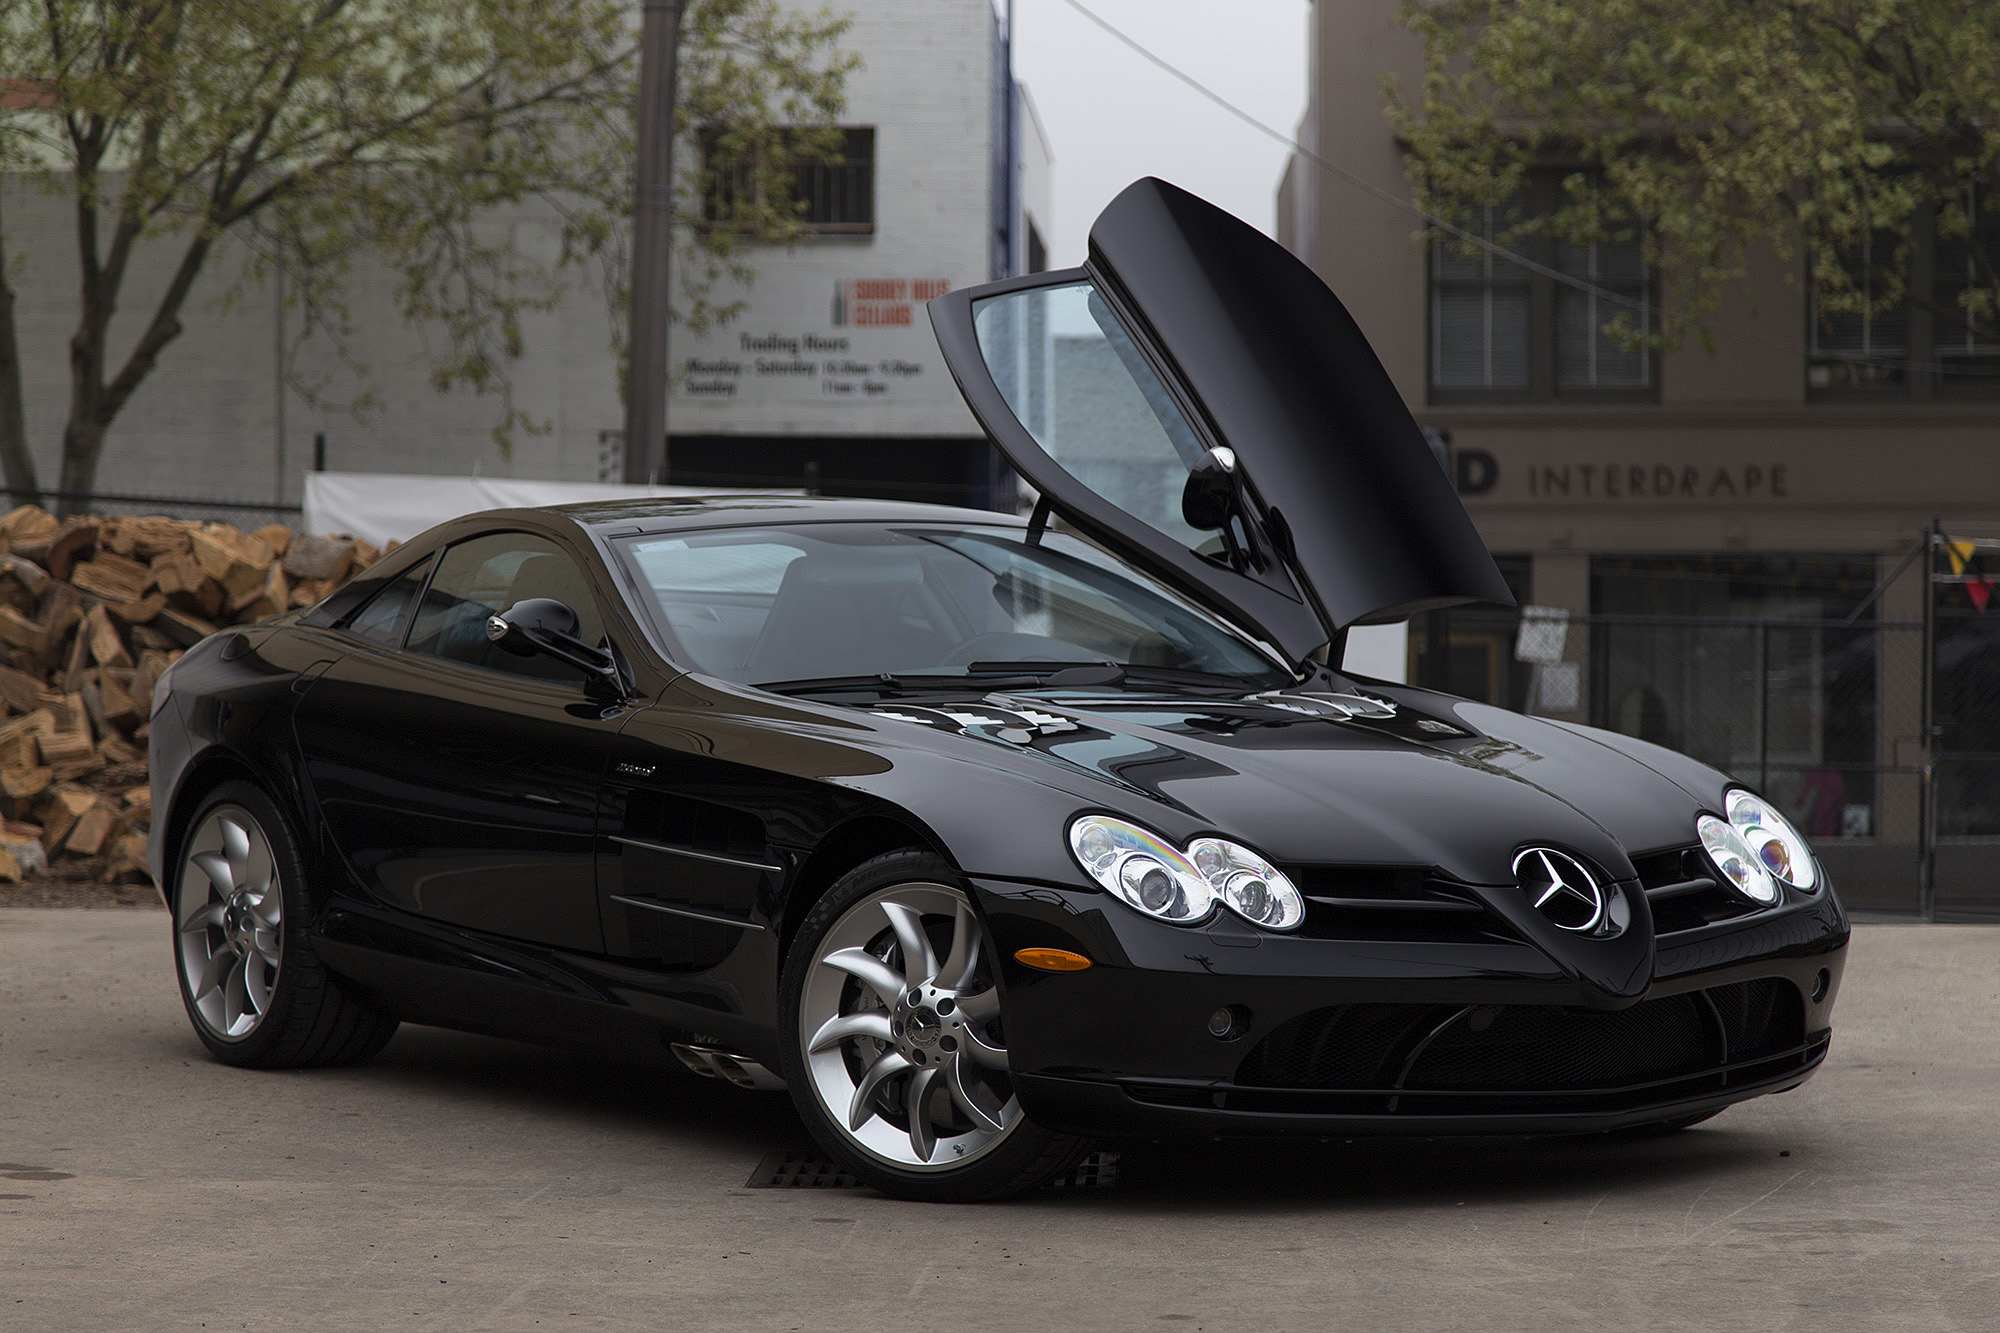
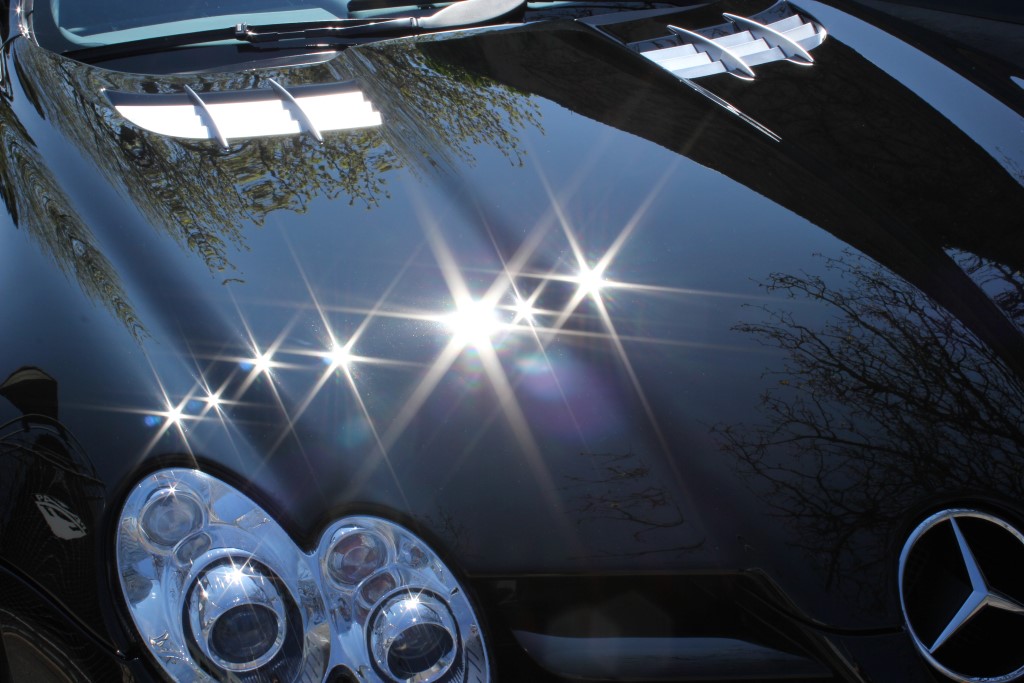
And some professional photos taken by Leigh Kelly. These are un-edited. Straight off his camera. He will also be releasing a set himself after he's worked his post-production magic