latest
2007 BMW Z4M Coupe – Sapphire Black
TREATMENT
- Wash & Decontamination
- Interior Restoration
- Engine Bay Detail
- Paintless Dent Repair
- Multi-Stage Paint Correction
- Kamikaze Miyabi (dual layer) & Kamikaze ISM Paint Protection Coatings
DESCRIPTION
This is my personal vehicle, purchased in May. The total detail process for this was around 55 man-hours.
Back to Gallery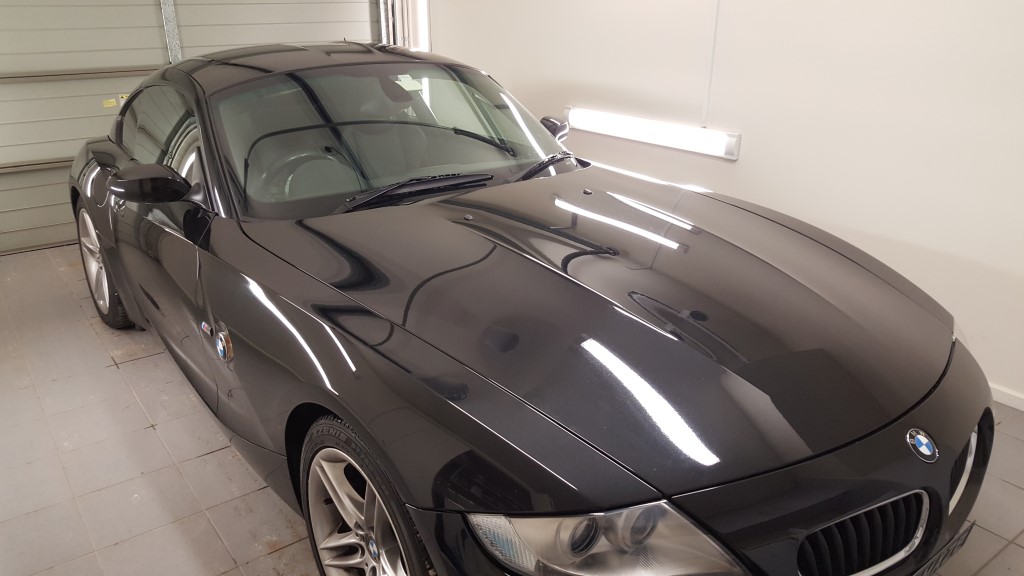
The car was picked up in Sydney and driven back to Melb. Here is the car upon arrival home I knew that I had a lot of work ahead of me but I bought the car based on its potential, rather than its current condition
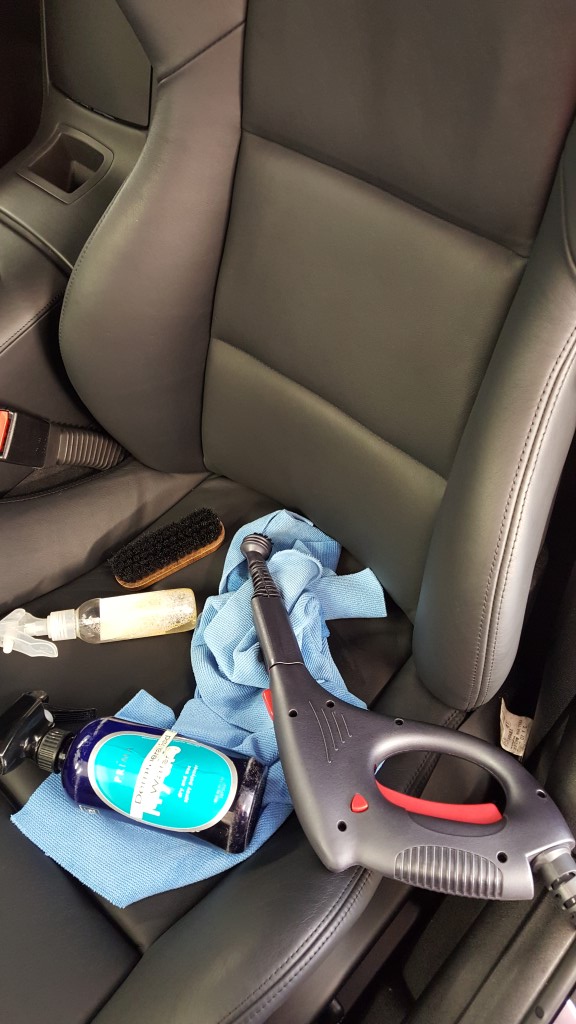
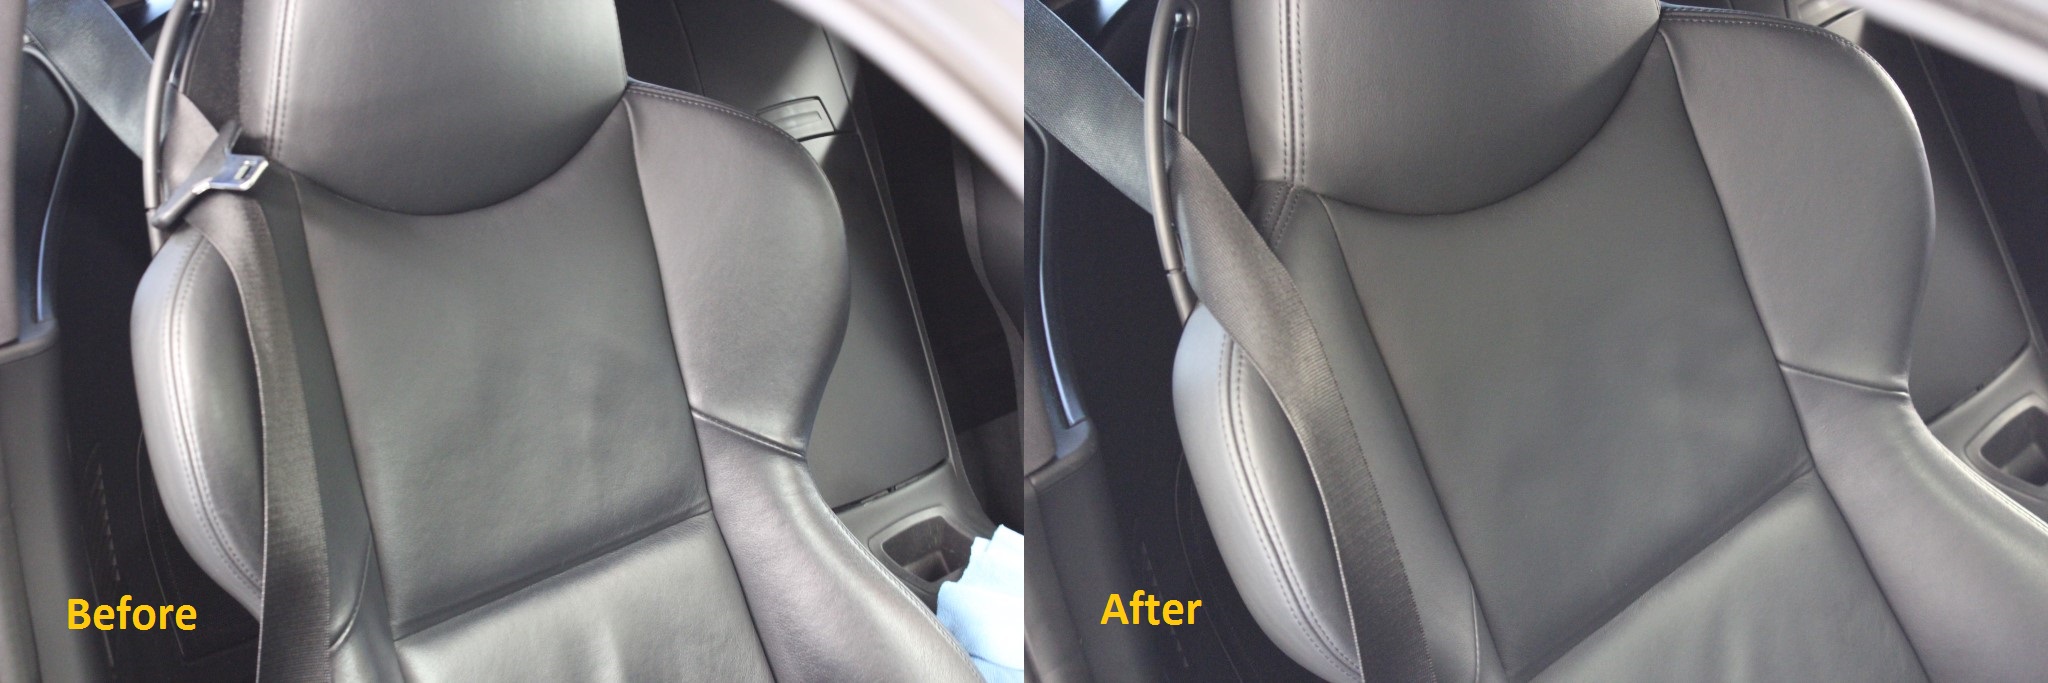
First step was to give the interior a good going over.
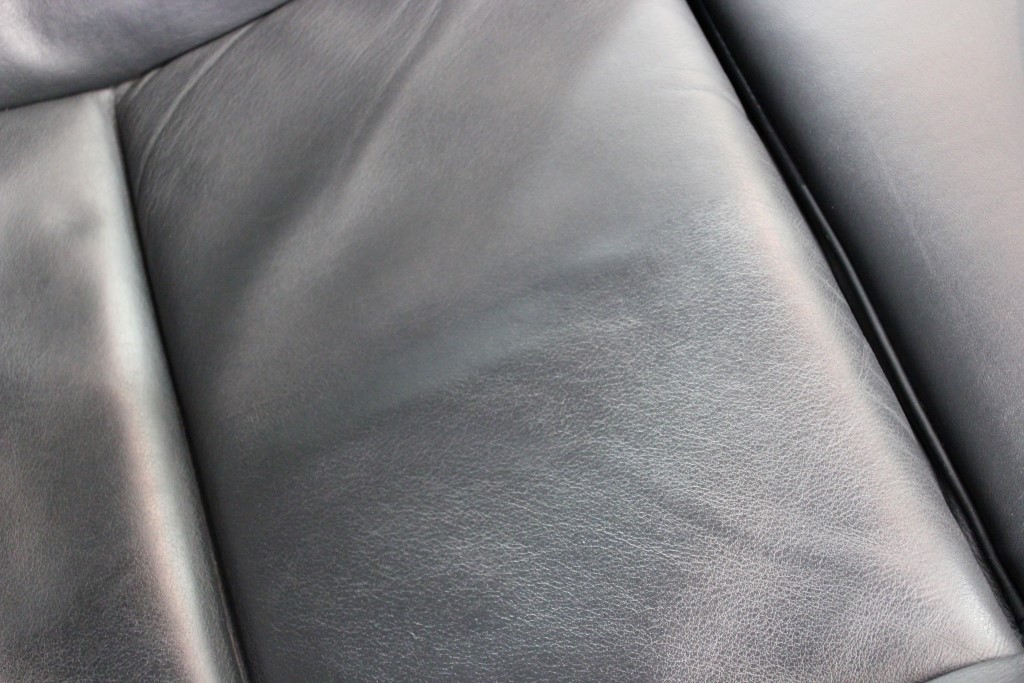
There was around five hours of interior cleaning work that took place, including a good clean of the interior leather to get it back to factory sheen 50/50 of the leather after steam and APC cleaning.

A nice matte finish being restored which, gauging by the amount of dirt coming out of the leather, hadn't been seen in that condition for some years

A fair difference

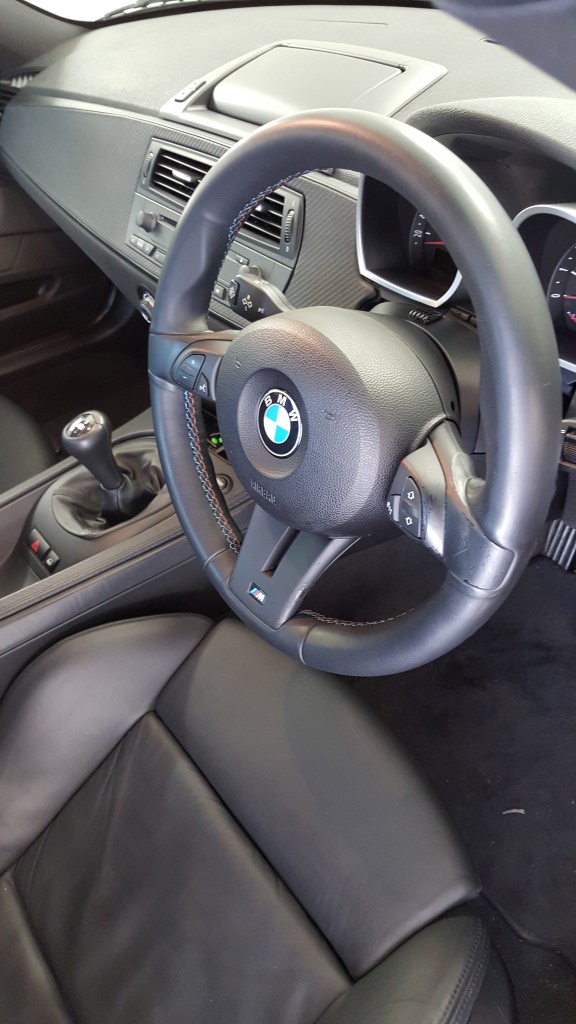
The steering wheel also got the same treatment. Even though I will replace this completely down the track as there is some damage to the switch fascias that I can't live with long term
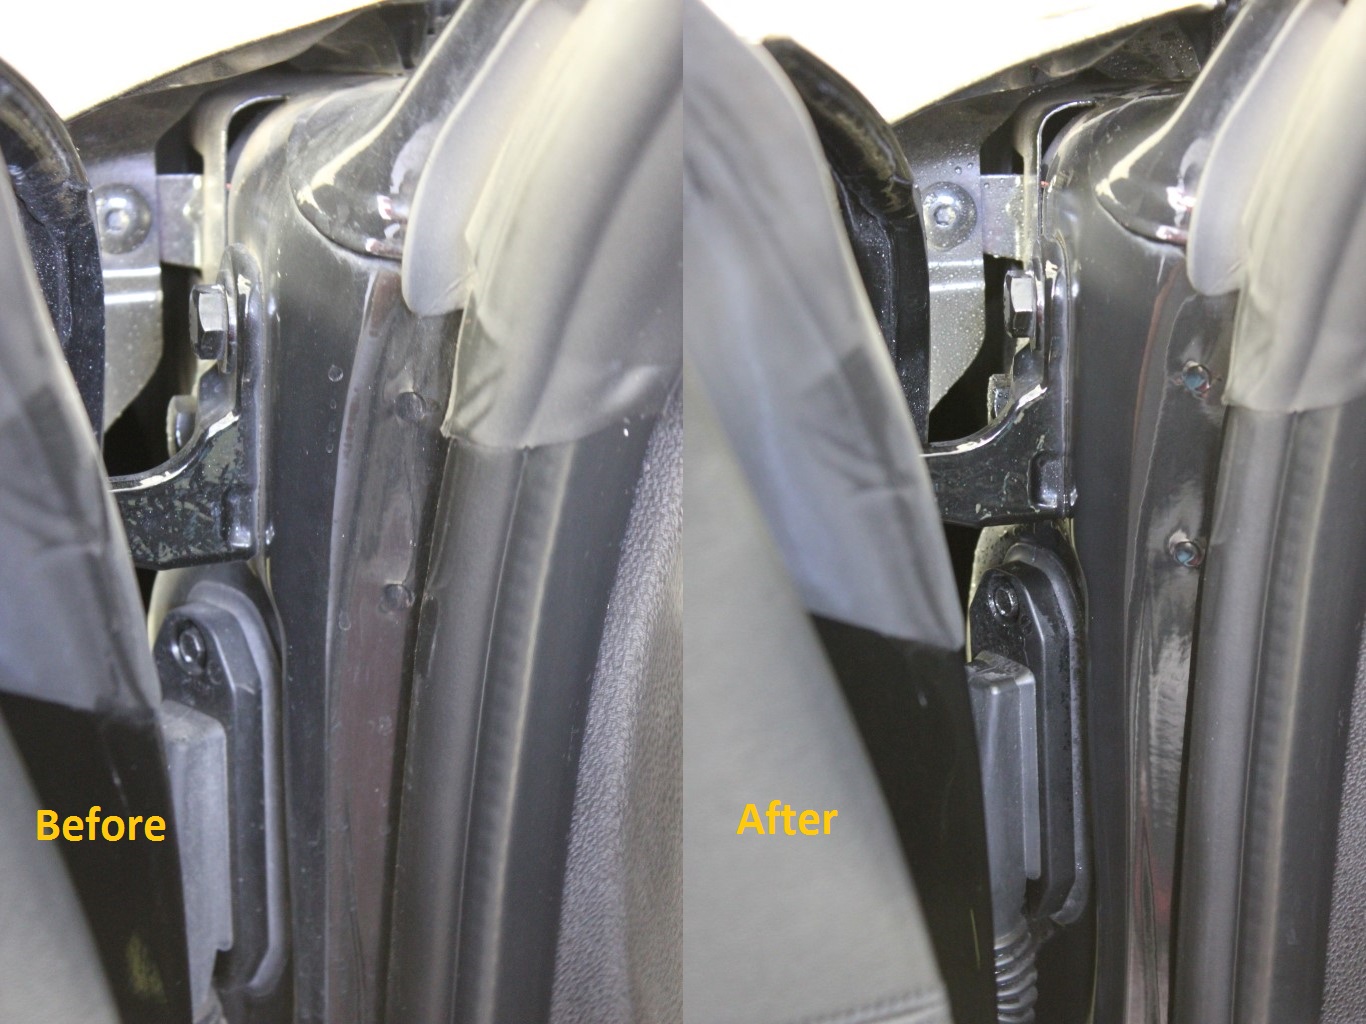
The door jambs also got a steam clean to clean up years of build-up
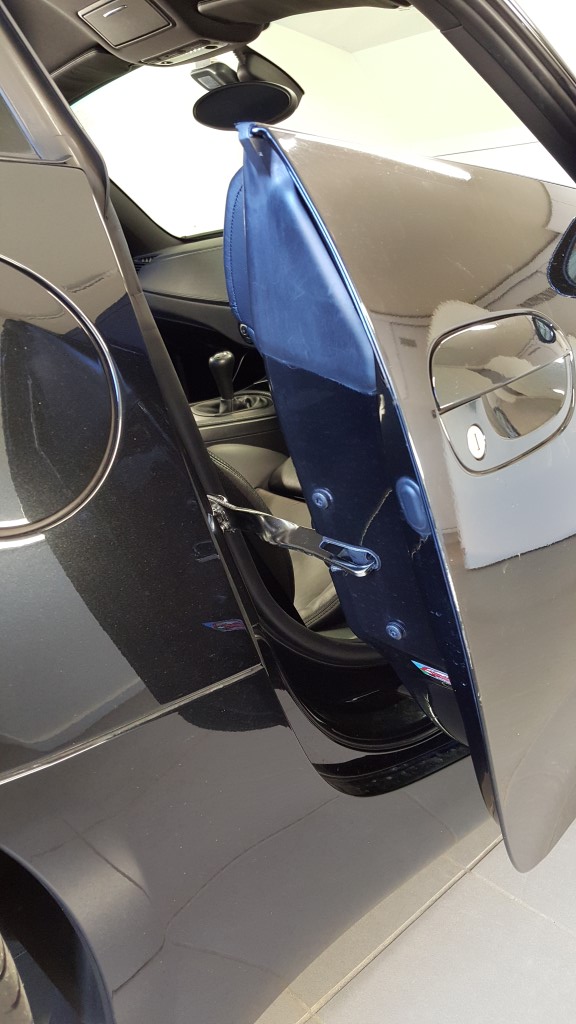
While I was at it, I did some touch up work to the trailing door edge which had fallen victim to a few knocks.
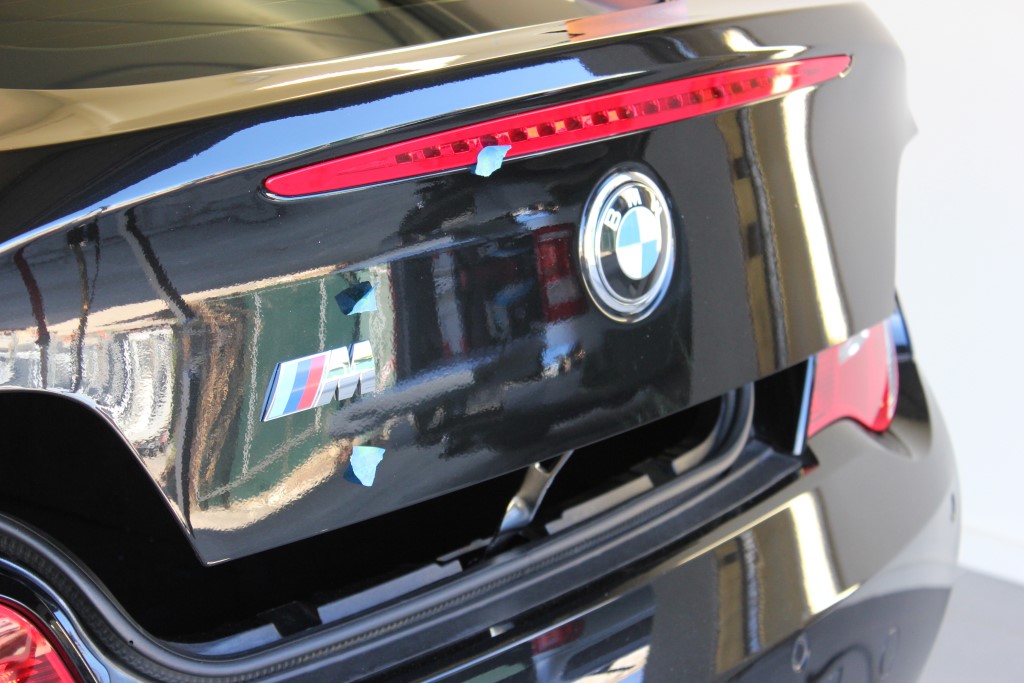
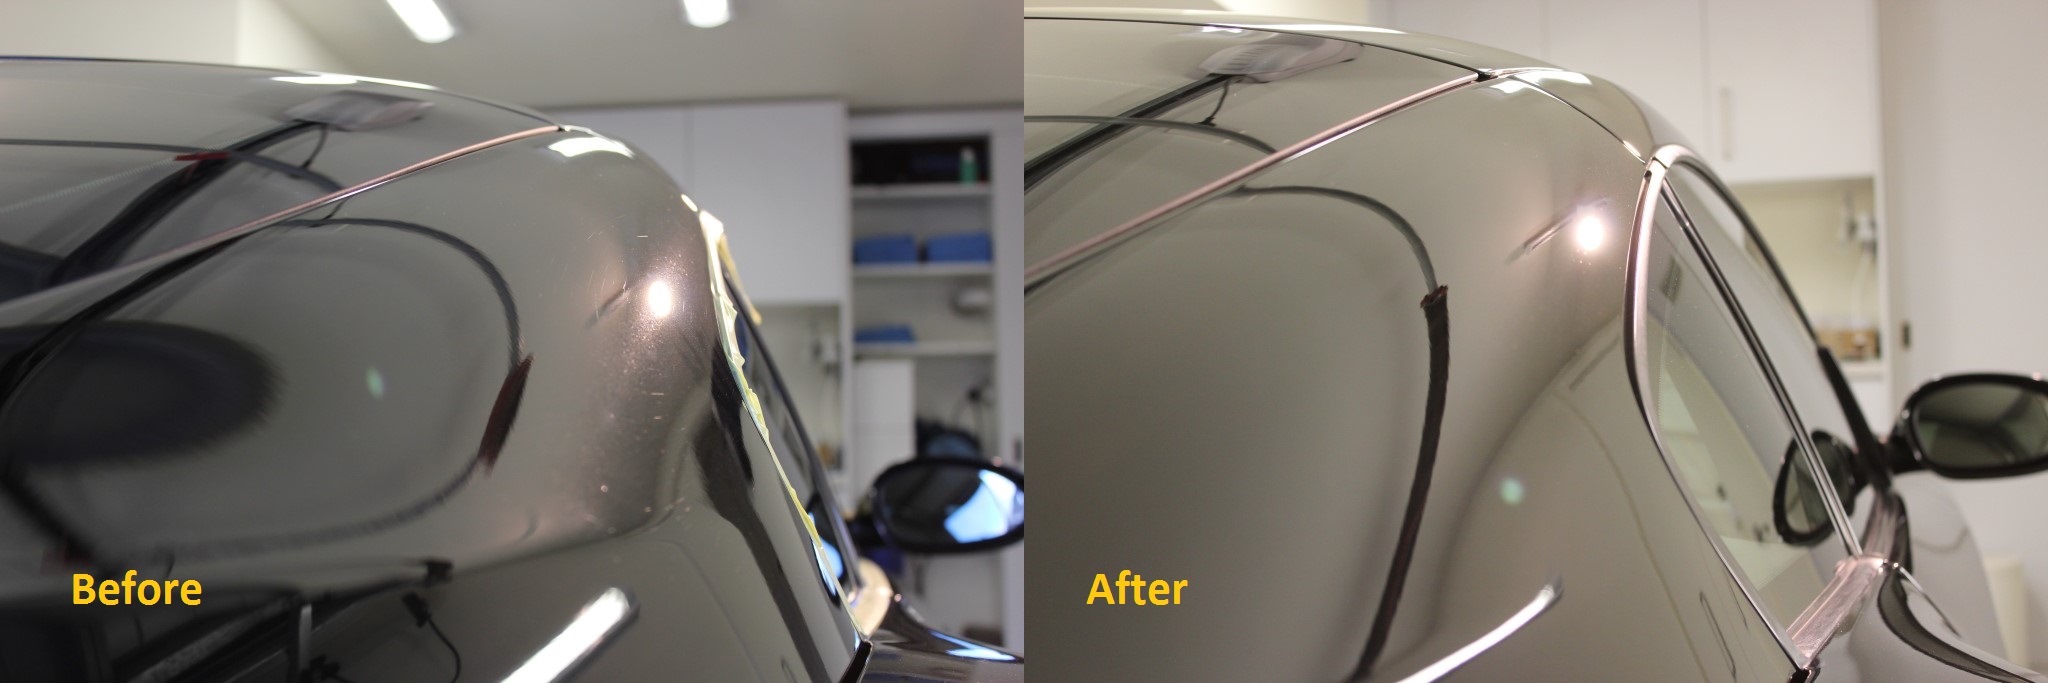
Phil Kube from QB Dentfree was booked to come pull out a few dings that I knew were in the car. I explained to Phil that at some stage down the track I would like to sand the car to knock down much of the factory orange peel in it. As such I gave him free reign for as long as he needed to go over the car completely and pull out anything he found. As you can see from the following pics, where each bit of tape represented work that needed doing, he found a fair bit!
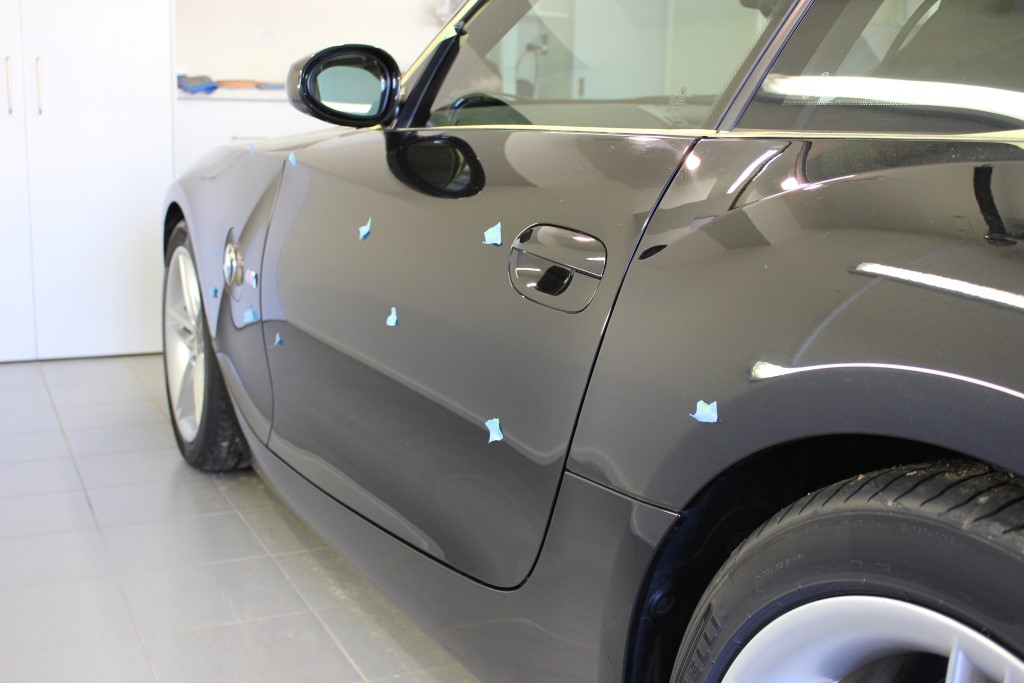
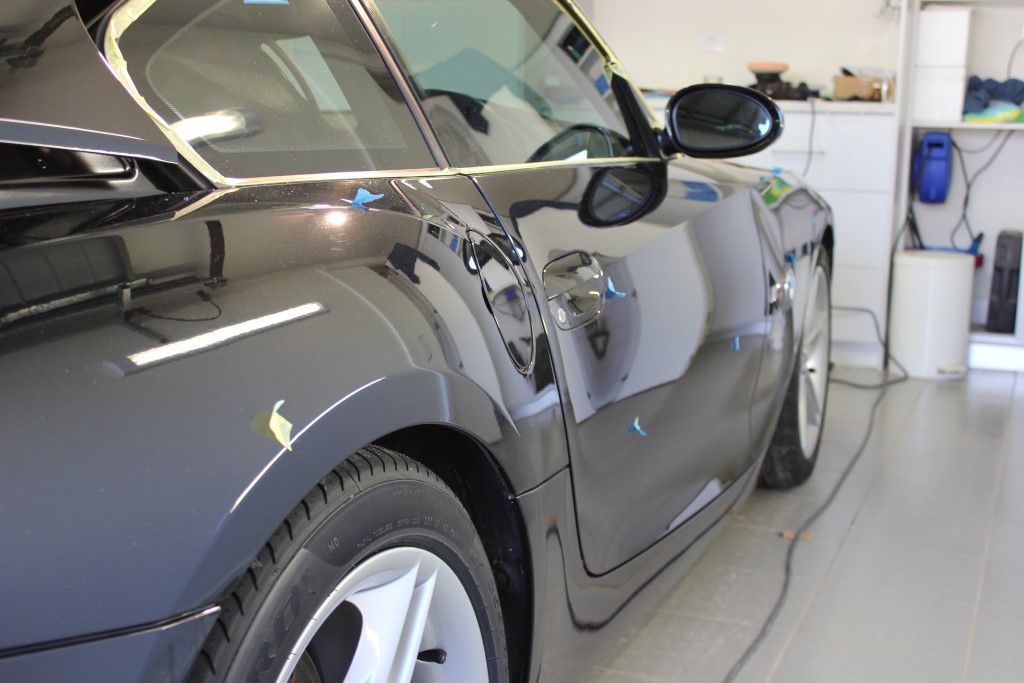

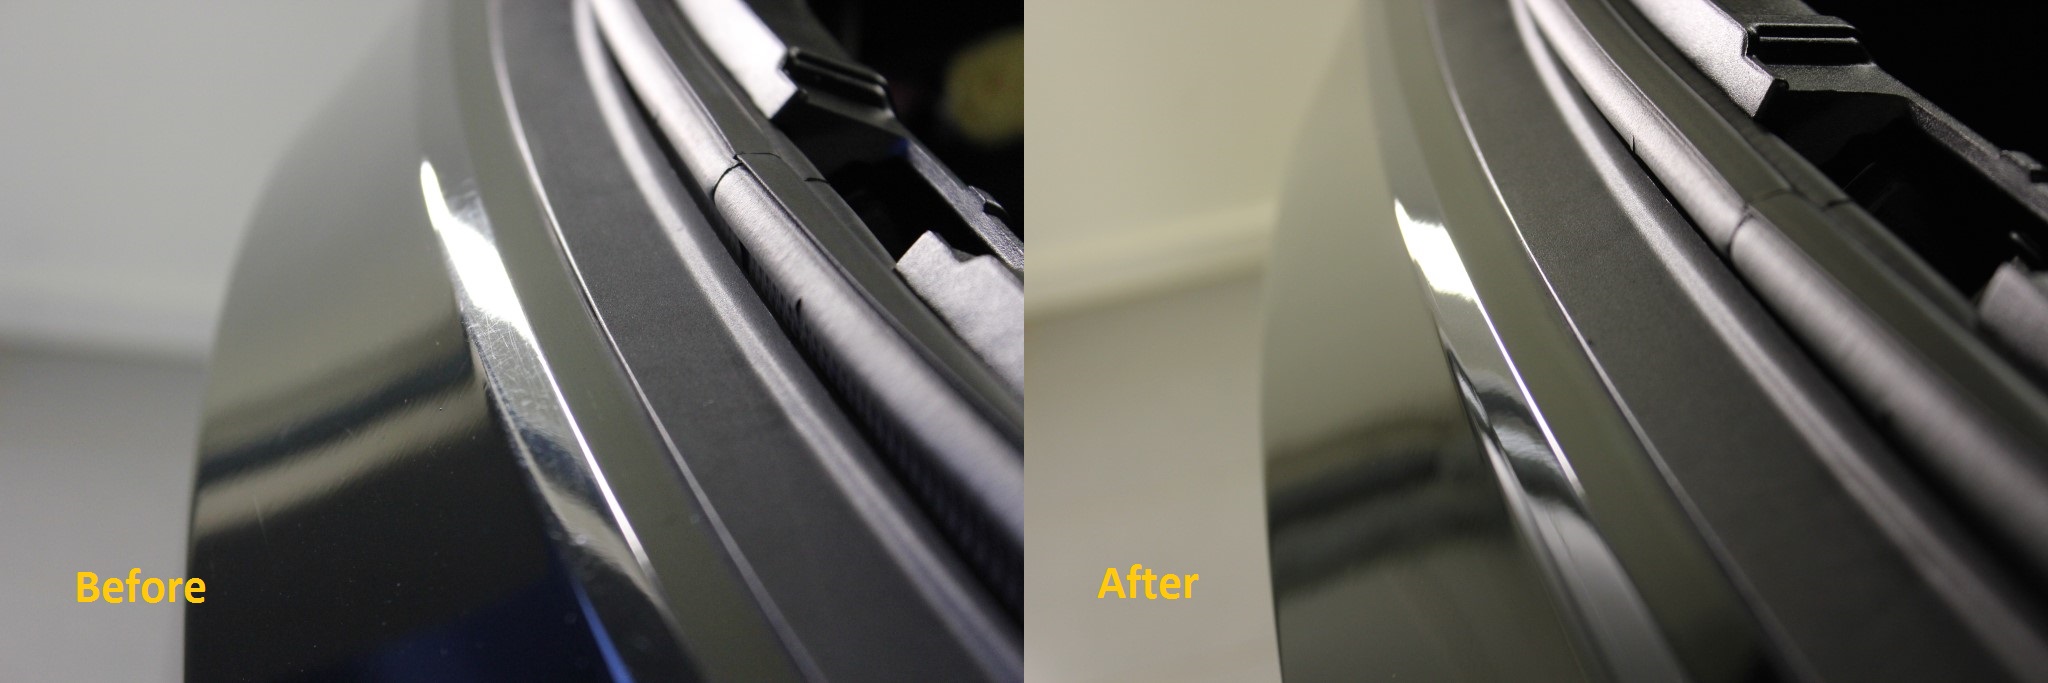
It is worth pointing out that some of the spots Phil marked are actually as a result of the factory panel pressing process. When panels are pressed it can oftentimes create ever so slight waves and inverse impressions as part of the metal forming process. This is pretty normal and part and parcel of modern car production. Orange peel hides this and to a degree that is its purpose. When you knock down the peaks in the orange peel to level it out, even partially, you run the risk of making these panel imperfections more visible. As such, Phil set about knocking out much of these factory defects
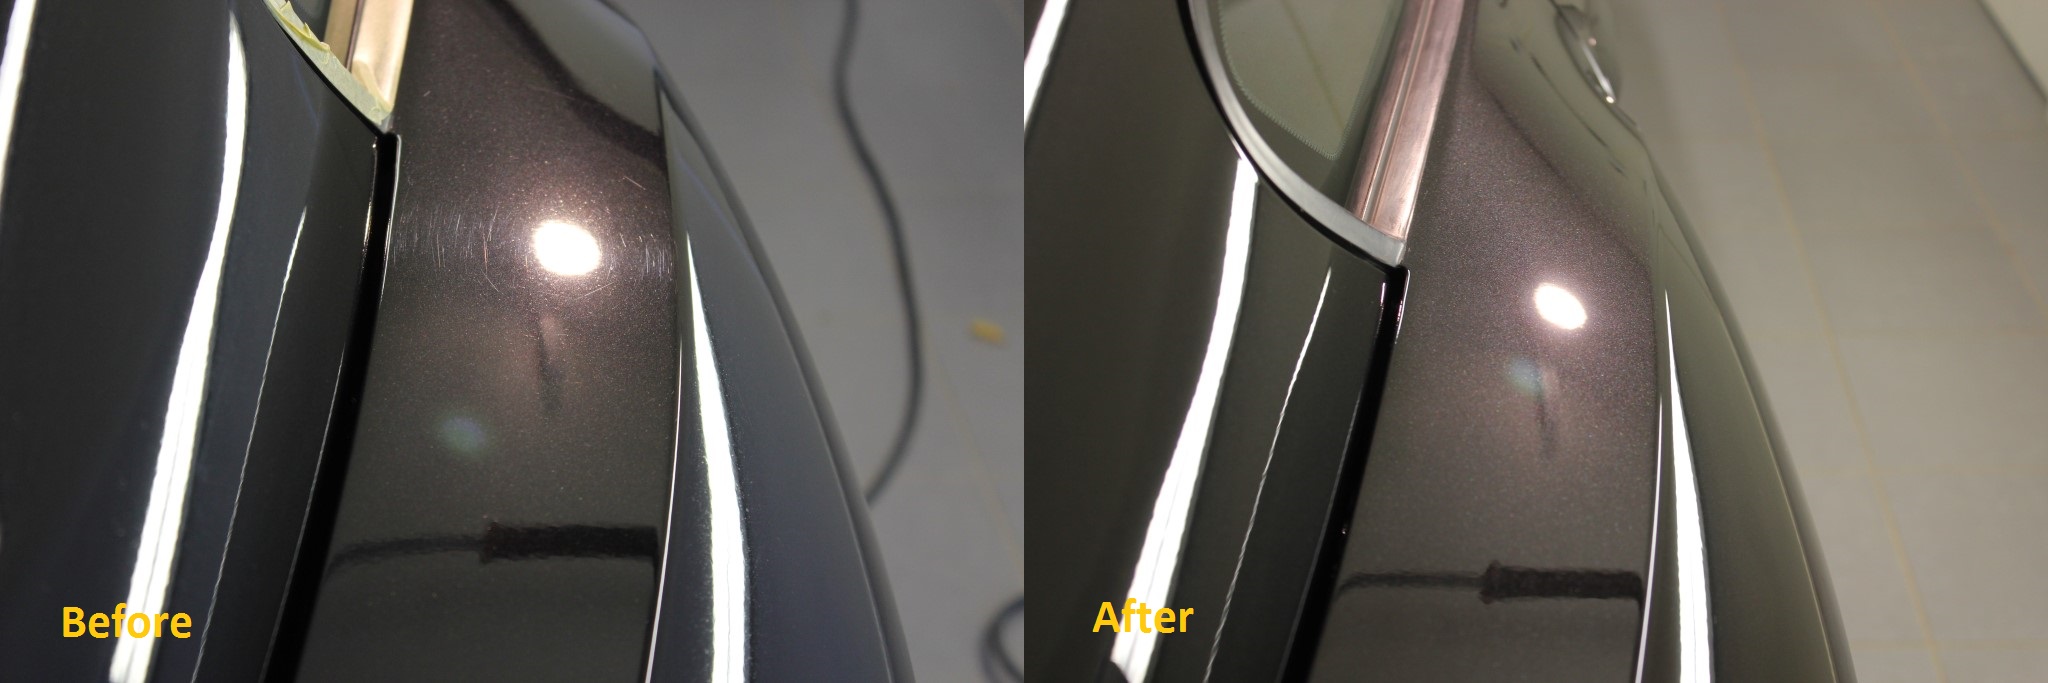
">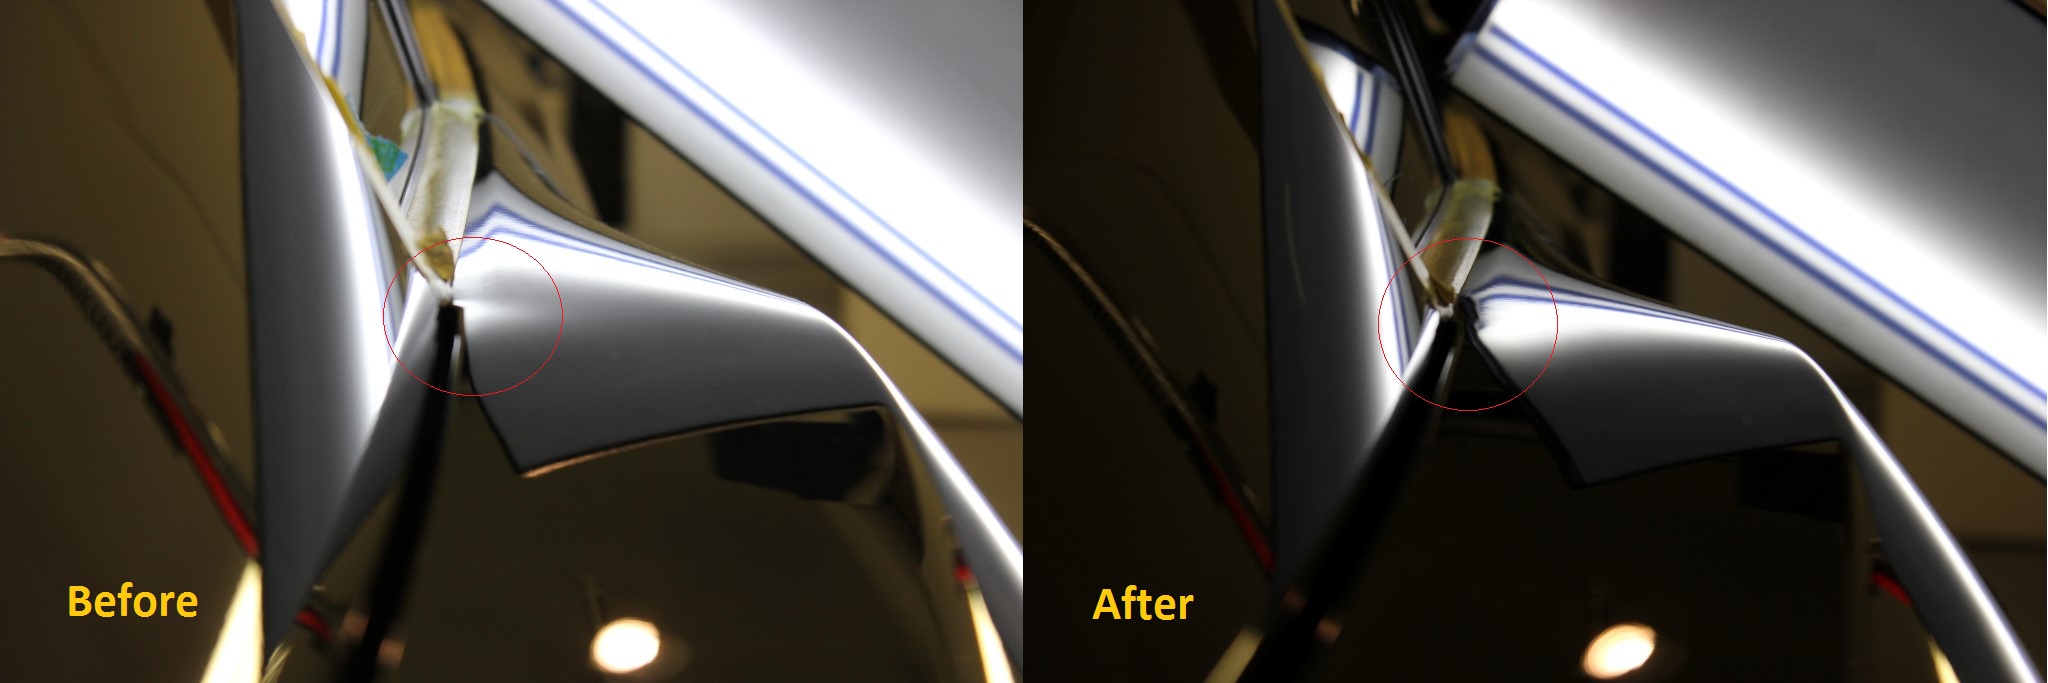
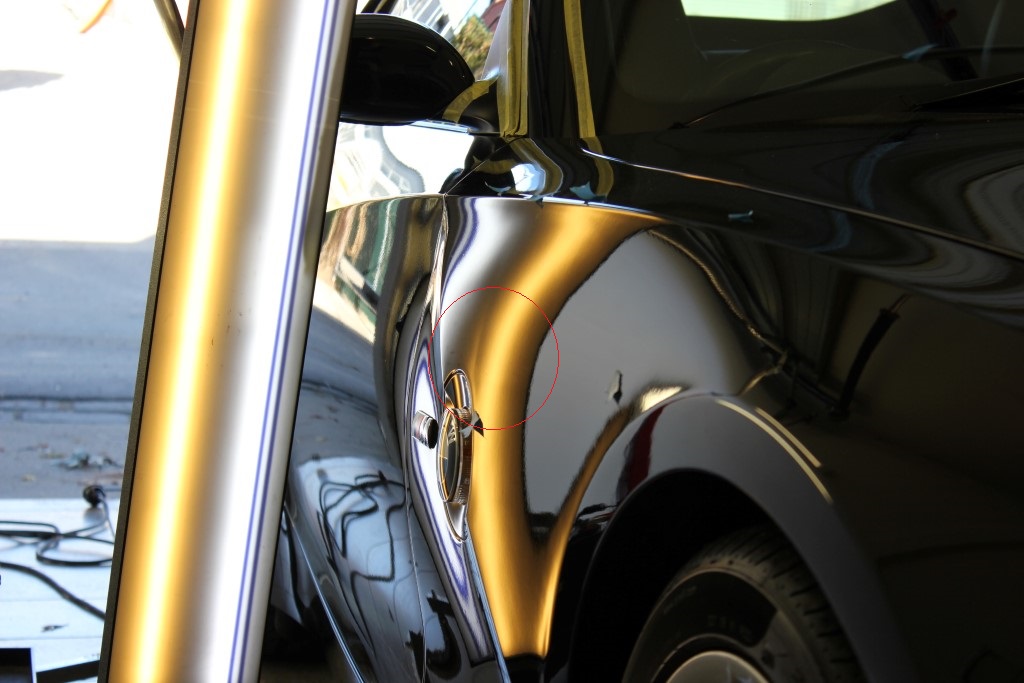
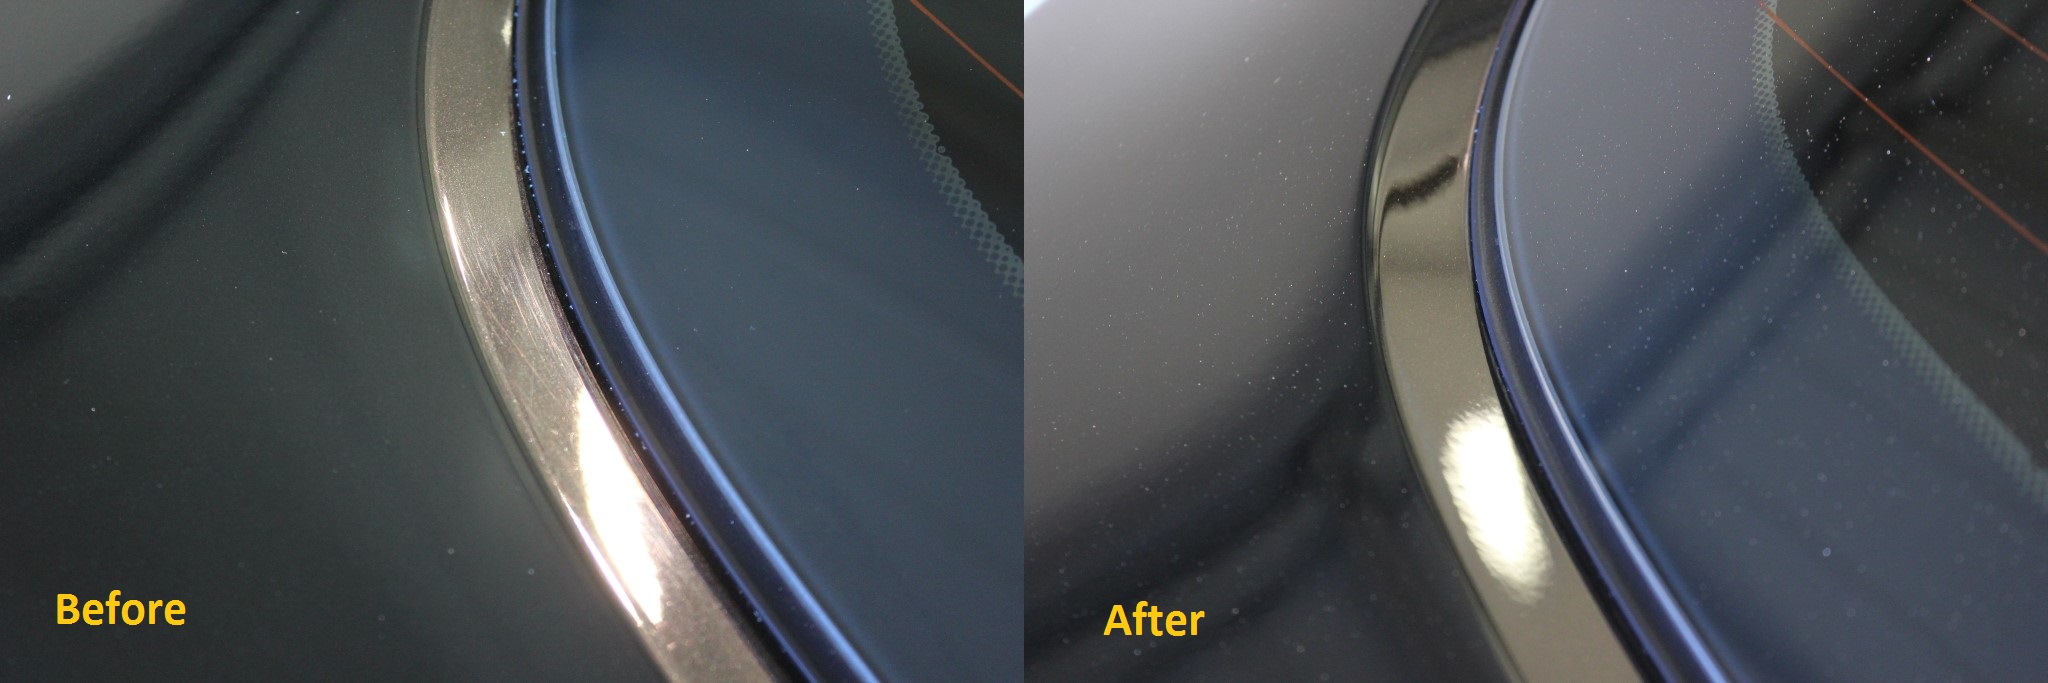
You can see the red circled area in the before pic has a slight depression as a result of the quarter panel being pressed into shape during the manufacturing process. Every Z4 will have this. It's just part of the deal. The after photo show how Phil expertly removed the depression and has now effectively created a panel shape that exceeds the quality of the factory spec. This is something he's done here and there across the entire car. As a result, we came up with a new category that sits between "Factory" and "Showcar". We call it "Better than Factory" It might seem like a finicky thing now, but I am hoping this will pay dividends come sanding time.
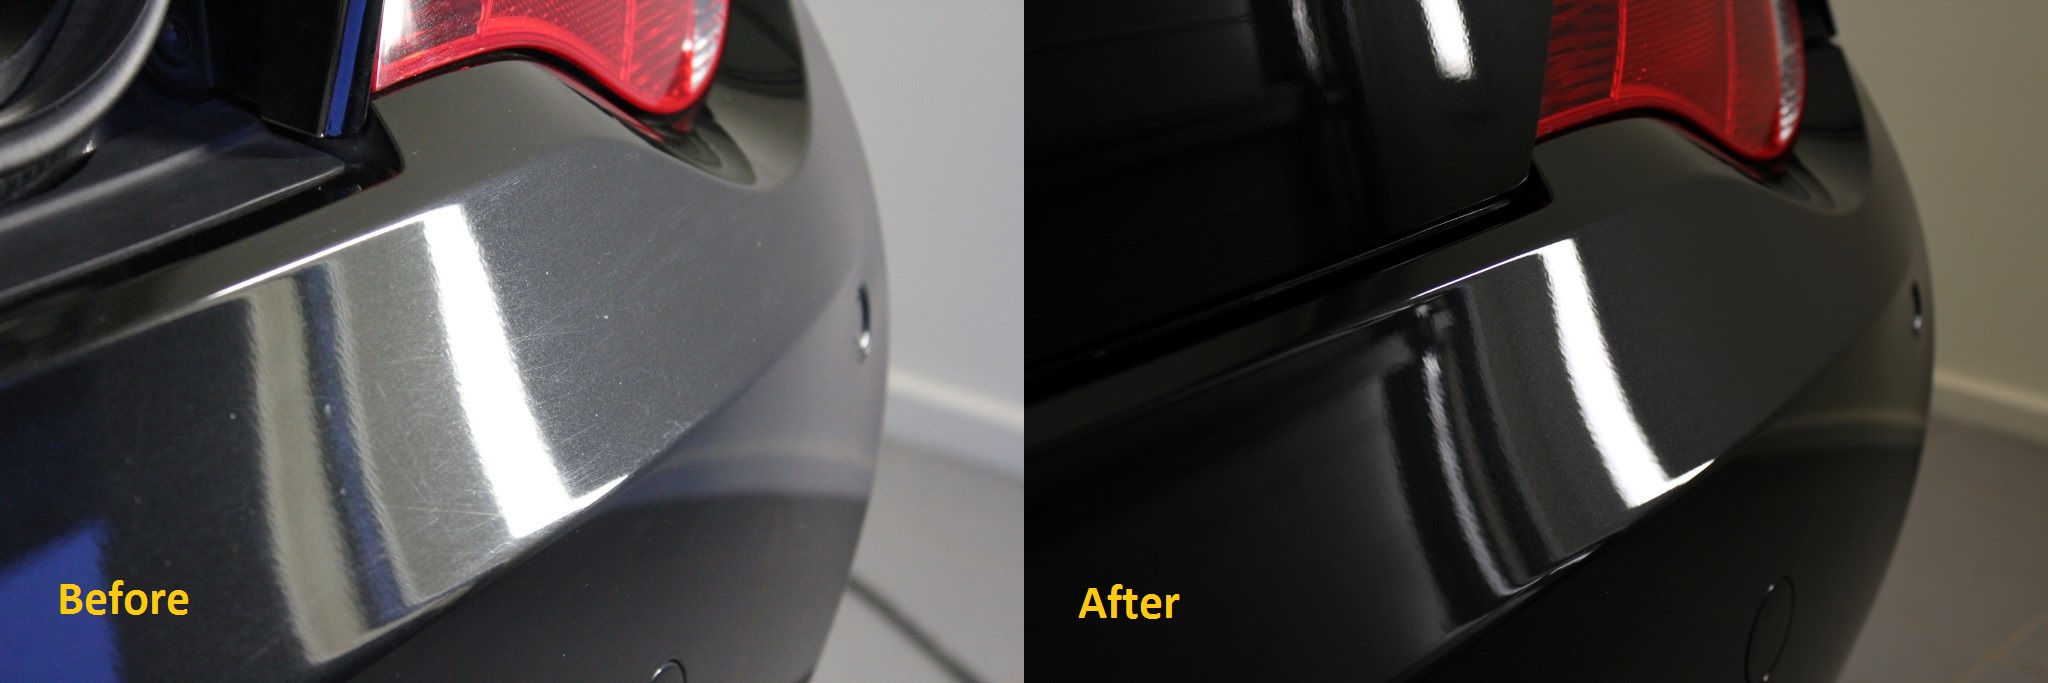
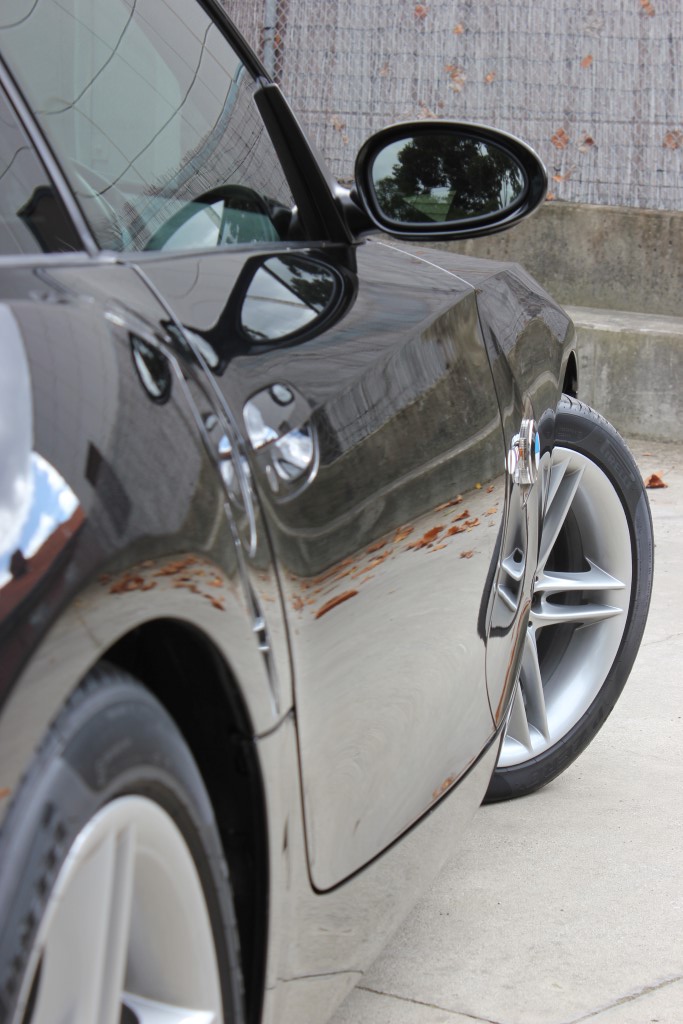
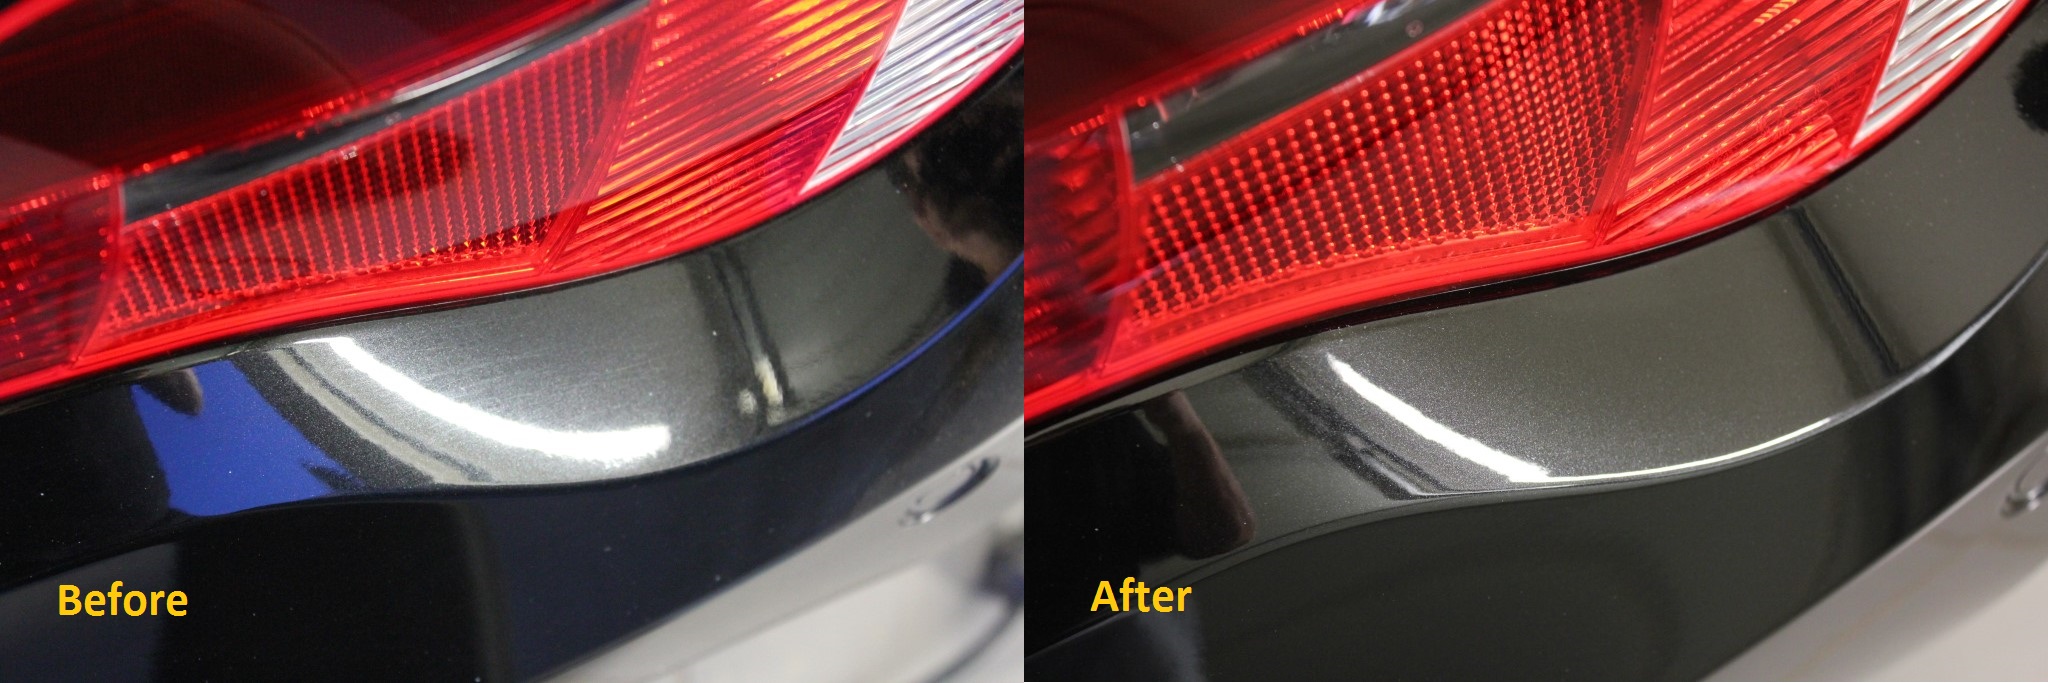
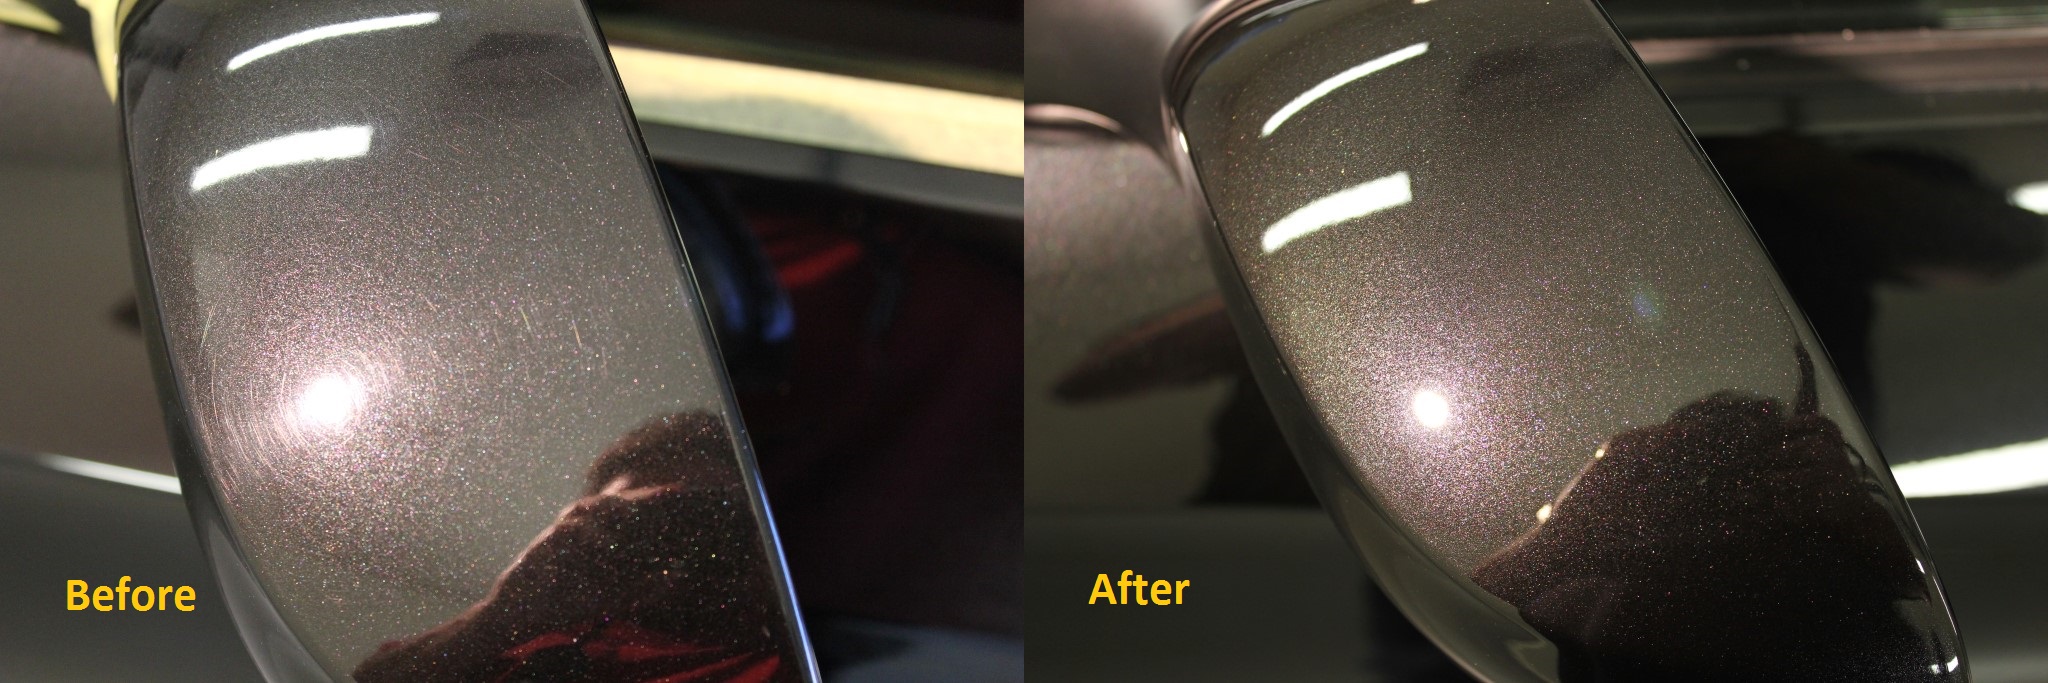
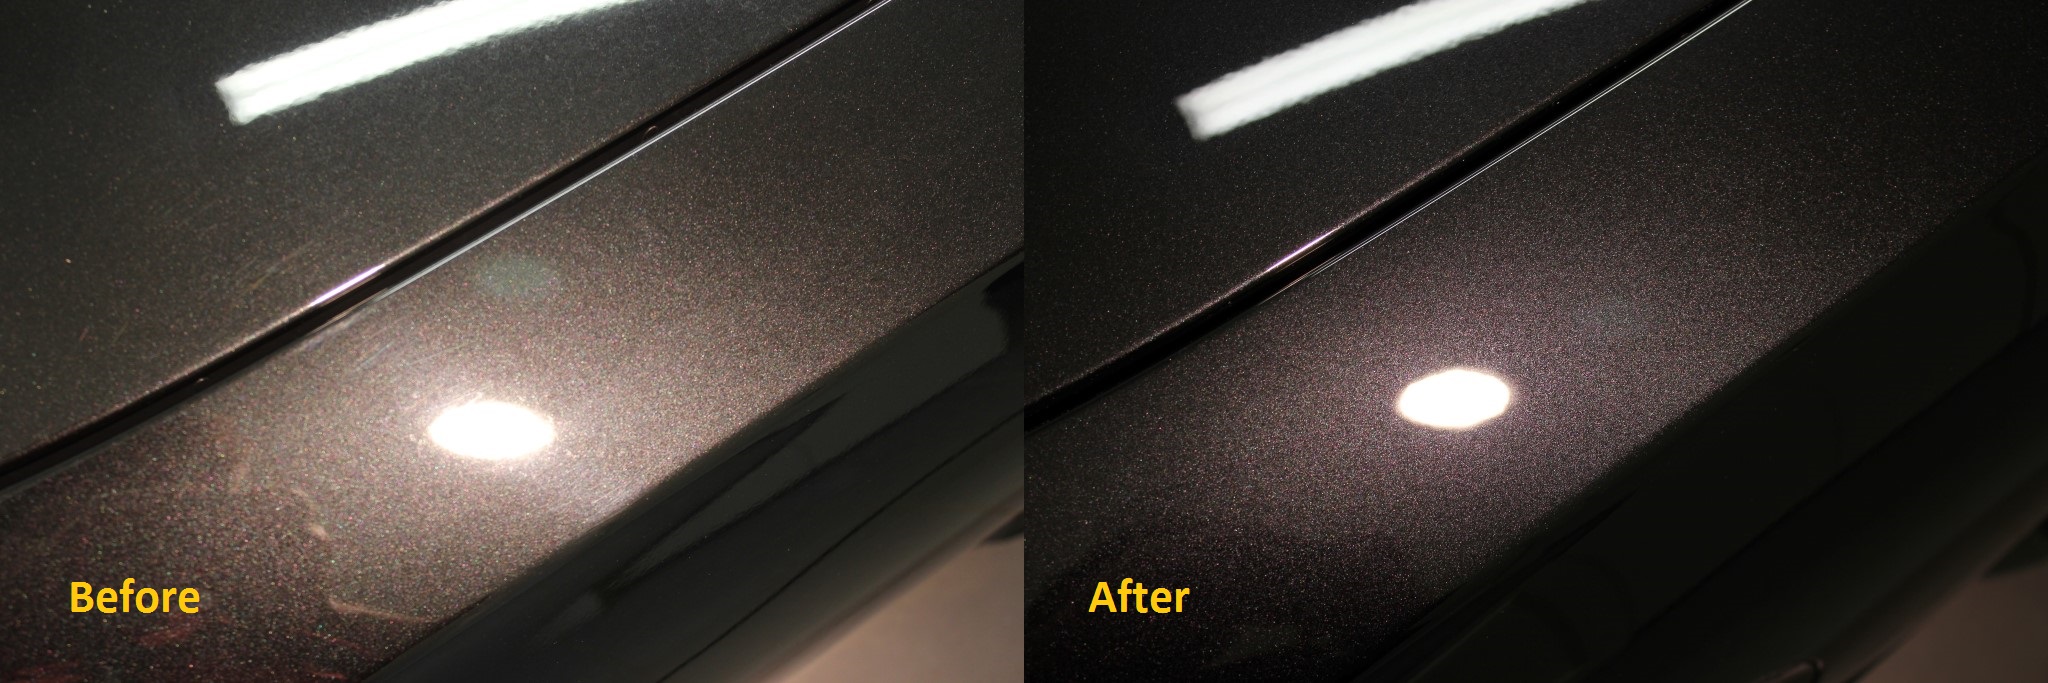
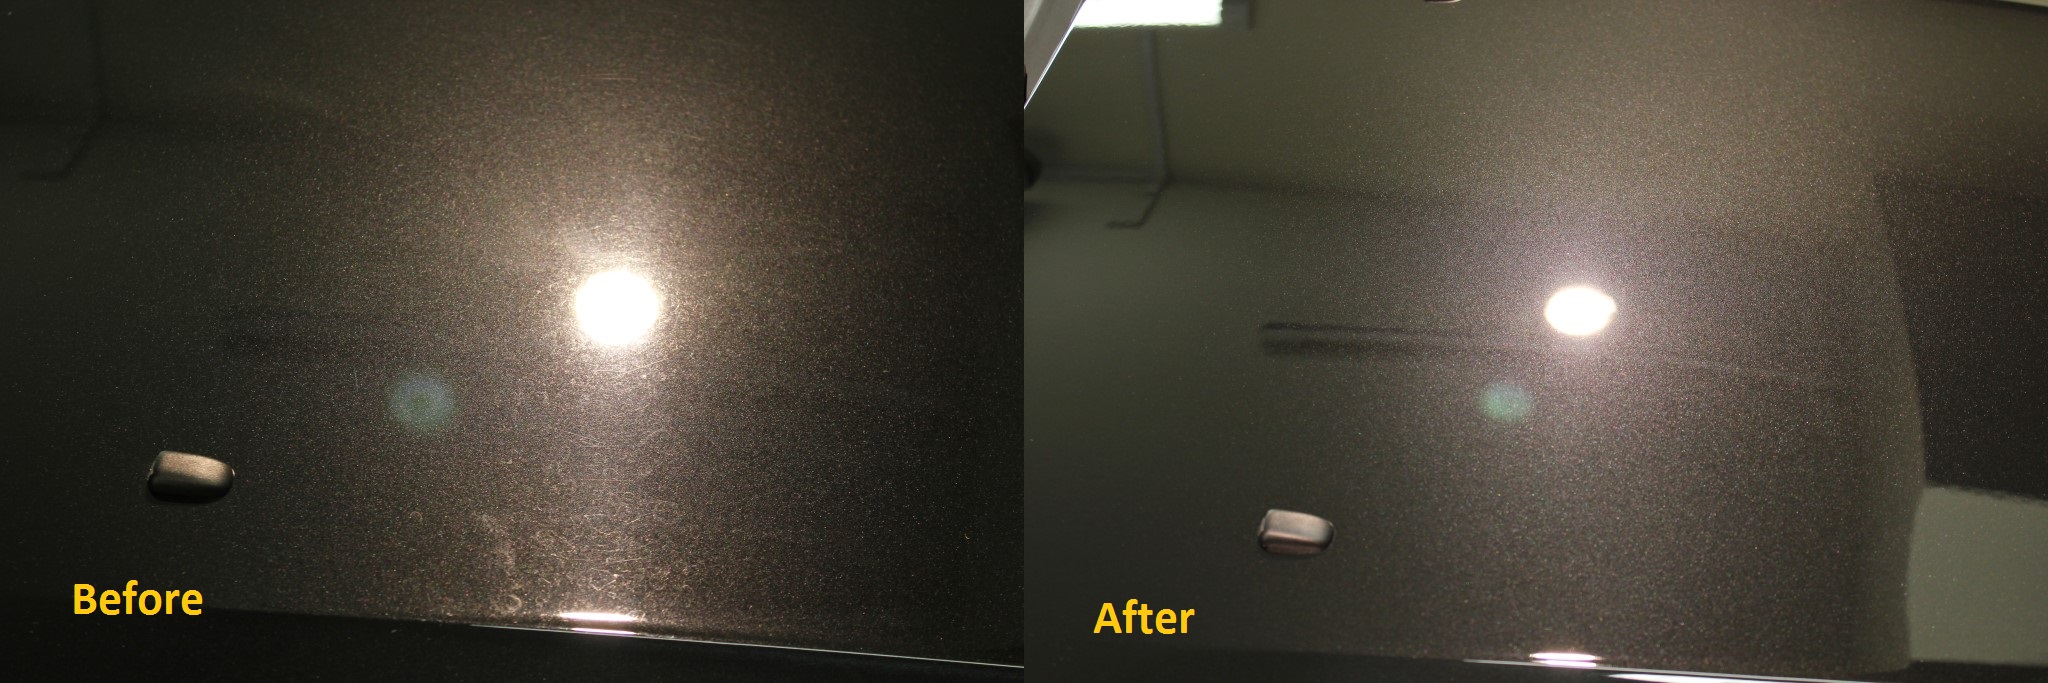
On to the correction process. This was achieved with foam on the Rupes and using HD Compounds and Polishes. The paint itself was actually quite hard. Something that will definitely make it easier to maintain in the future. The process was very slow going because of the condition of the car and the fact that I was aiming for an extremely high level of correction. I allowed three days for the correction and ended up using pretty much all of that time. The back bumper area was one of the worse affected spots. As such I estimate around six hours alone was spent around there.
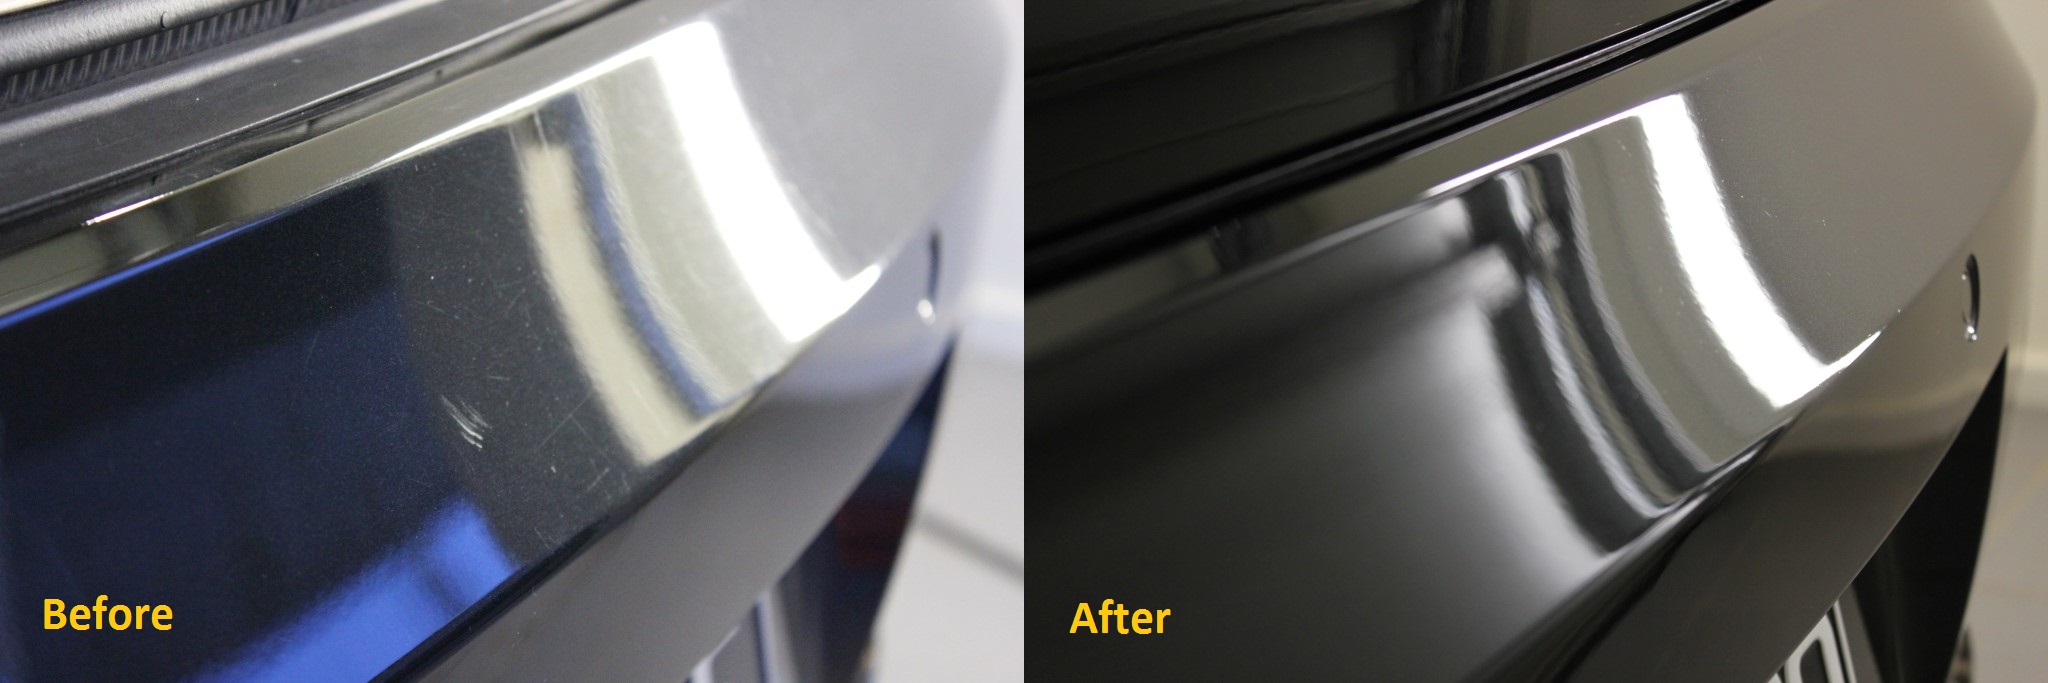
Right up to the edge of the boot lid
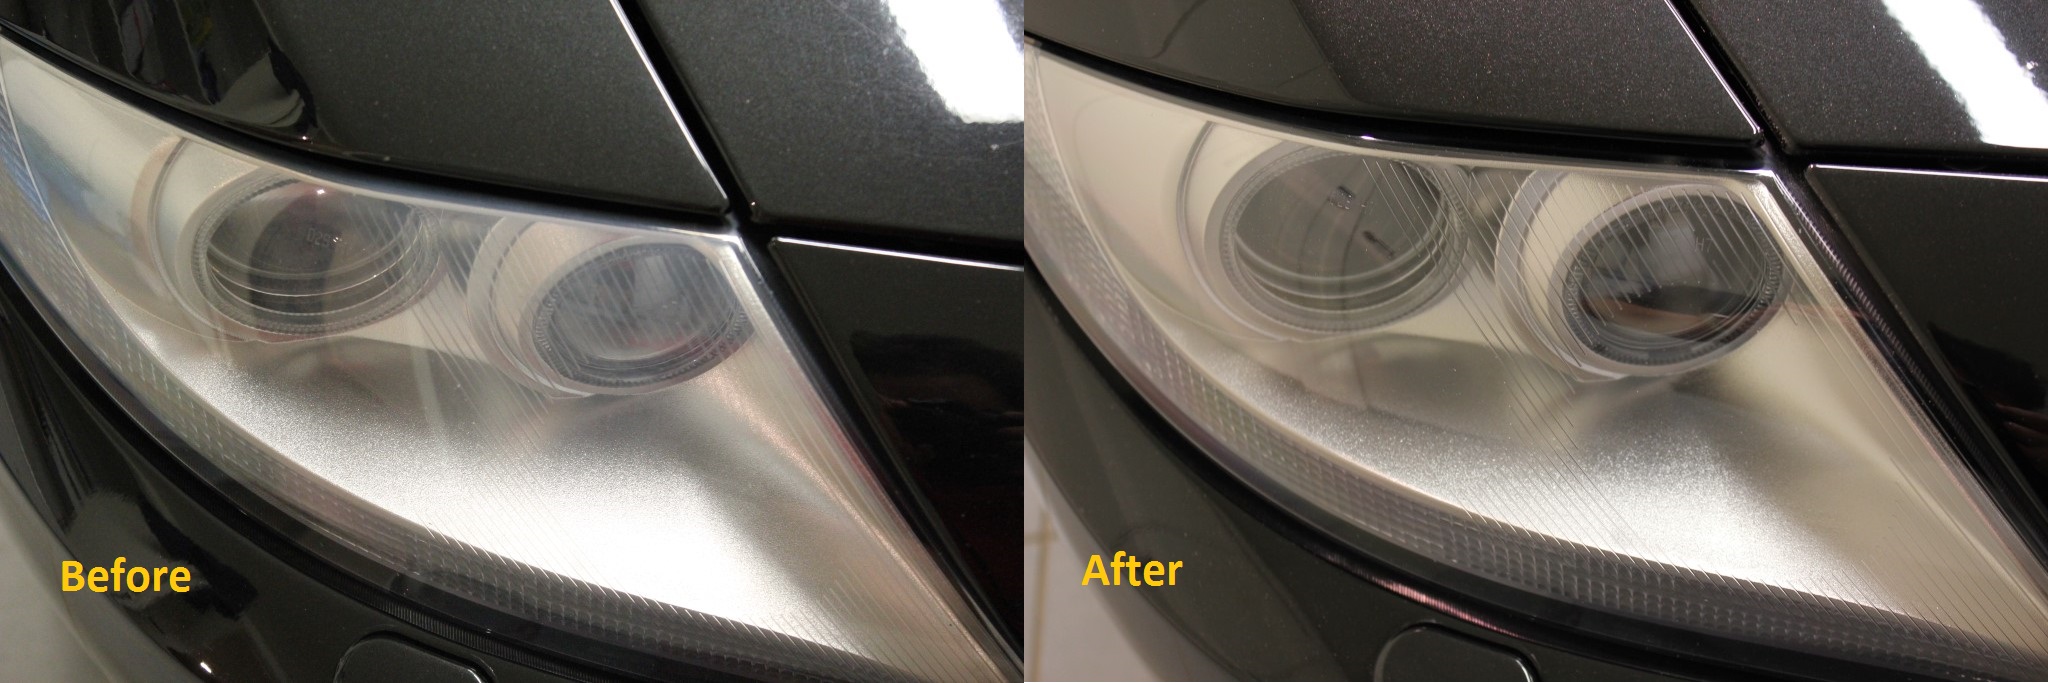
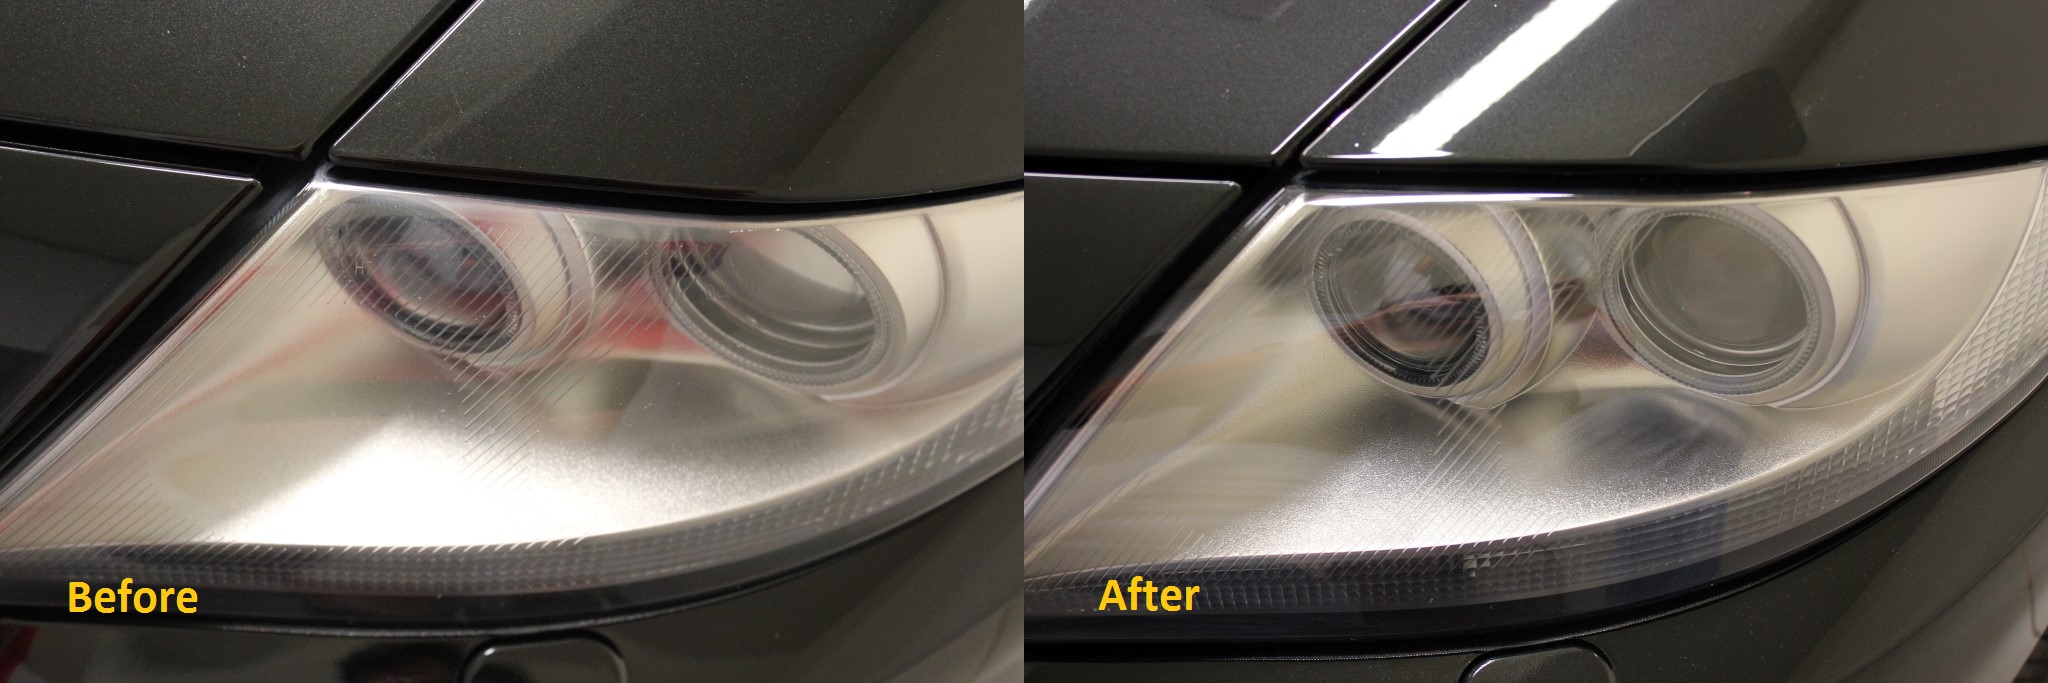
The headlights were also somewhat faded. Someone had had a crack at polishing these in the past also. These were corrected and coated in Optimum Opti-Lens to stop them from fading again
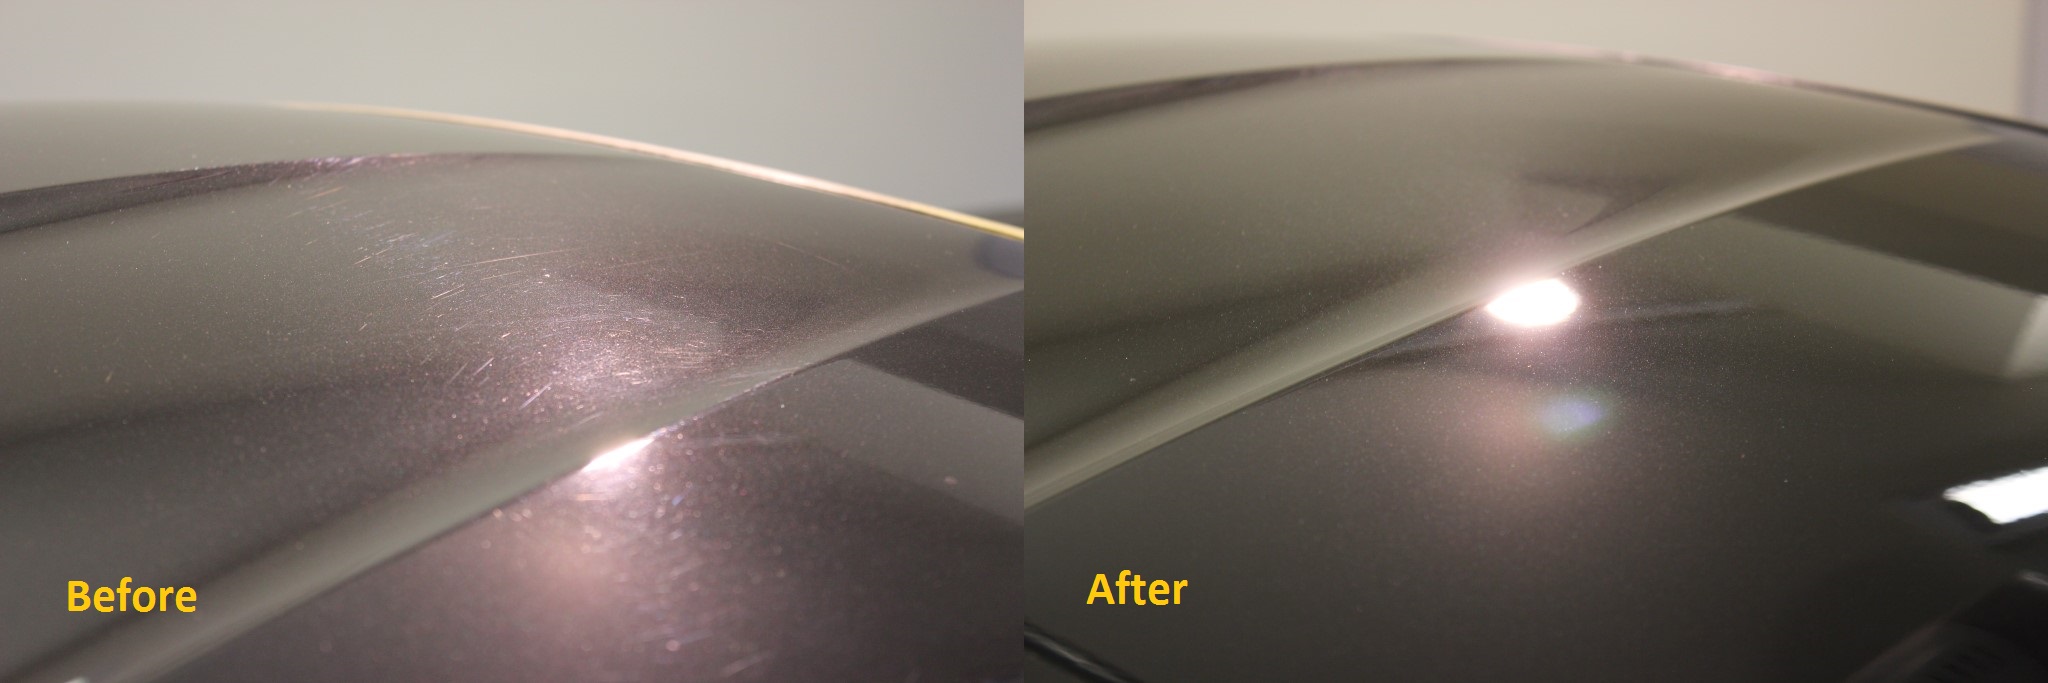
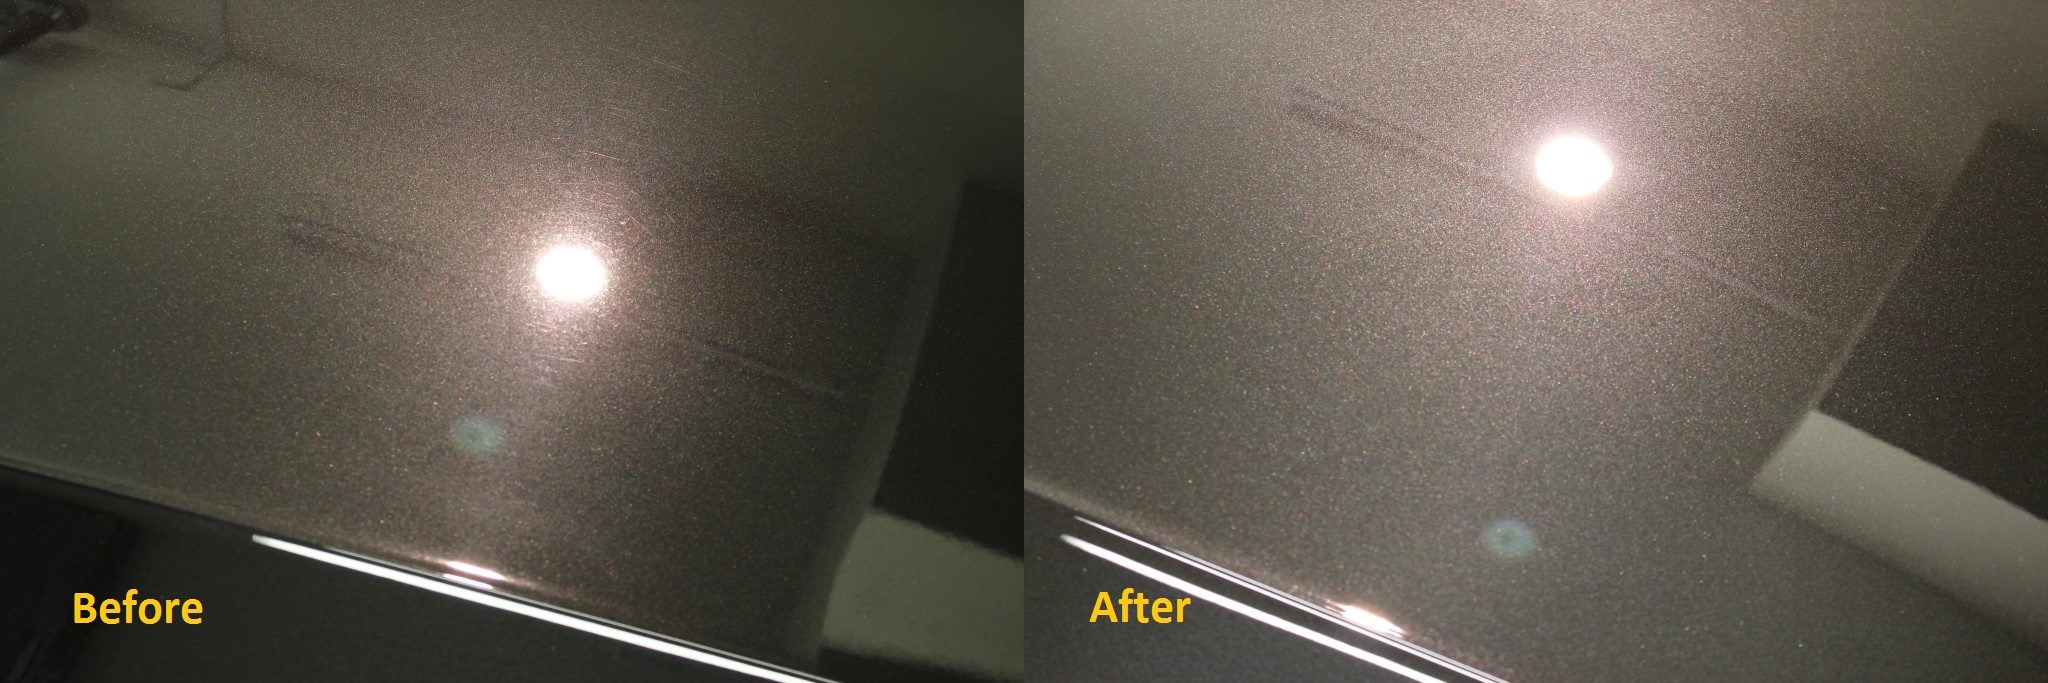
The roof
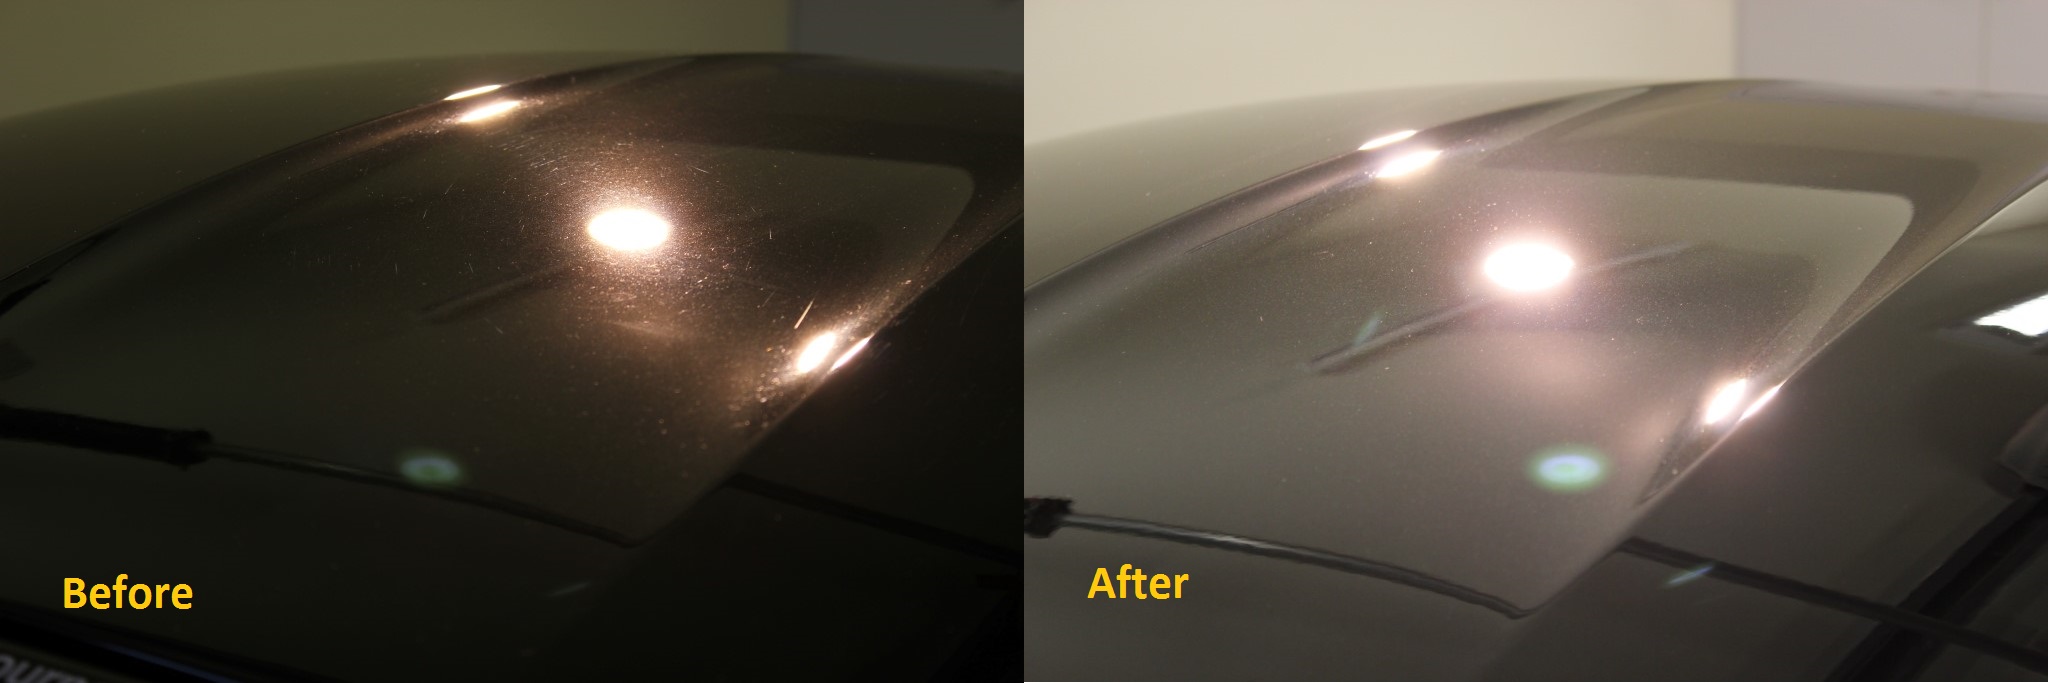
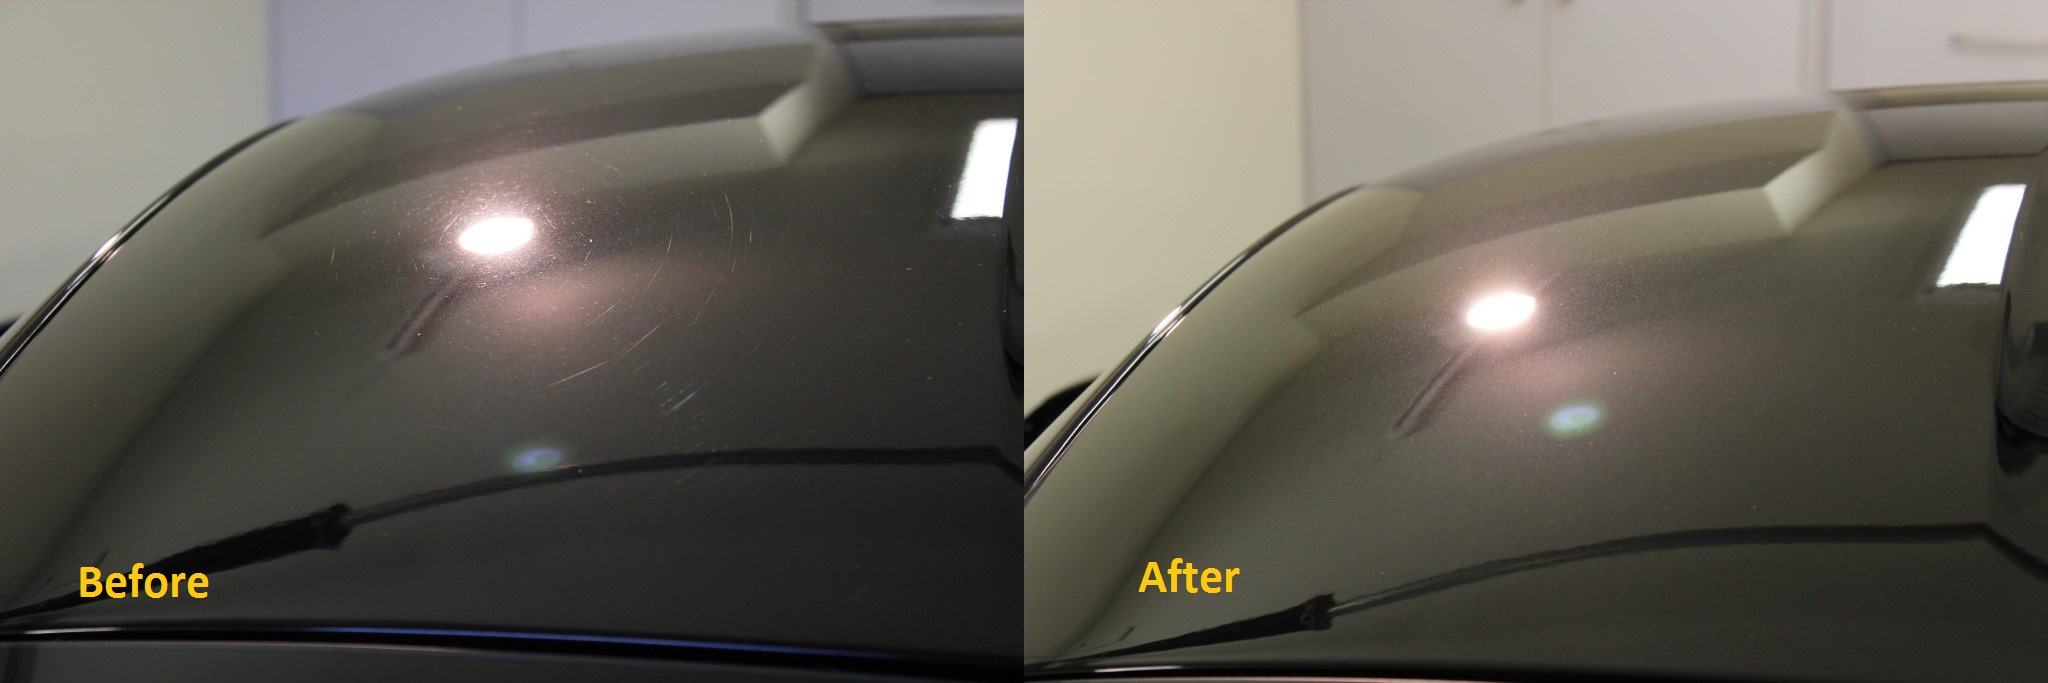
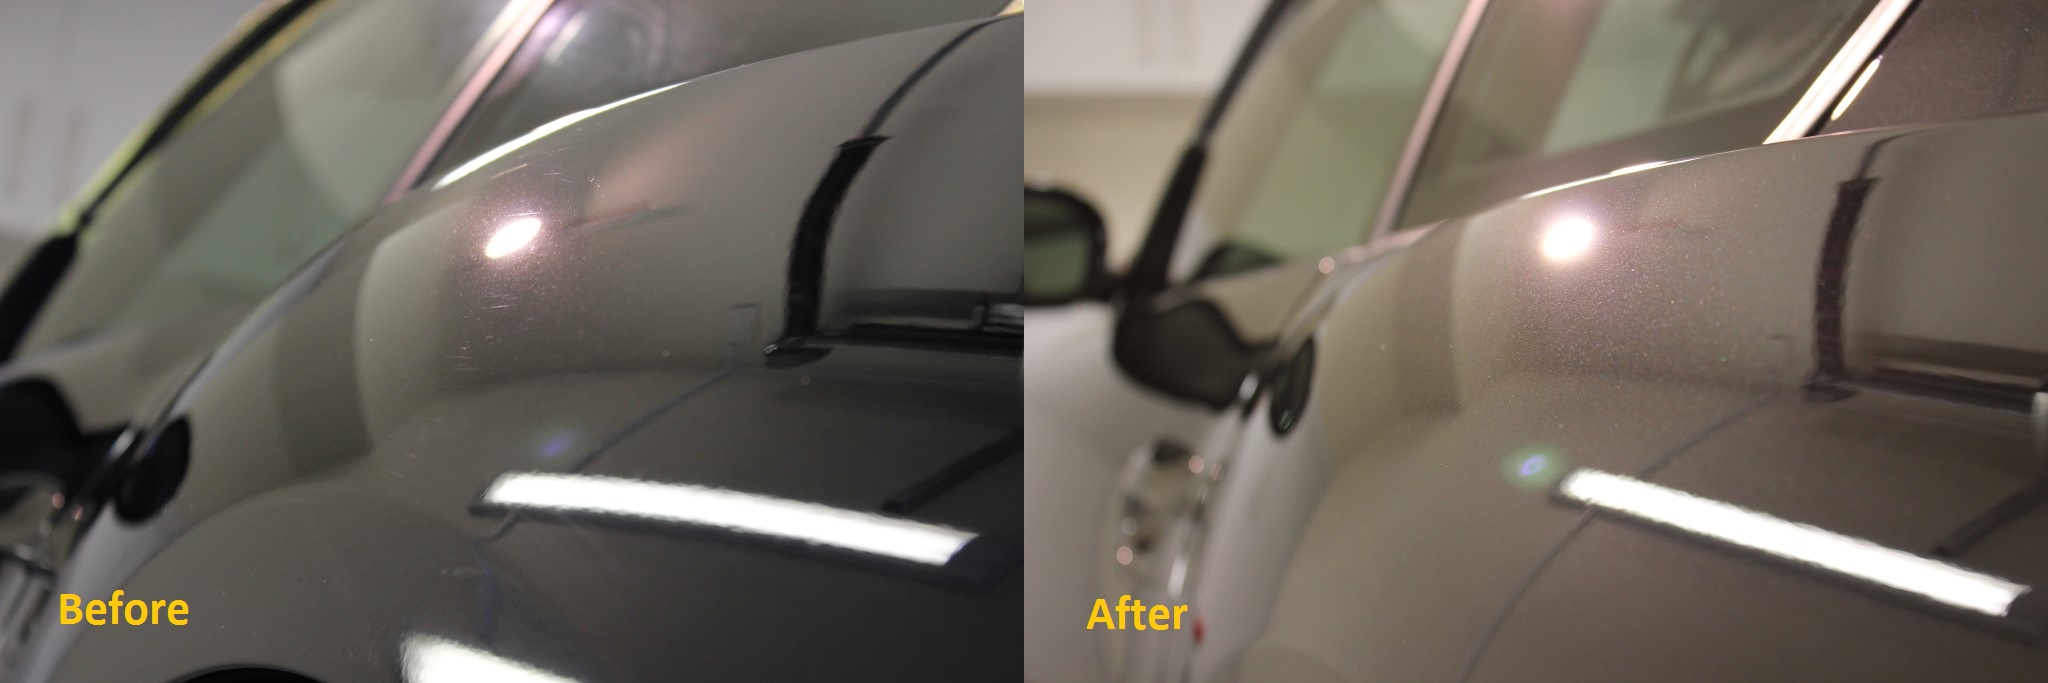
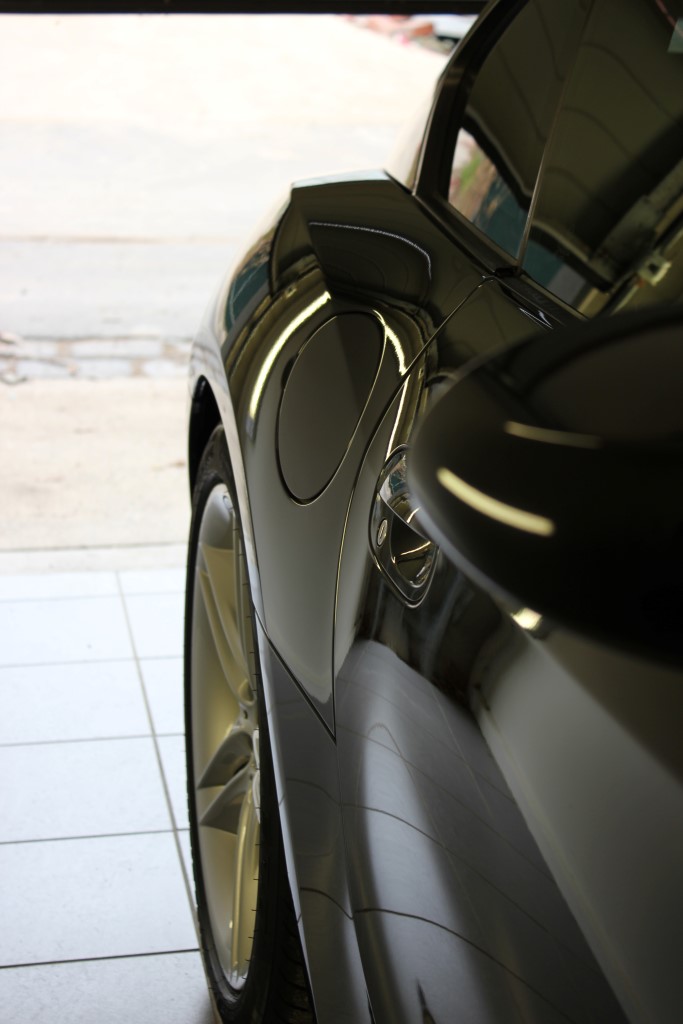
Getting a much better view of that Sapphire Metallic now that the water spotting and swirling has been removed.
More depth becoming apparent as well
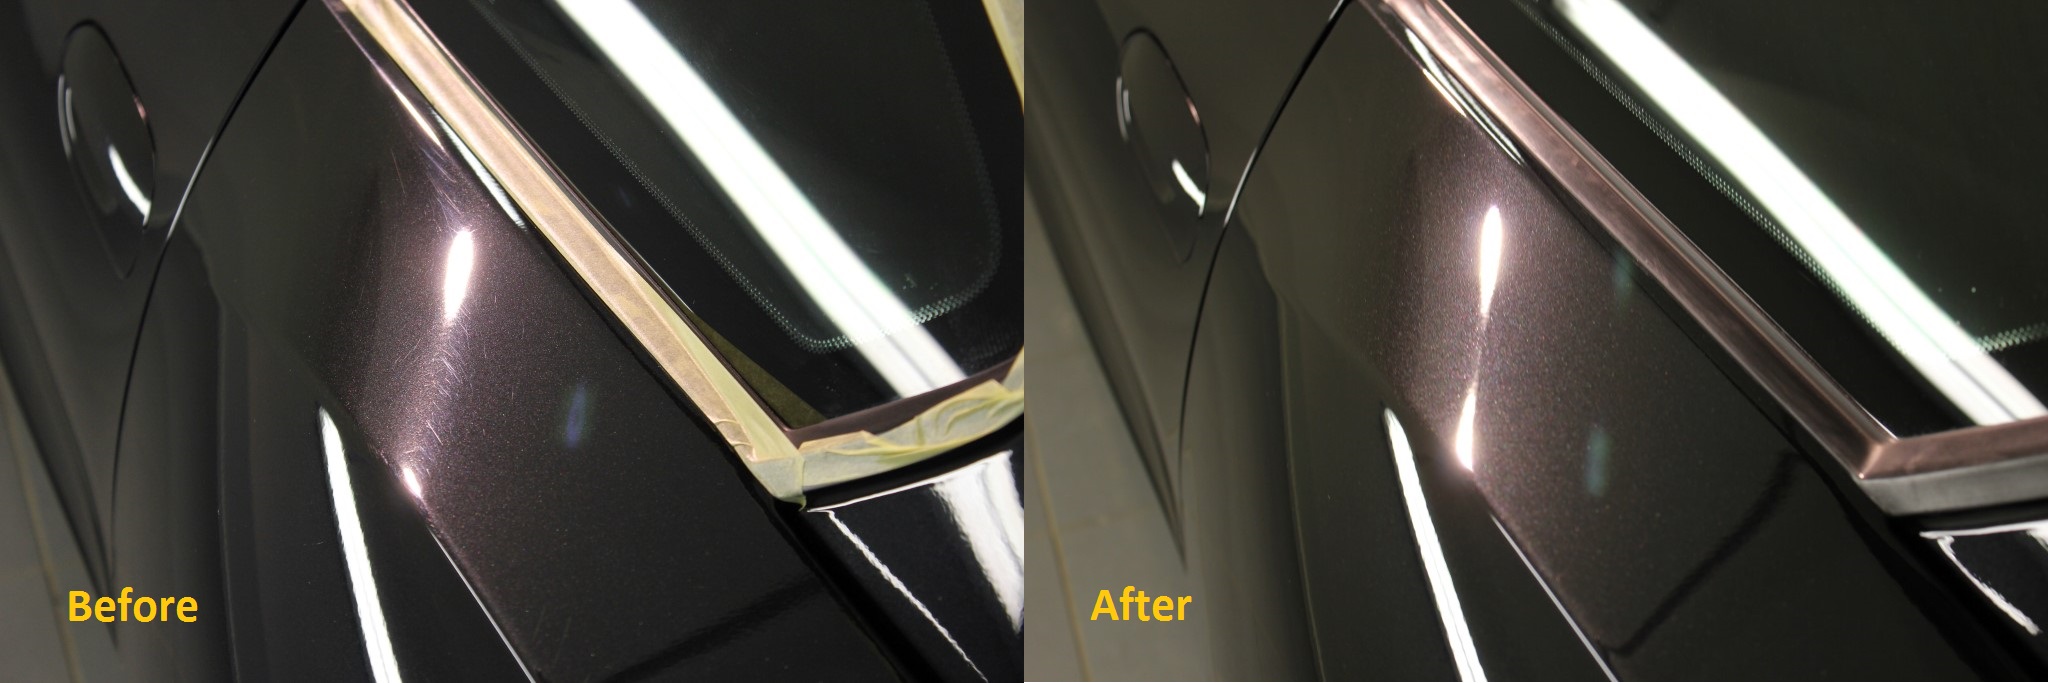
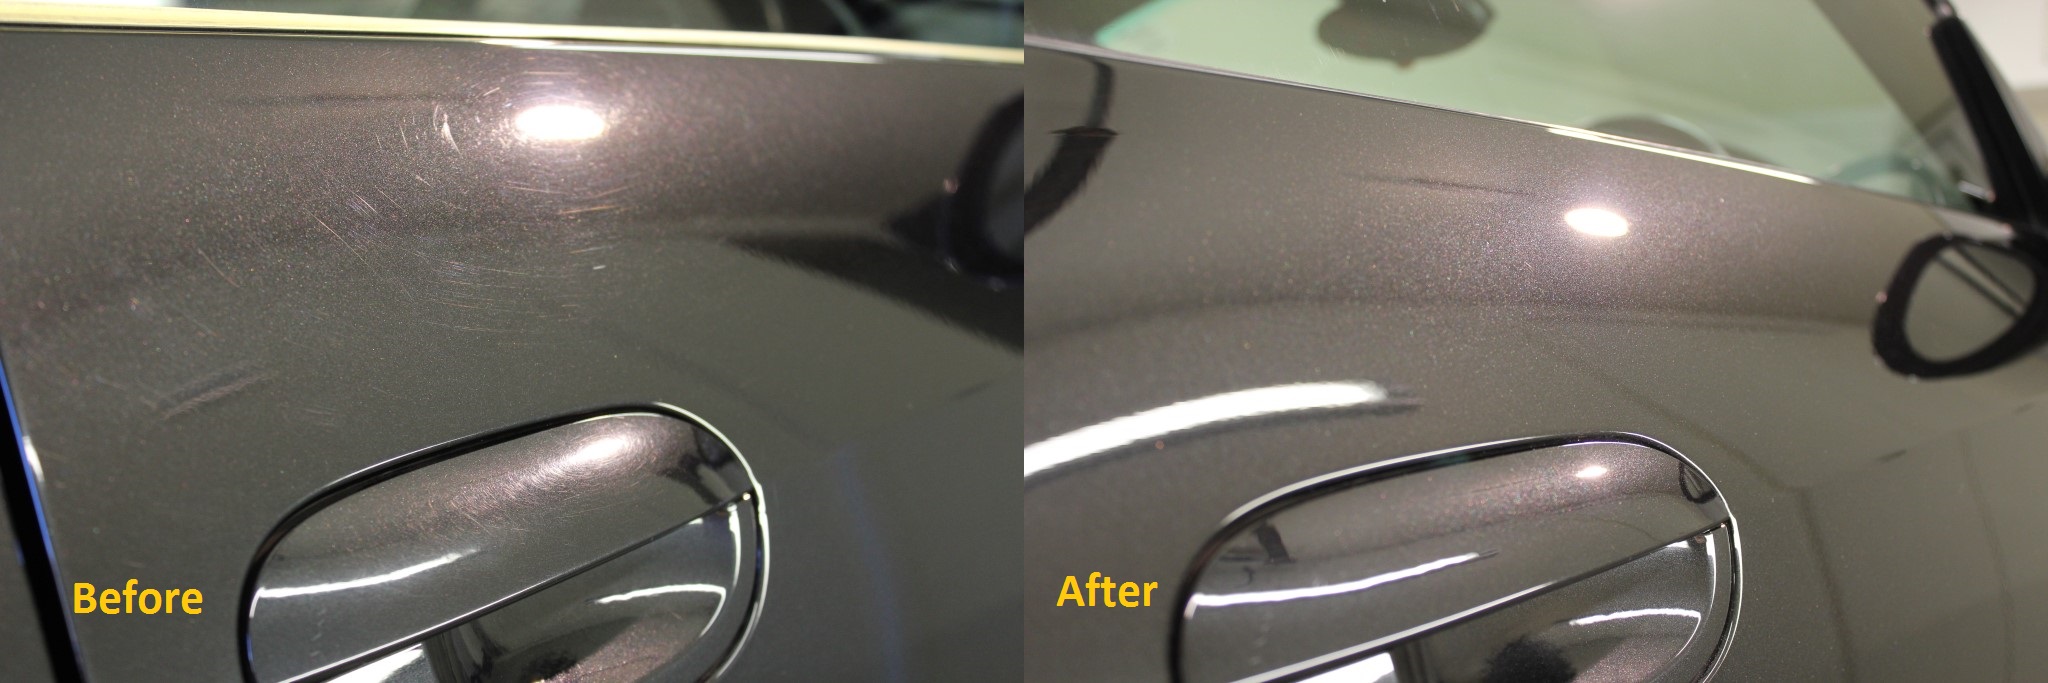
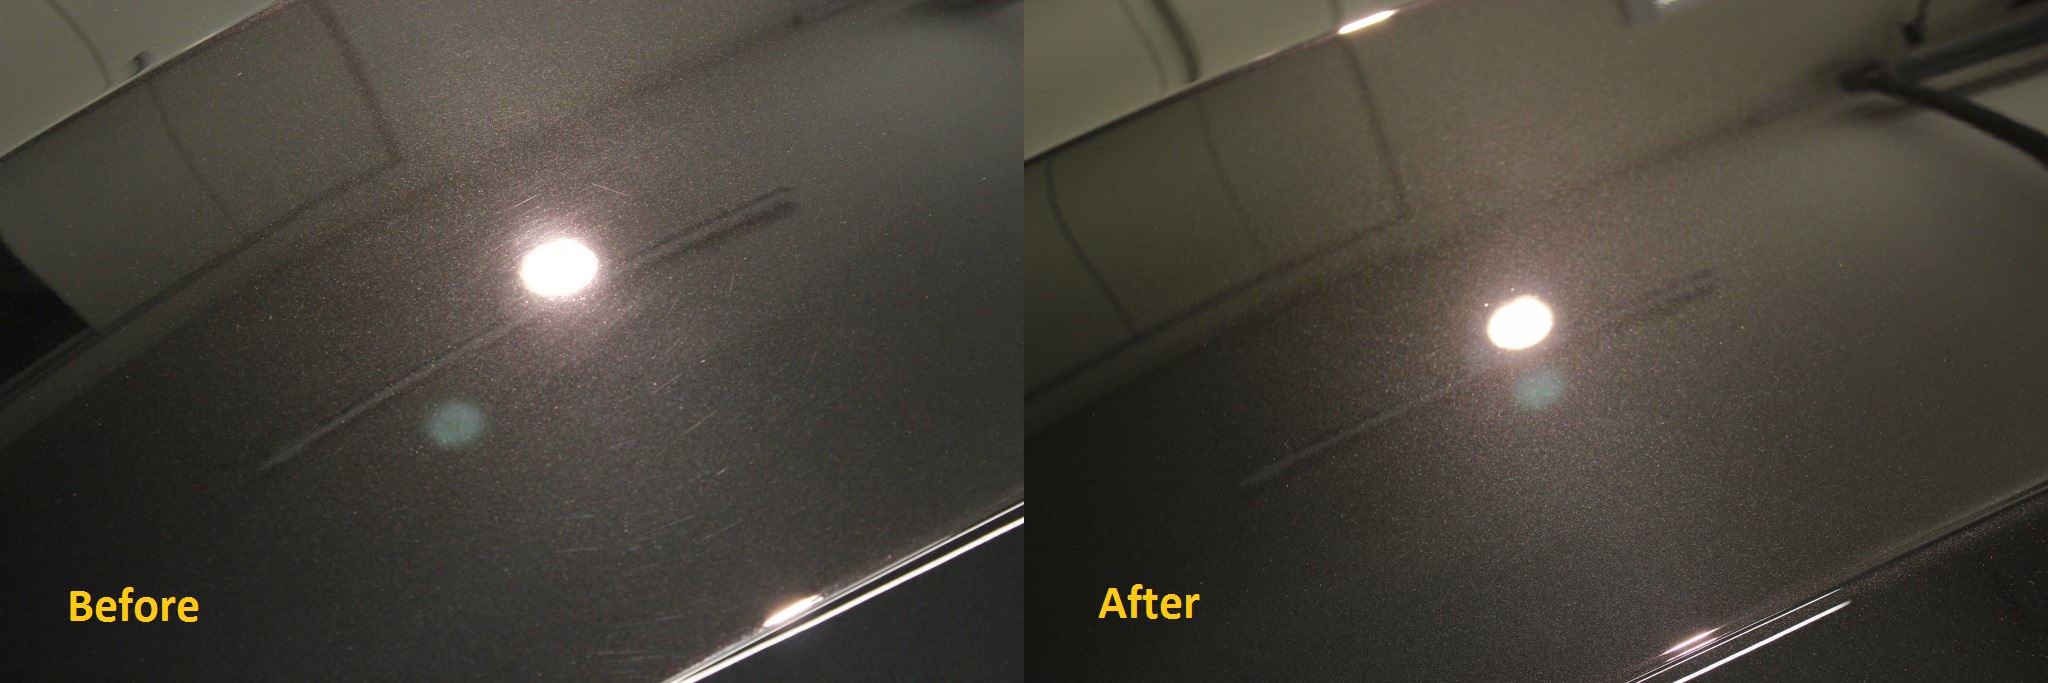
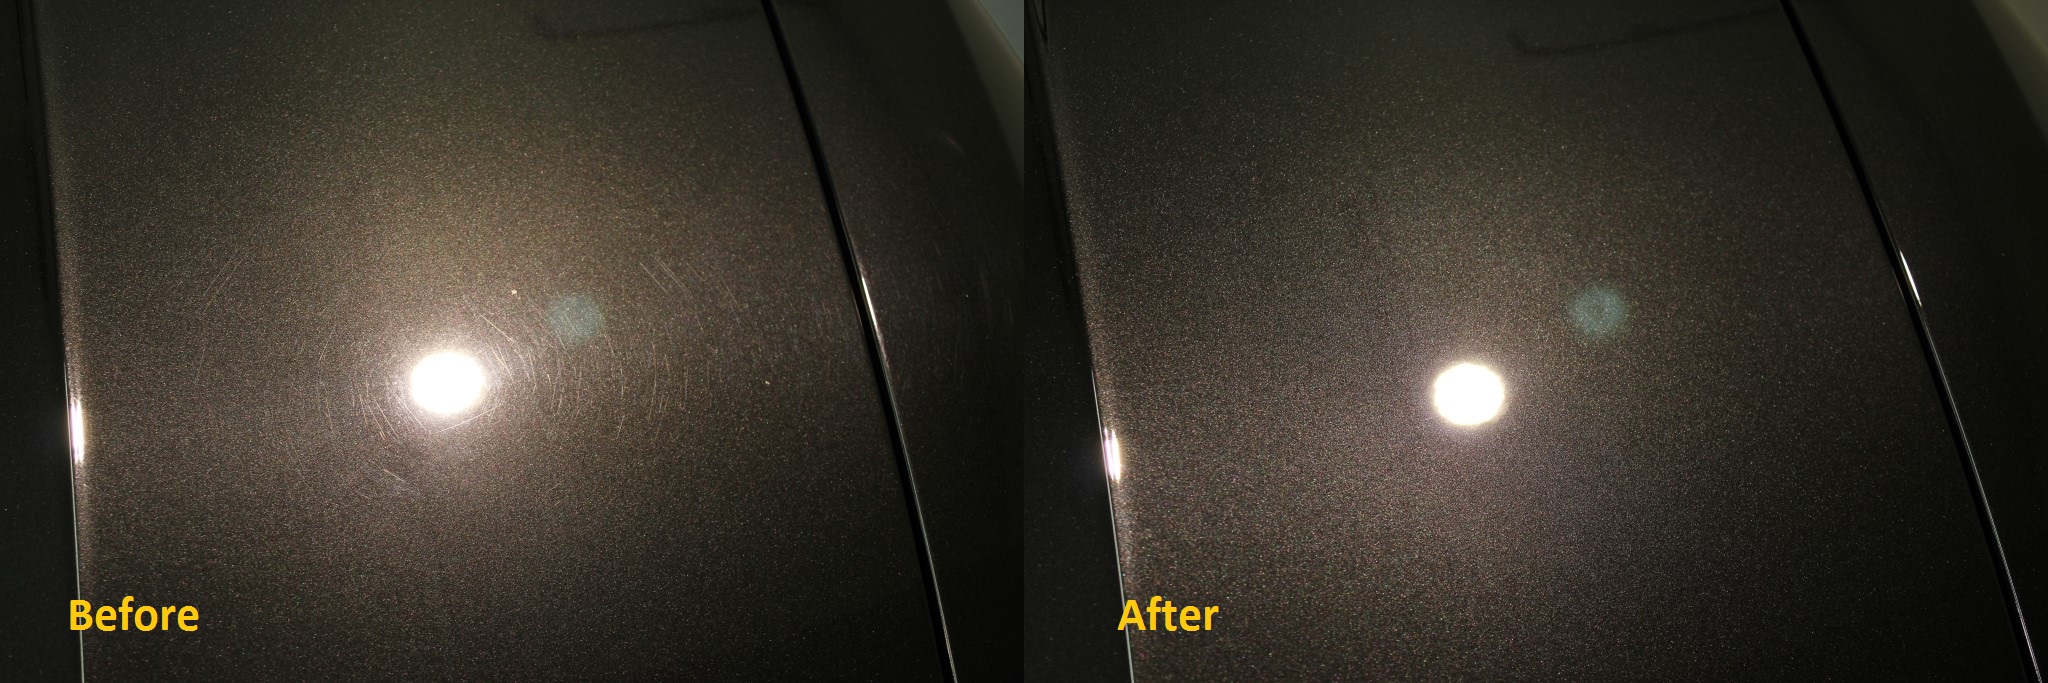
The doors had a lot of damage in them. Most of which was able to be completely removed
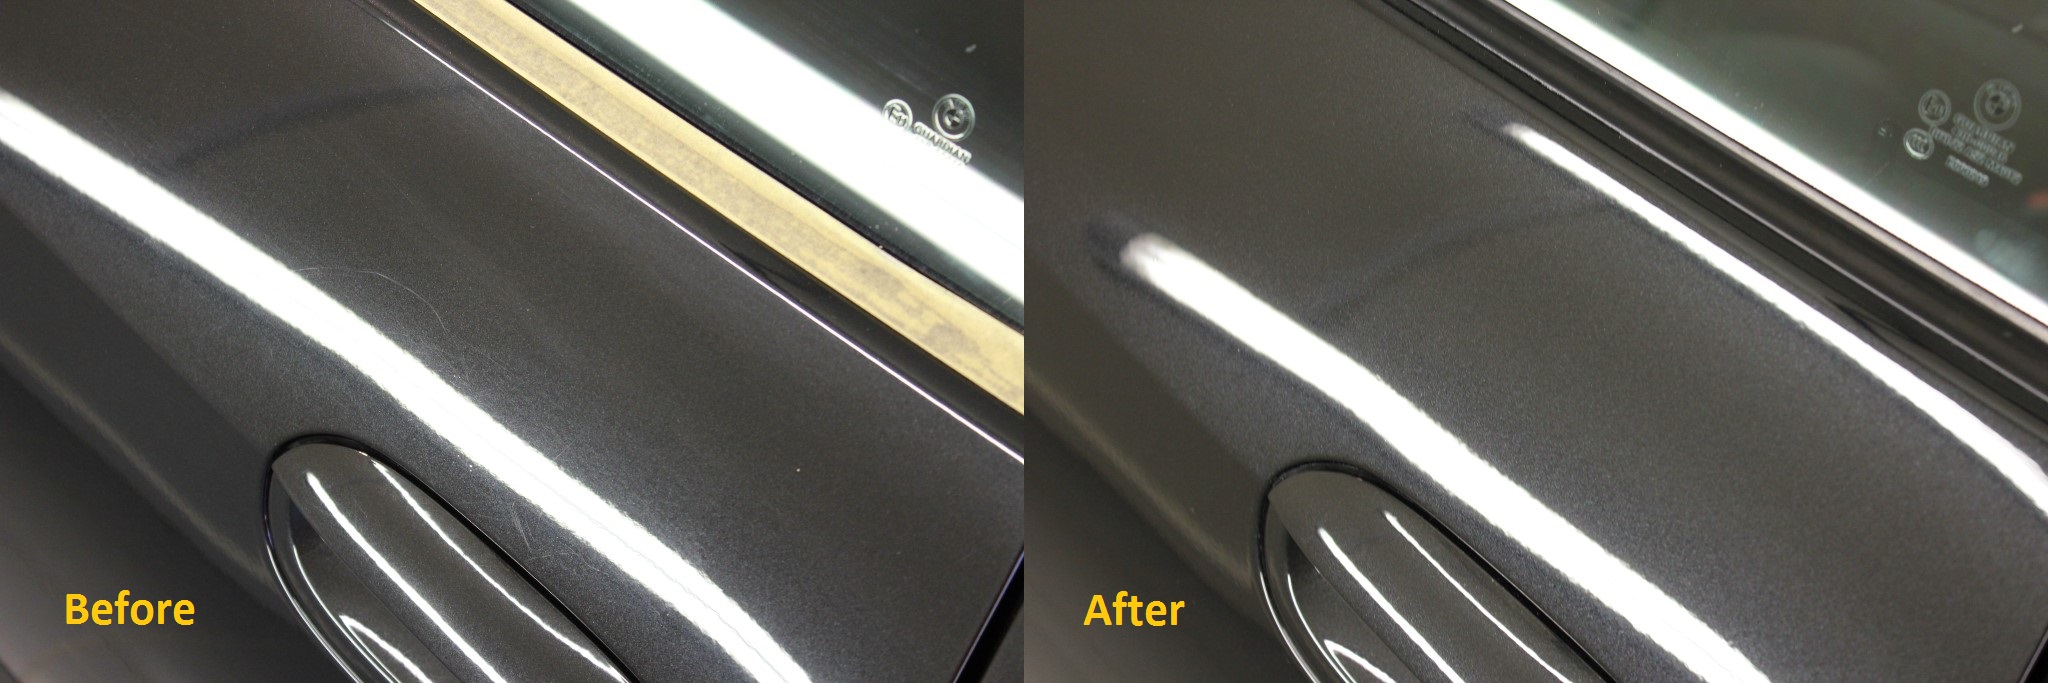

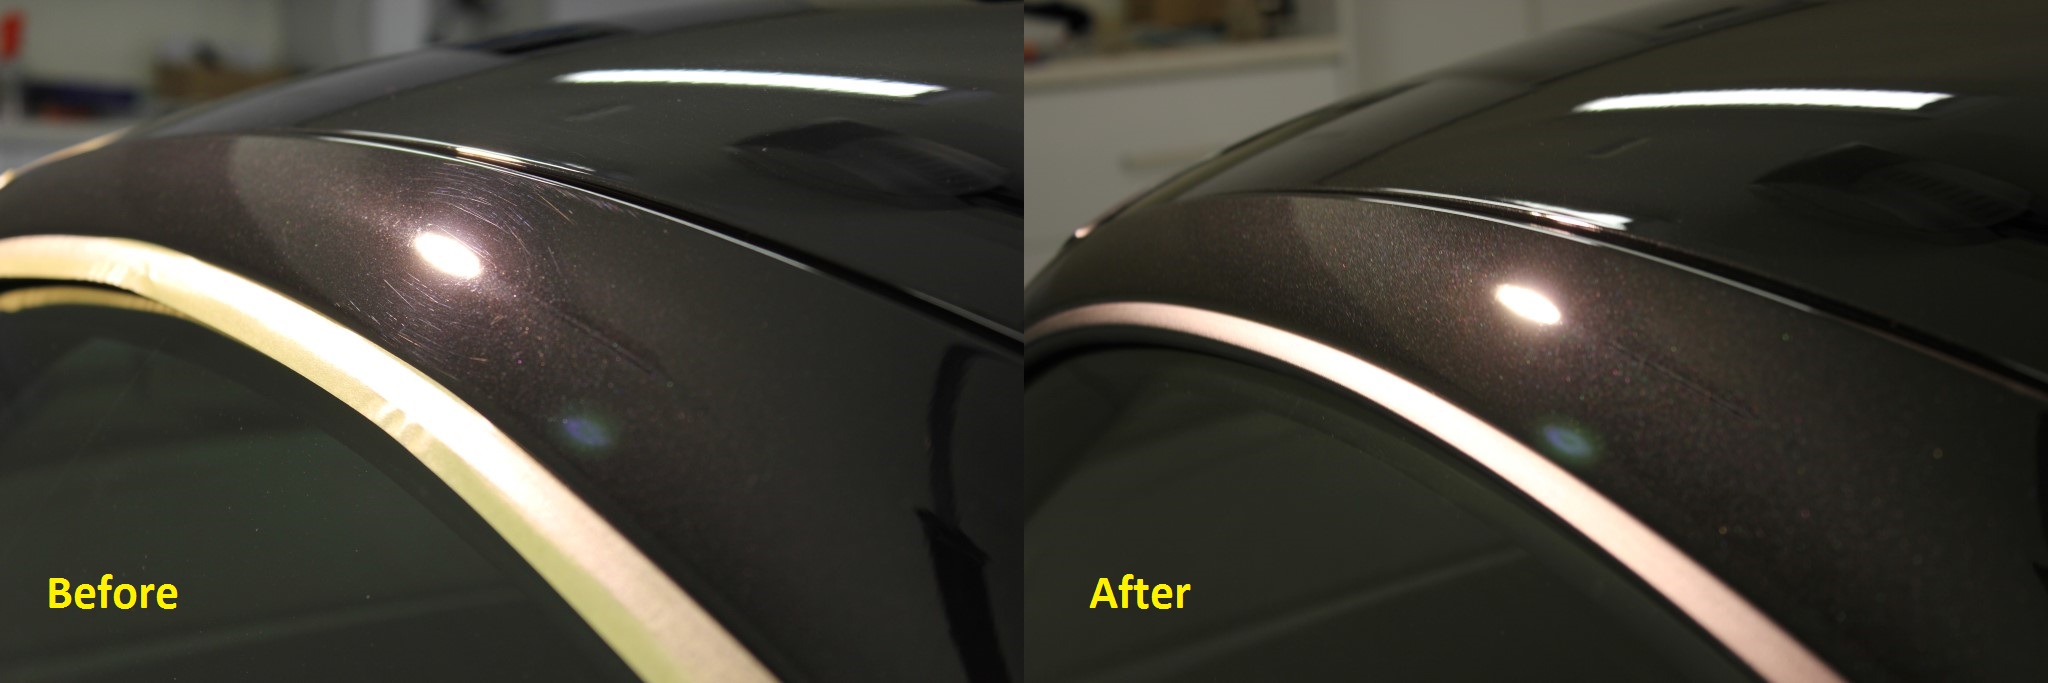
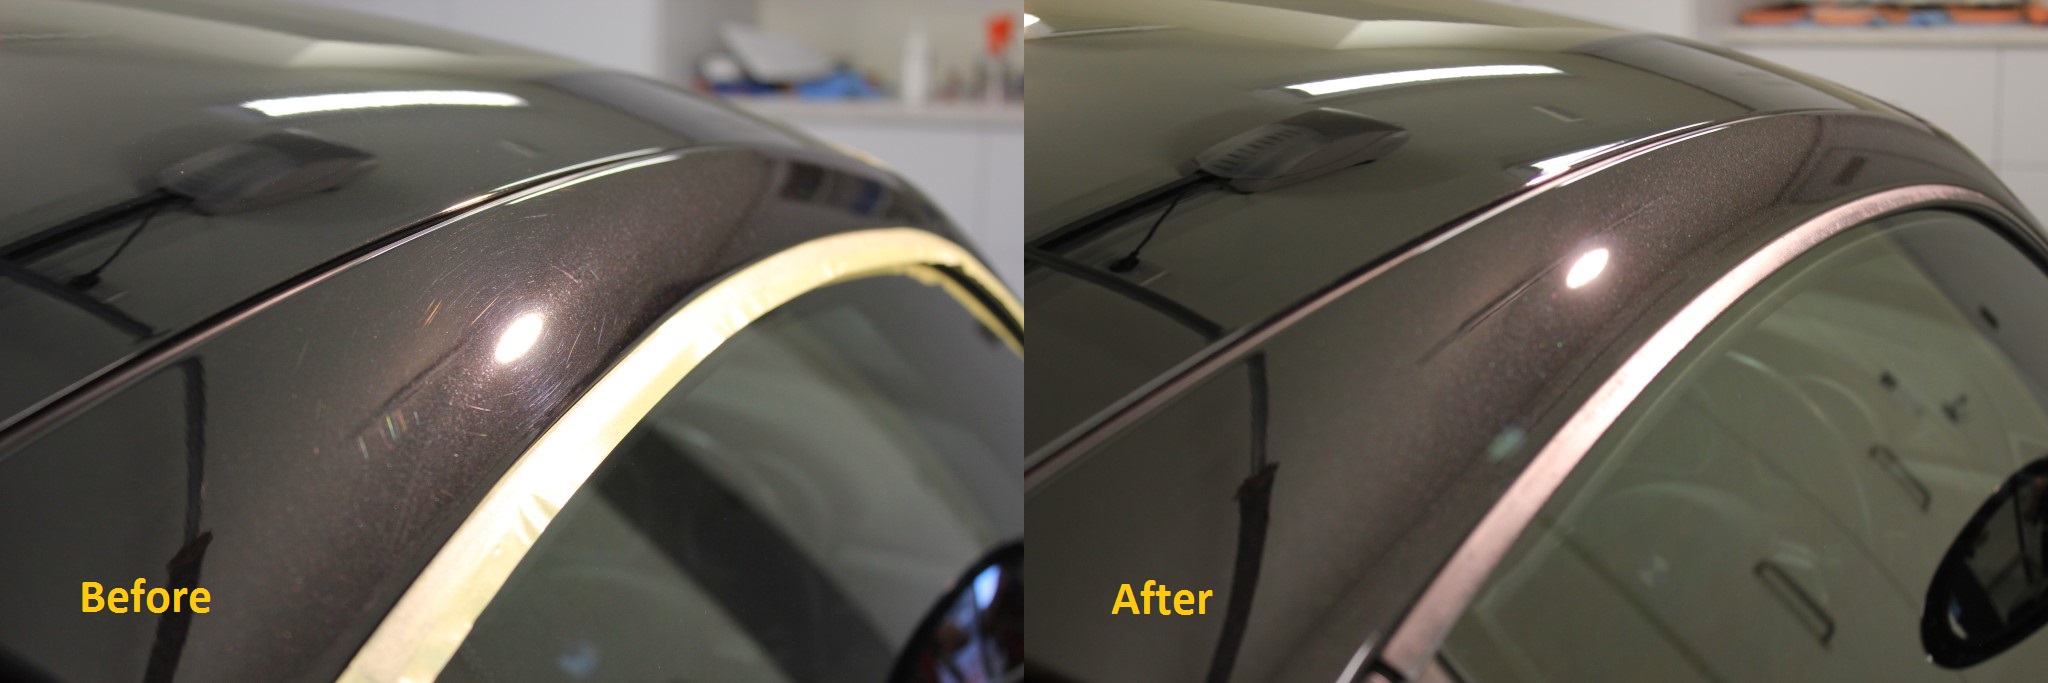
Around the rear windscreen there were a number of deep RIDs which, due to their position were quite awkward to correct. Nearly two hours alone was spent cleaning these up

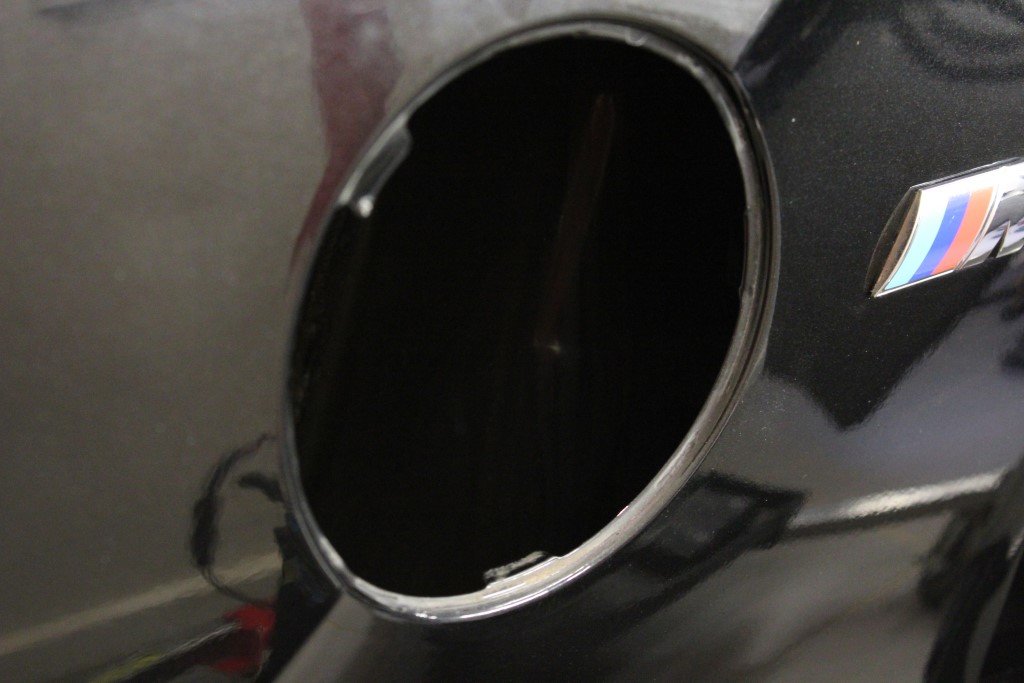
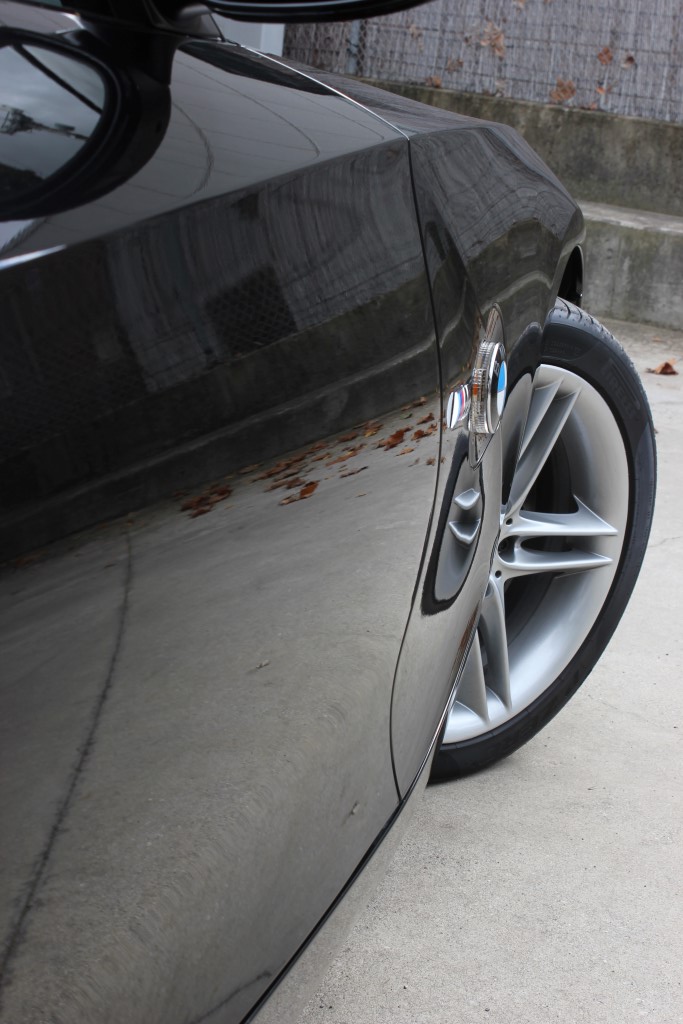
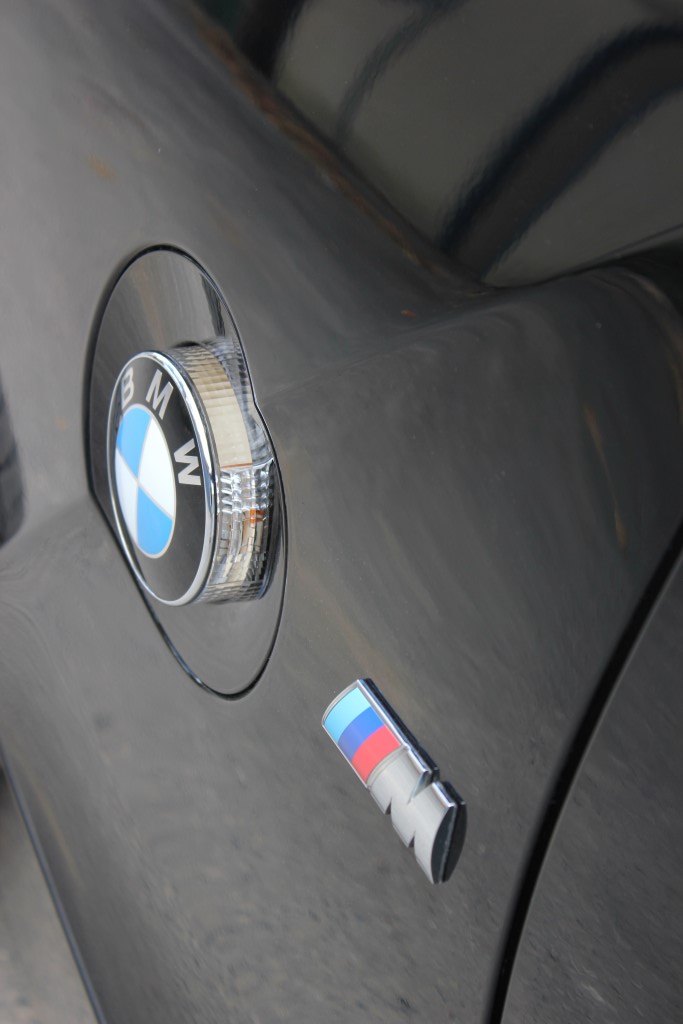
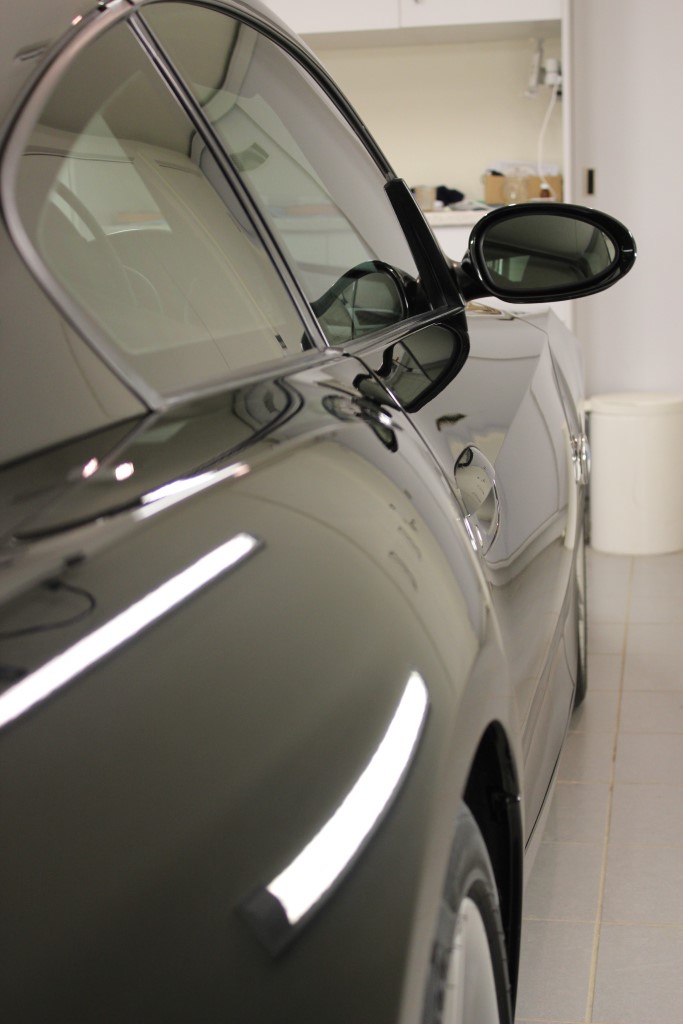
While Phil was working on the PDR, he removed the circular indicator surround in the front guards in order to gain easier access. I took the opportunity to clean up around there also.

The top of those massive front guards.
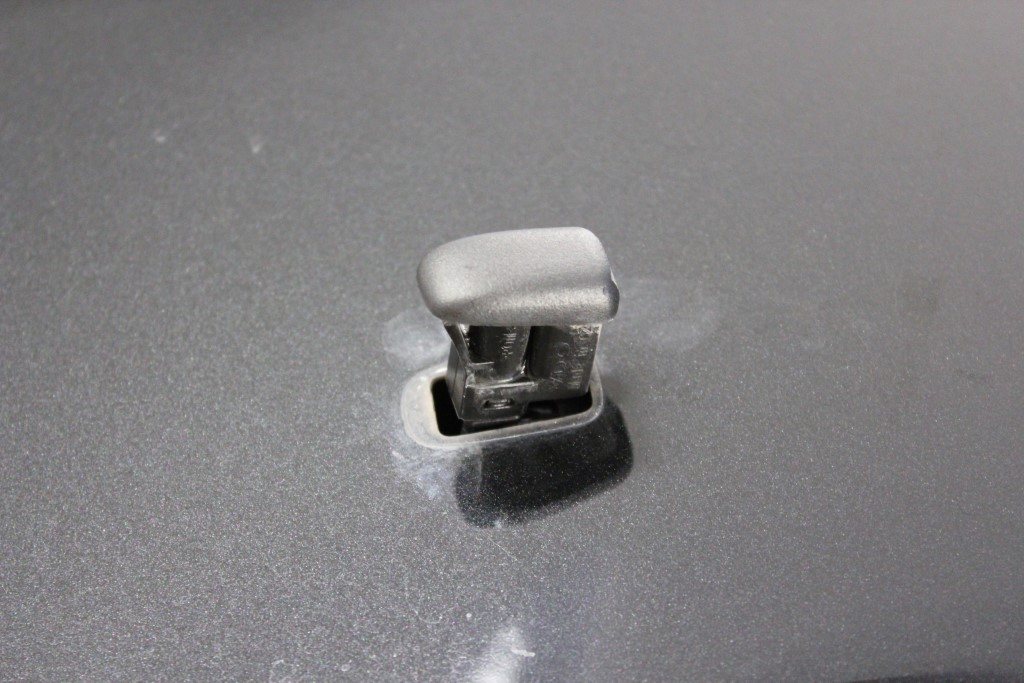
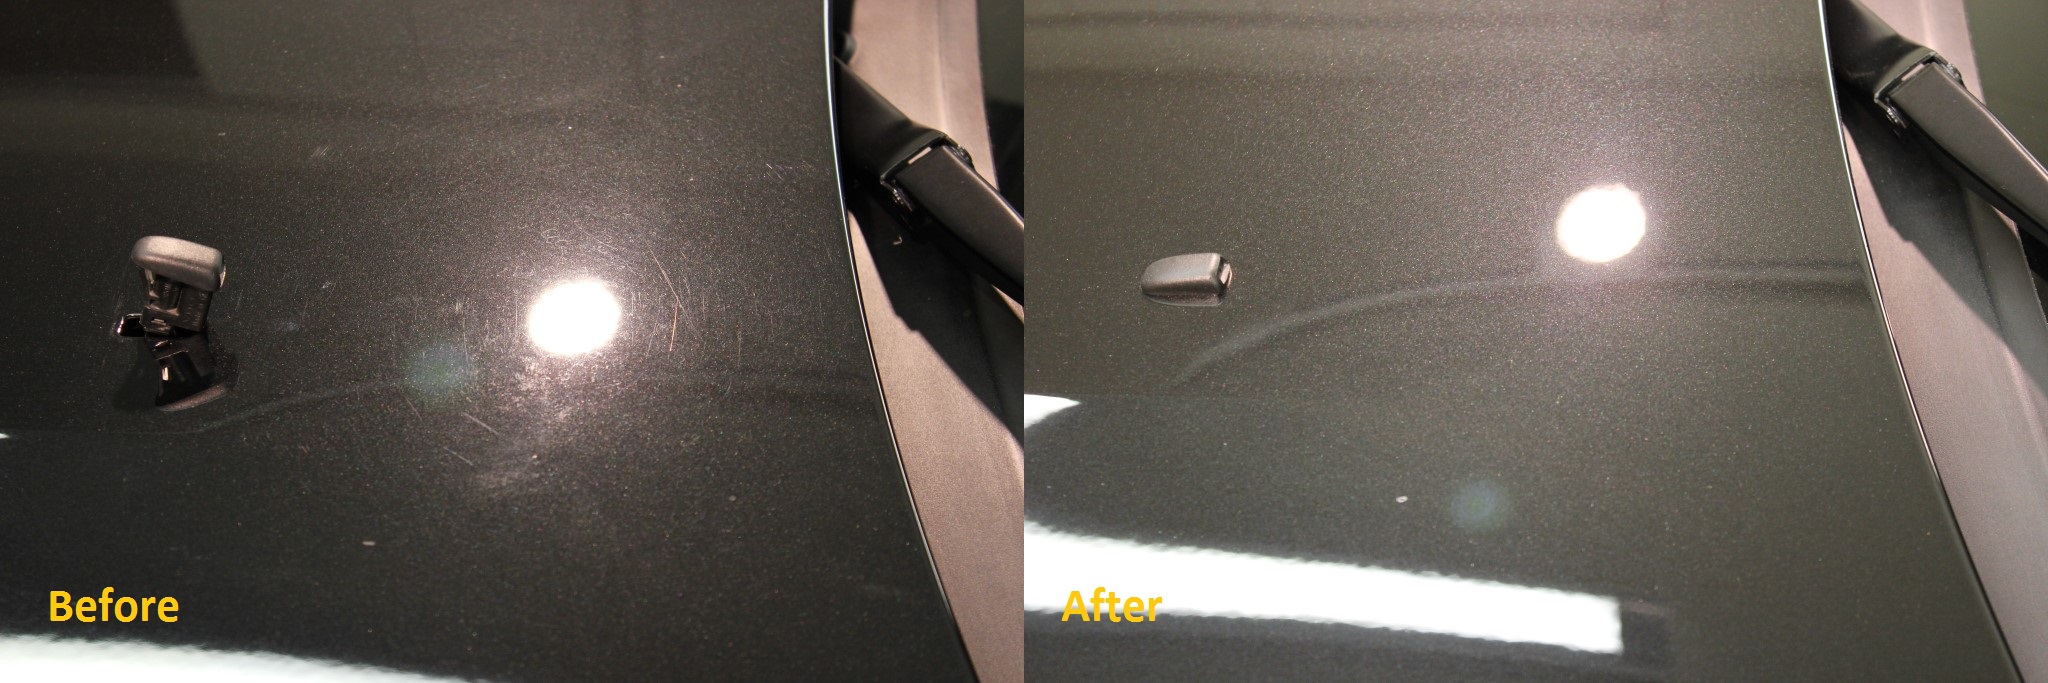
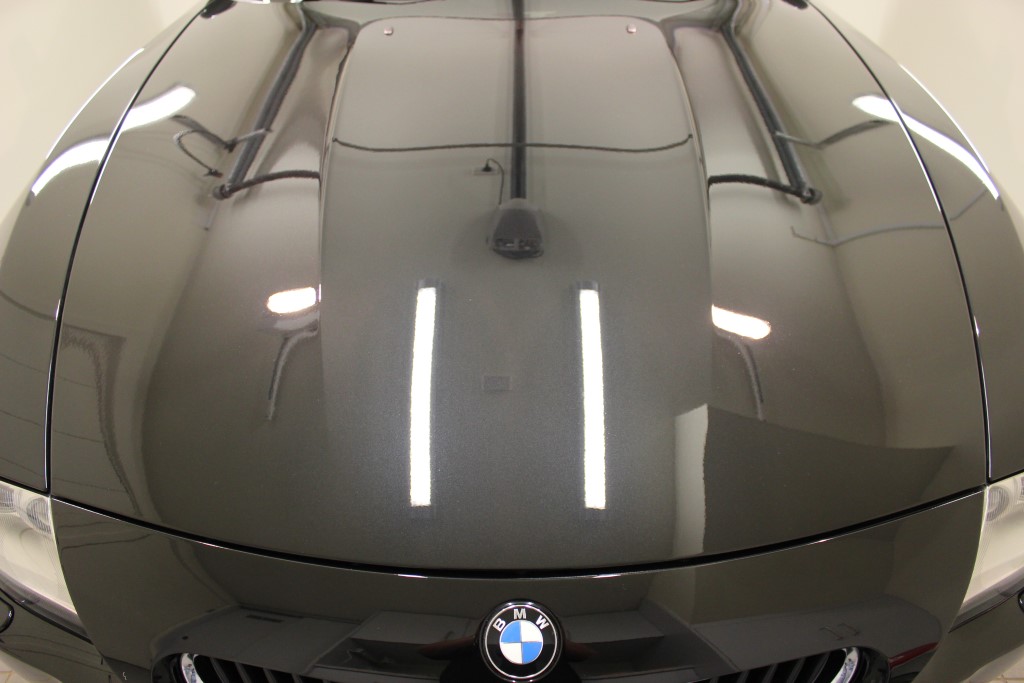
The washer housings in the bonnet were able to be unclipped easily which allowed correction under and around them
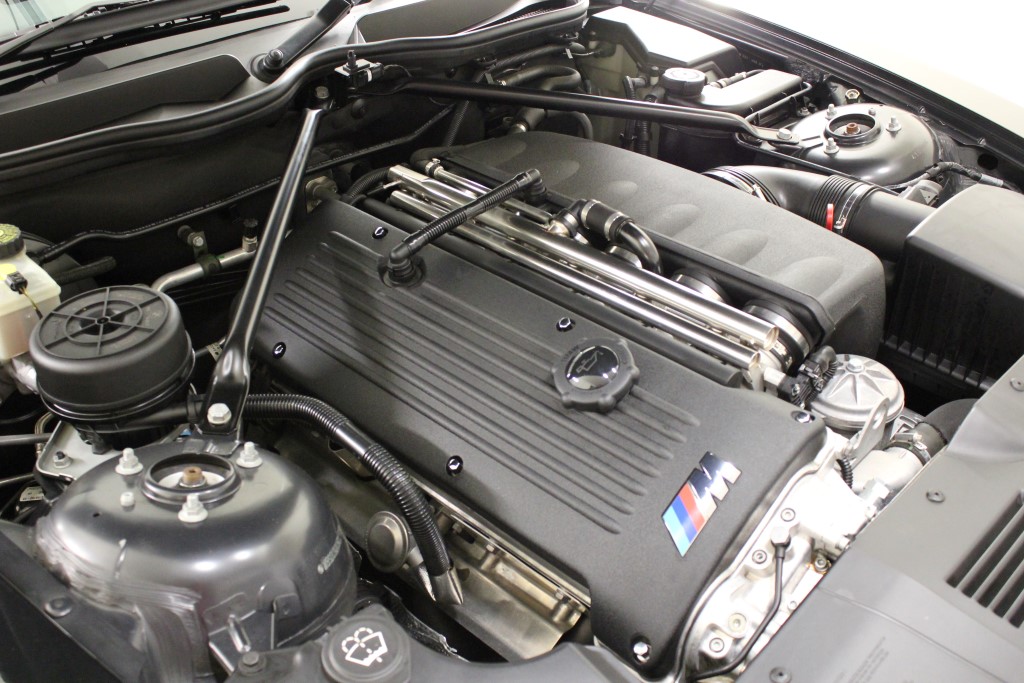
The engine bay was also given a full steam clean and wipe down
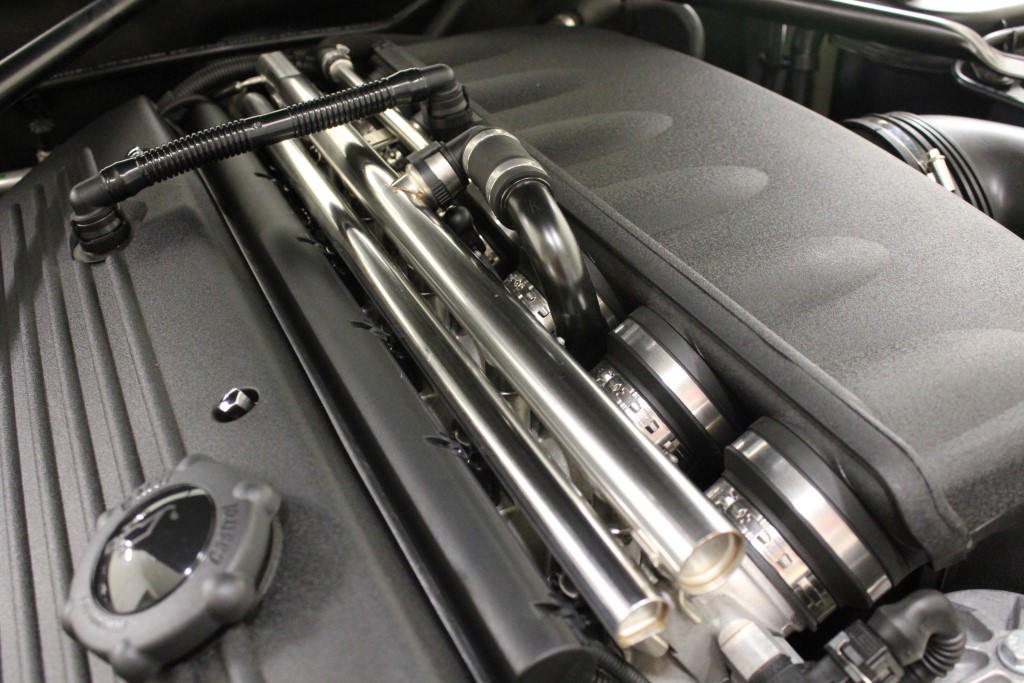
Metal fuel rails were hand polished as were the clips on the individual throttle bodies

Even the nut on top of the strut housings was polished to remove surface rust

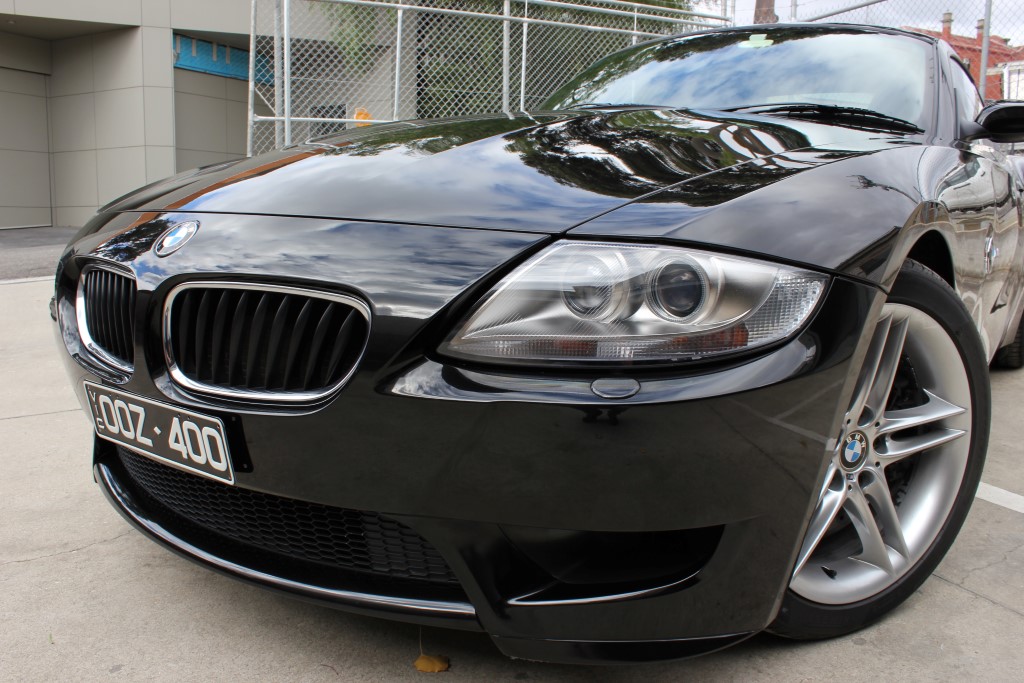
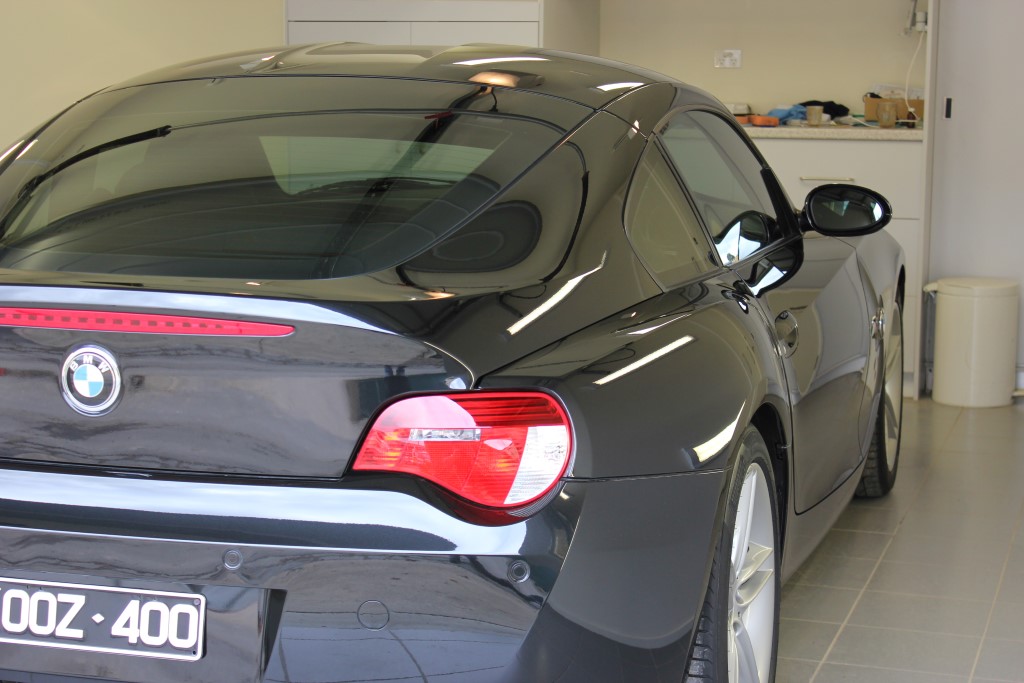
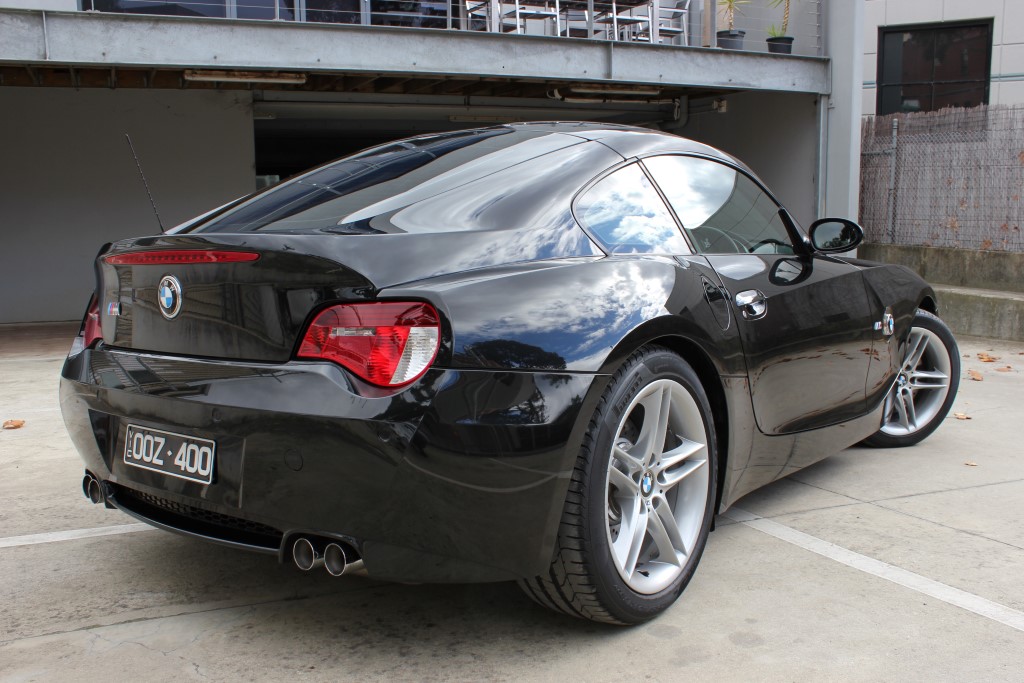
After the correction the Kamikaze was applied. I opted for two layers of Miyabi followed by a layer of ISM. The thinking was that the Miyabi would provide a sharp hard silica/glass coat look which would emphasize gloss. The ISM on top would then give a warmer wax-style look and help accentuate the metallic flake. The best of both worlds effectively. Here are some final shots. The outdoor pics were on a cloudy day unfortunately. I will add some sunny day pics when I have the chance to take some
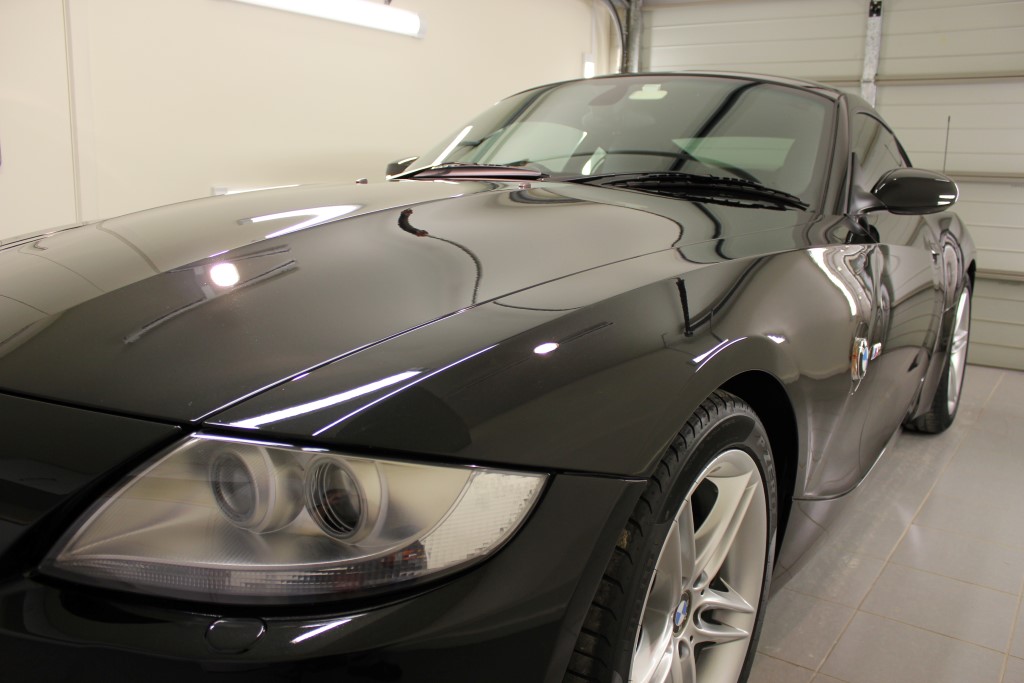
The metallic flake now is really popping. Kamikaze has made quite an impact in this regard.

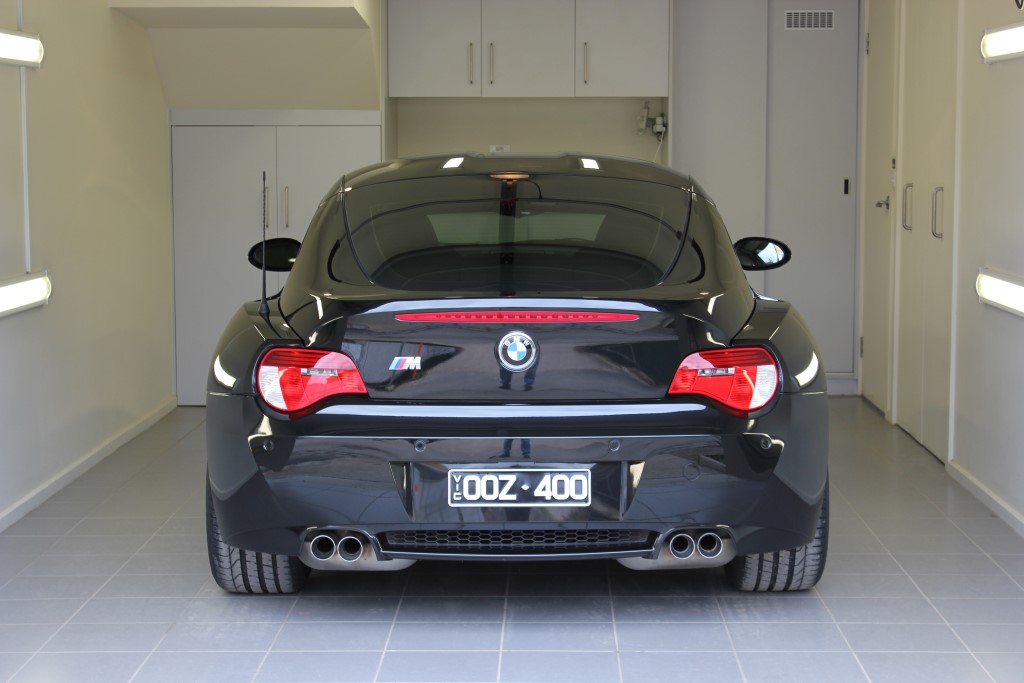
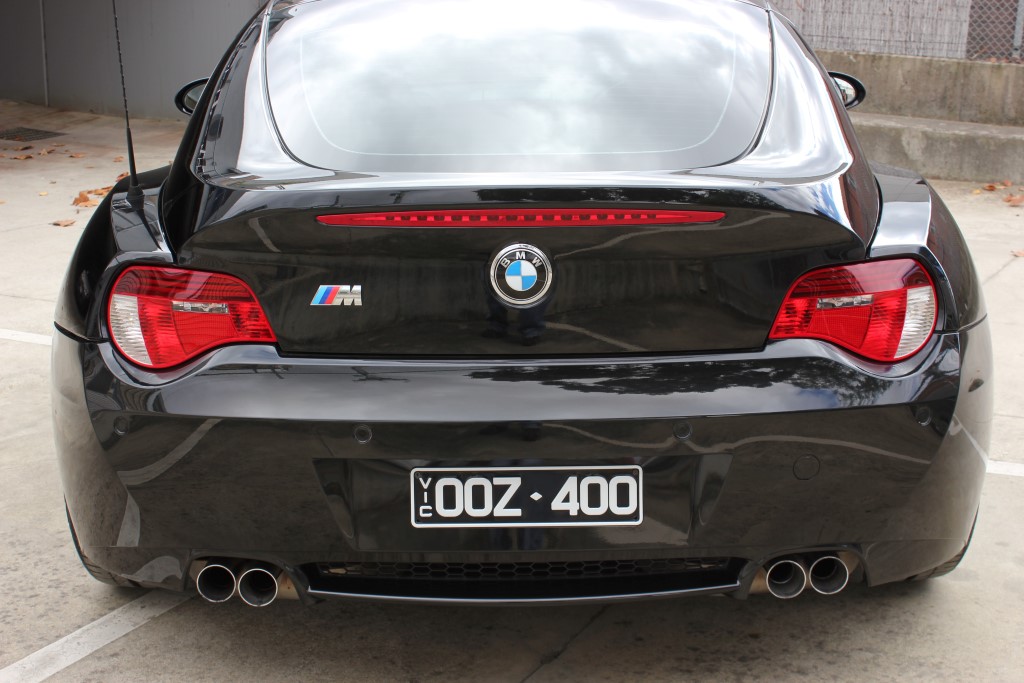
Now Vic registered and new plates on
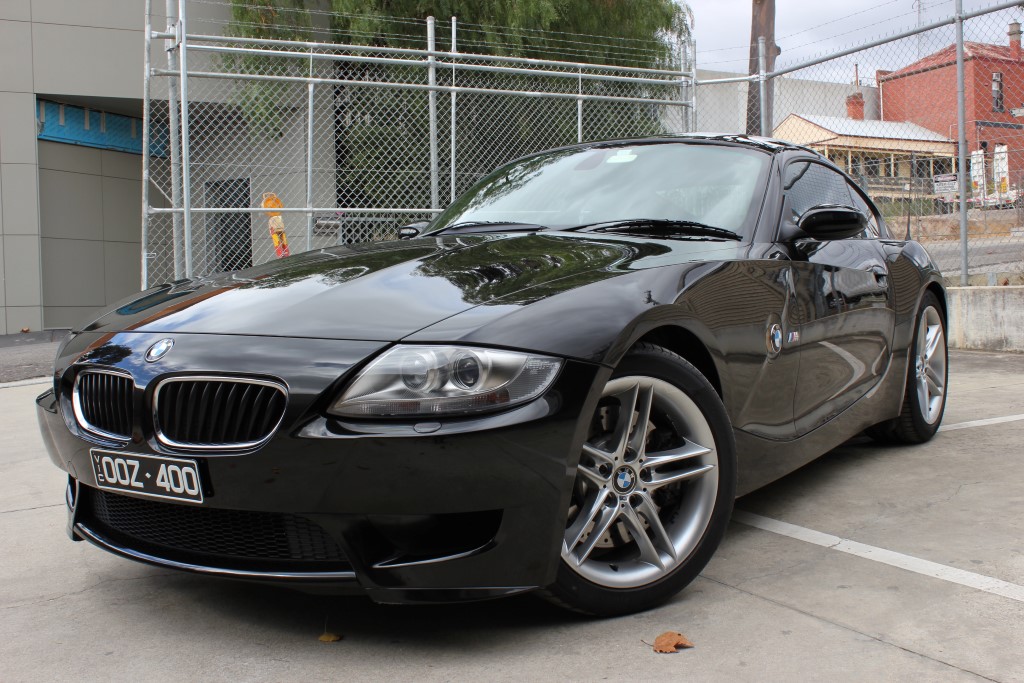
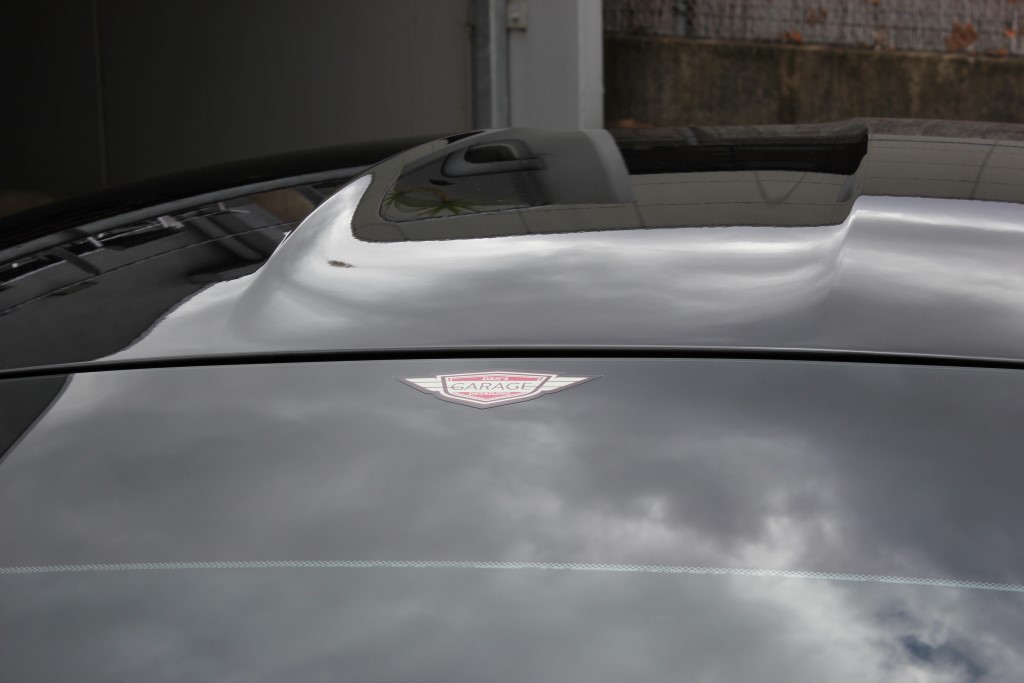
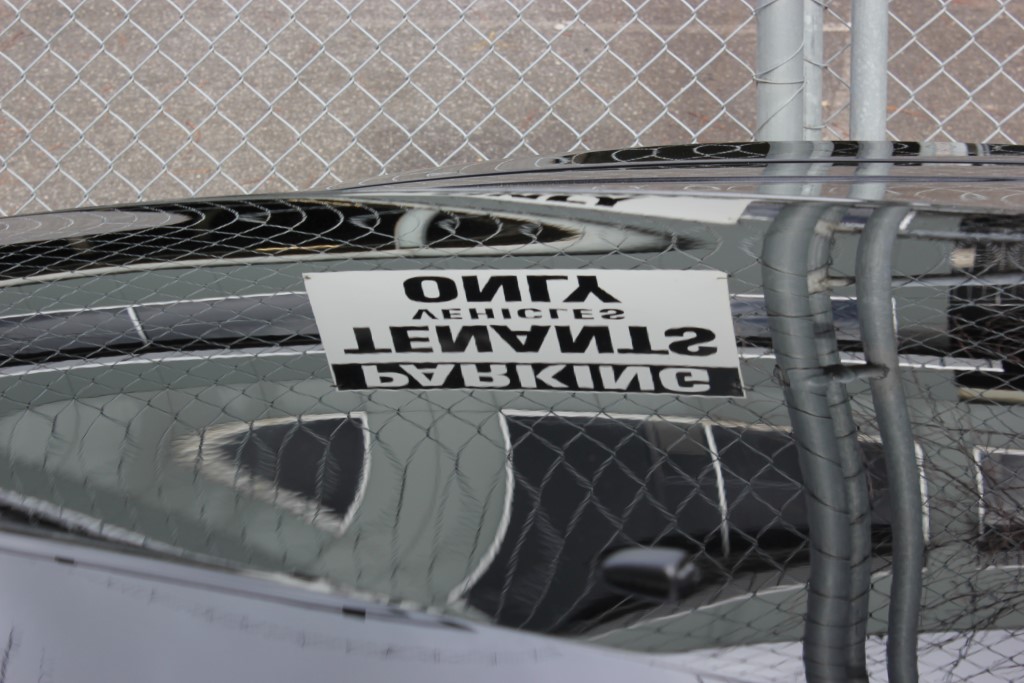
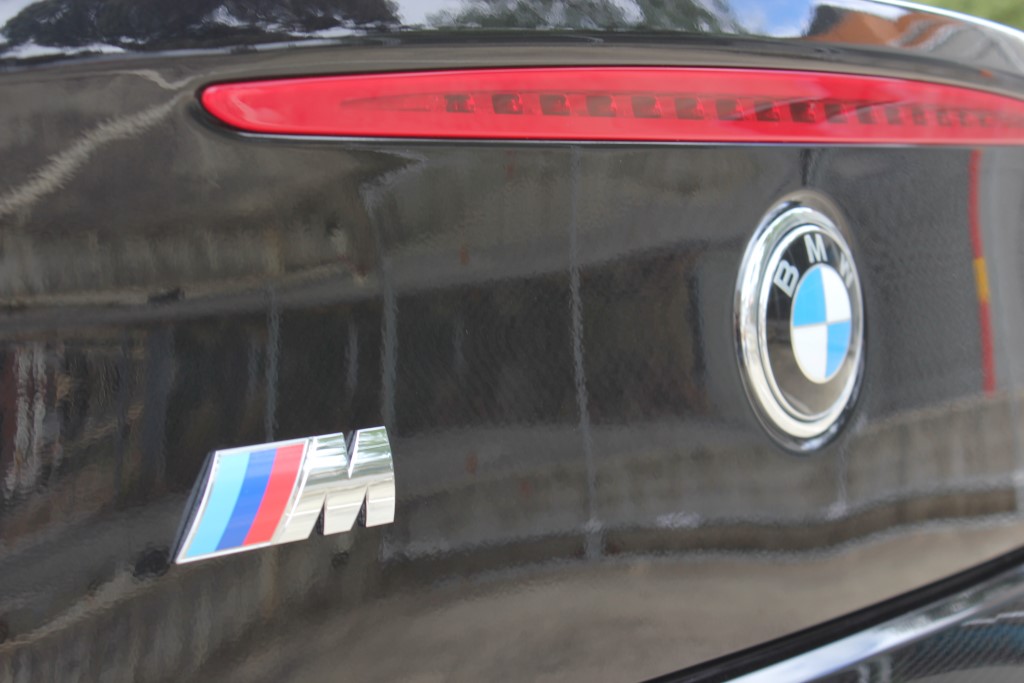
Good enough to wear the sticker now
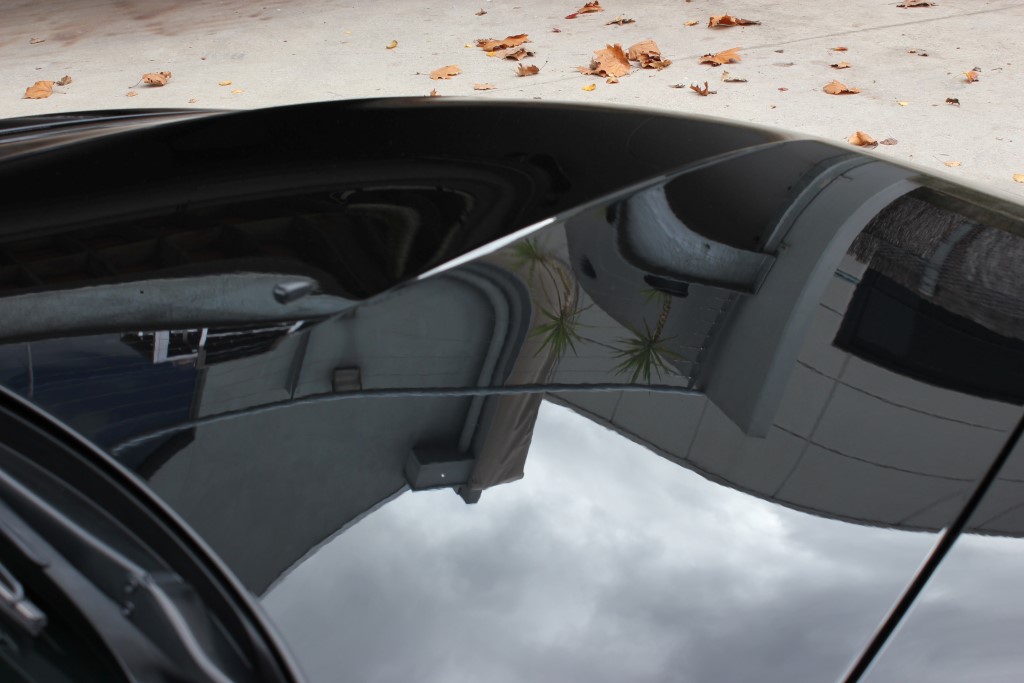
Anyone for a dip? It's nice and deep here

Those haunches.....